|
JinTu (OP)
|
 |
September 02, 2012, 02:38:15 AM
Last edit: September 04, 2012, 04:05:50 PM by JinTu |
|
Hi folks, I figured that I would share my project with you all in the hope that you get a little enjoyment out of it the way I have. My primary mining system had to be relocated to a common area at home at the end of last year due to a visitor (read MIL) that has been staying with us since that time following the birth of a child. Normally the fan noise from the GPUs when running full-throttle wouldn't be a concern, but the silly things scream like a banshee which had become detrimental to the WAF for my bitcoin mining, so something had to be done. In the mean time I have had to reduce the fan speed (and correspondingly the hash rate) of my system during daylight hours, and can only run at full throttle in the middle of the night. To that end, my project has the following design goals: - Ability to dissipate >900W of heat load
- Near silent when running
- Appealing visual design (remembering the WAF)
- Modular and serviceable
- Minimum external components
- Reasonable cost (funded by mining)
- Flexible design that will allow cooling of next generation mining hardware in addition to the current GPUs
All this in mind, I started looking into water cooling as some folks have had a measure of success increasing efficiency when mining after doing so. Most of the systems I had seen all used active cooling that use one or more fans to pass air through a radiator and remove heat from the cooling liquid. This would work fine if noise isn't a concern, but in my case I had to find another way. As my research progressed, I ran discovered passive cooling. It has the same heat dissipation benefit of active cooling, but needs a larger surface area to allow convection and ambient airflow to dissipate the same heat load. Fortunately my mining rigs are located in a 19in rack with adequate airflow and space to accommodate a larger surface area radiator array. I discovered the Alphacool Cape Cora series passive radiator modules which met my design goals and began a design based on them. The initial design required keeping at least two rows of the radiators relatively close to the side of the rack, and the original solid aluminum sides of the rack had to be changed out with something that required some air to pass through to allow effective cooling. Also, the radiator modules would be rather heavy once assembled and filled with cooling liquid, so mounts were needed that could accommodate the weight and maintain rigidity. I went through a few designs over the intervening months, but ultimately settled on Design G (the staggered array design below): 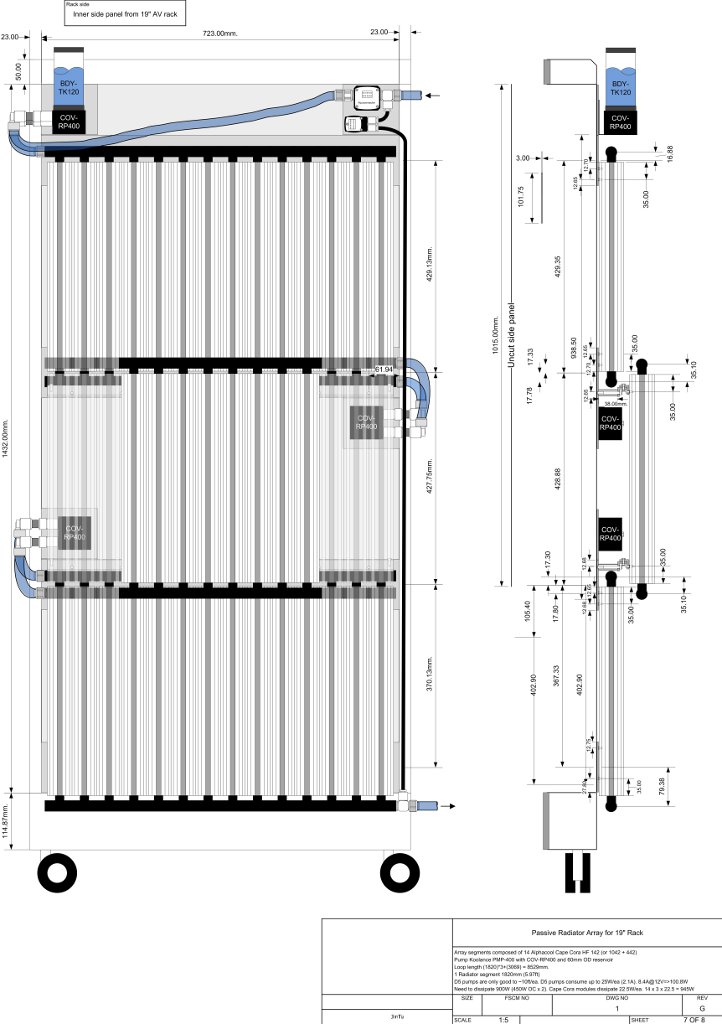 High resolution version here. Since the plan is to use copper heat exchangers and brass fittings in the cooling loop, the aluminum Cape Cora modules posed a problem wrt galvanic corrosion. To that end, I will be electrically insulating the radiator modules and using a corrosion inhibitor in the cooling fluid. Since there a multiple pumps and sensors, I settled on the Aquaero 5 XT from Aquacomputer to manage everything. At present only Windows drivers are being released by Aquacomputer, so I might need to spend some time updating the Aquaero 4 Linux port someone did a few years ago. Free time has been hard to come by, so actual construction has been slow. I have uploaded pictures of the progress so far, and will add more as things progress. Have fun! |
|
|
|
|
|
|
|
The forum was founded in 2009 by Satoshi and Sirius. It replaced a
SourceForge forum.
|
|
|
Advertised sites are not endorsed by the Bitcoin Forum. They may be unsafe, untrustworthy, or illegal in your jurisdiction.
|
|
Photon939
|
 |
September 02, 2012, 02:47:58 AM |
|
It's a neat idea, here are some things to keep in mind:
Those passive radiators are cool and do work, but they're quite expensive and you will need many to dissipate 900W. For about $100-150 you can buy a brand new car radiator that is designed to handle many kilowatts of heat. Slap a big low RPM fan or two on there and it will be dead silent. Make up a nice box for it and nobody will notice it. This will also take up less space than a giant passive radiator.
If you use copper water blocks with those aluminum radiators, you will need to run a mix of coolant that includes a corrosion inhibitor to prevent galvanic corrosion.
|
|
|
|
|
|
JinTu (OP)
|
 |
September 02, 2012, 02:56:08 AM |
|
The first set of parts arrived in March. Unfortunately one of the T-connectors for the radiator modules was damaged in shipping (from Aquatuning in Germany) 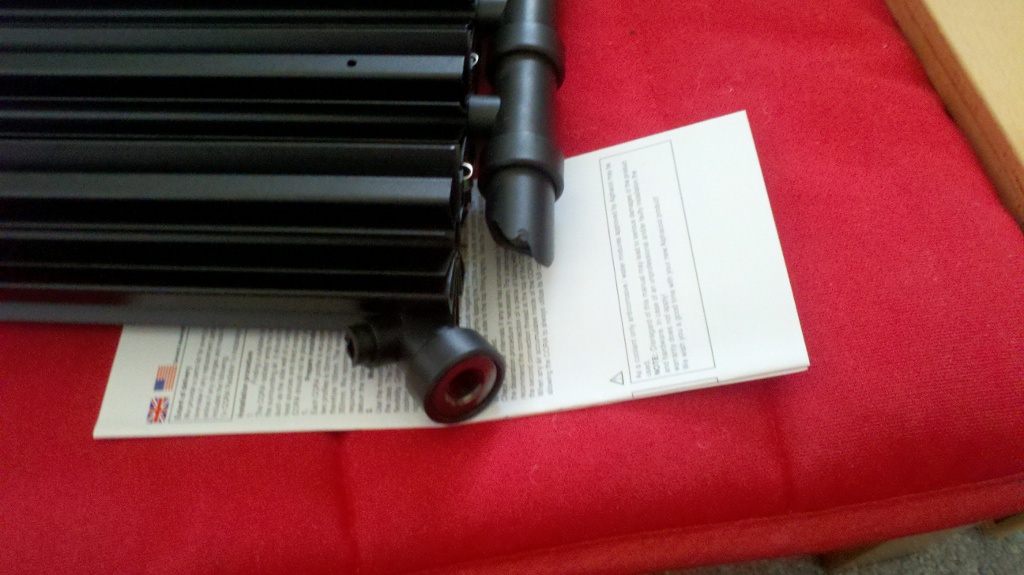 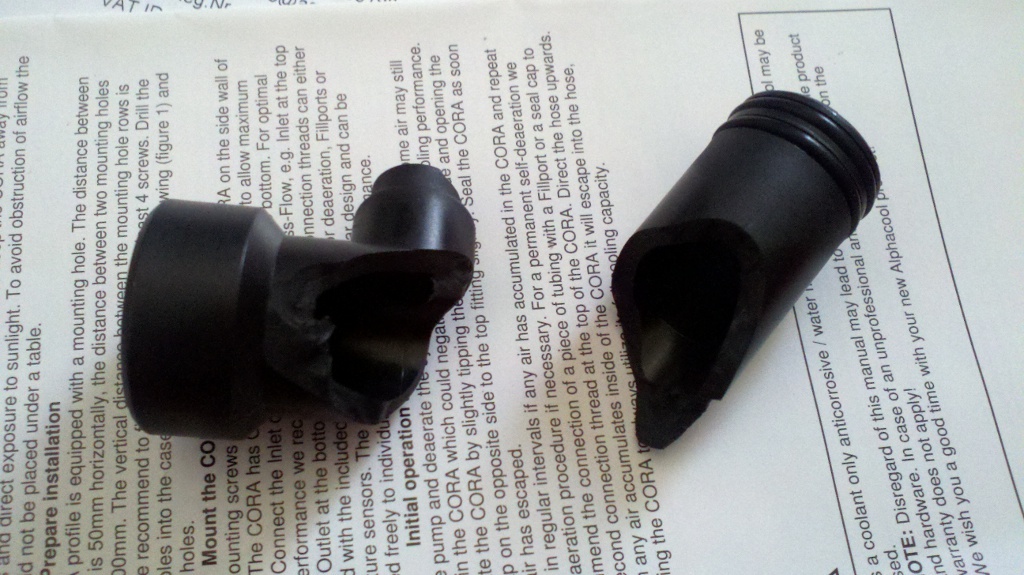 Fortunately they sent me a replacement less than a week later. The aluminum bar stock prior to cutting 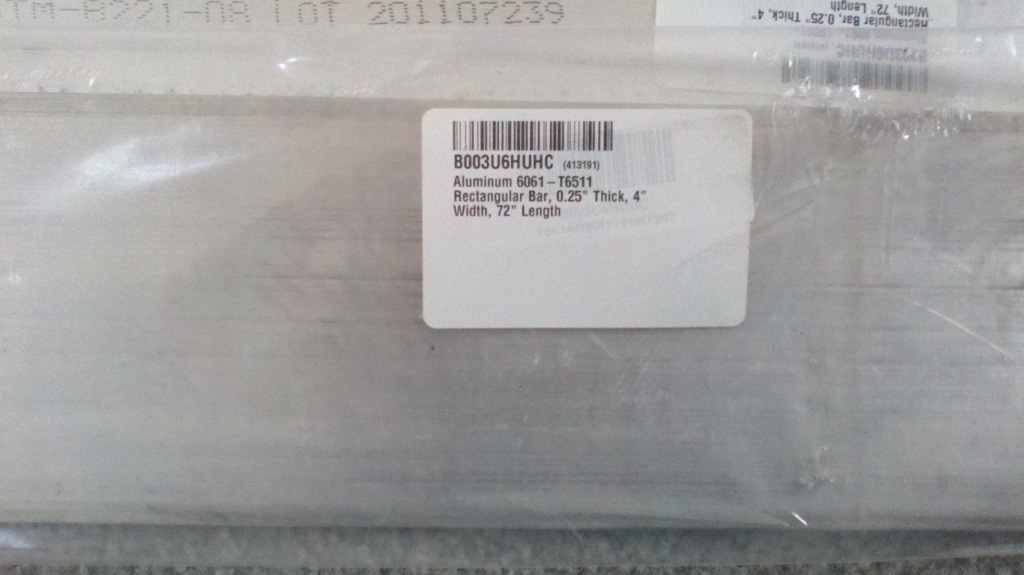 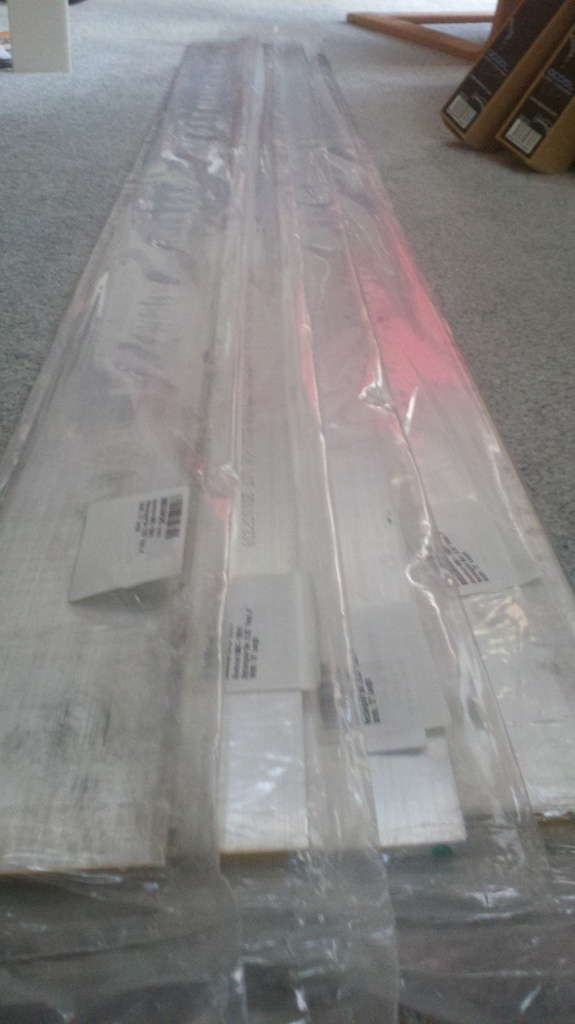 The perf aluminum side panels prior to cutting 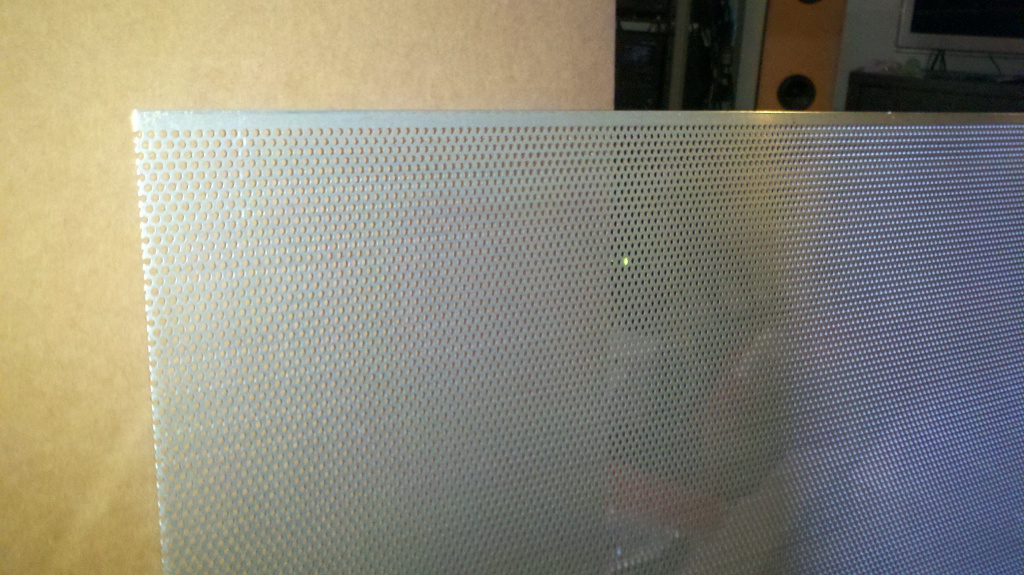 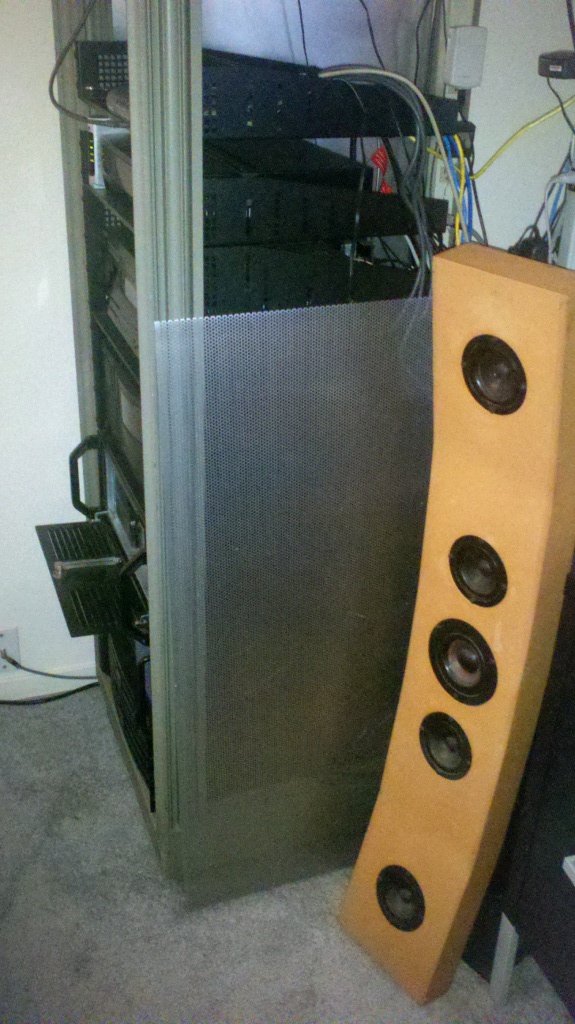 The perf side panels after cutting shown next to the rack 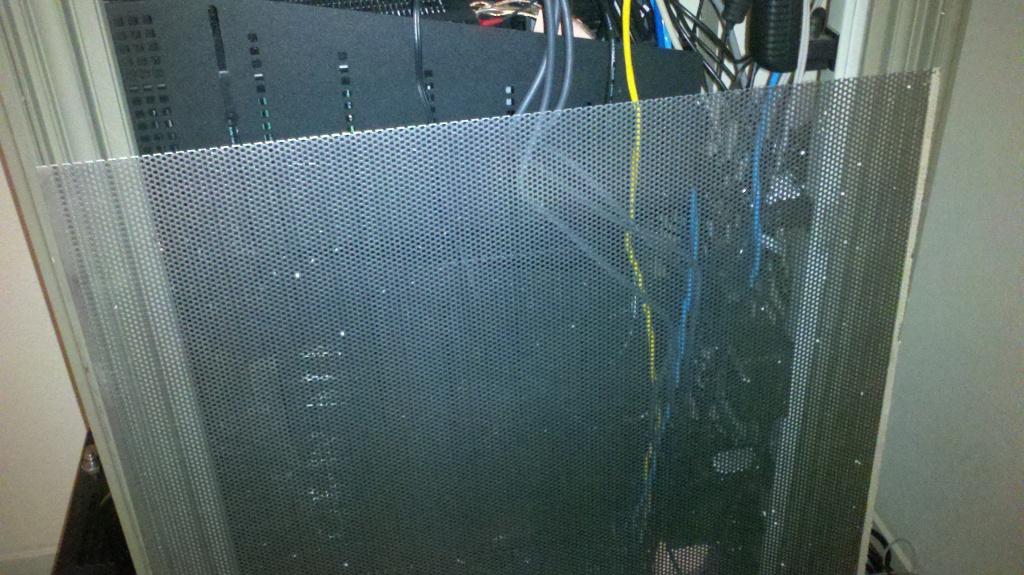 The first set of mounts after cutting 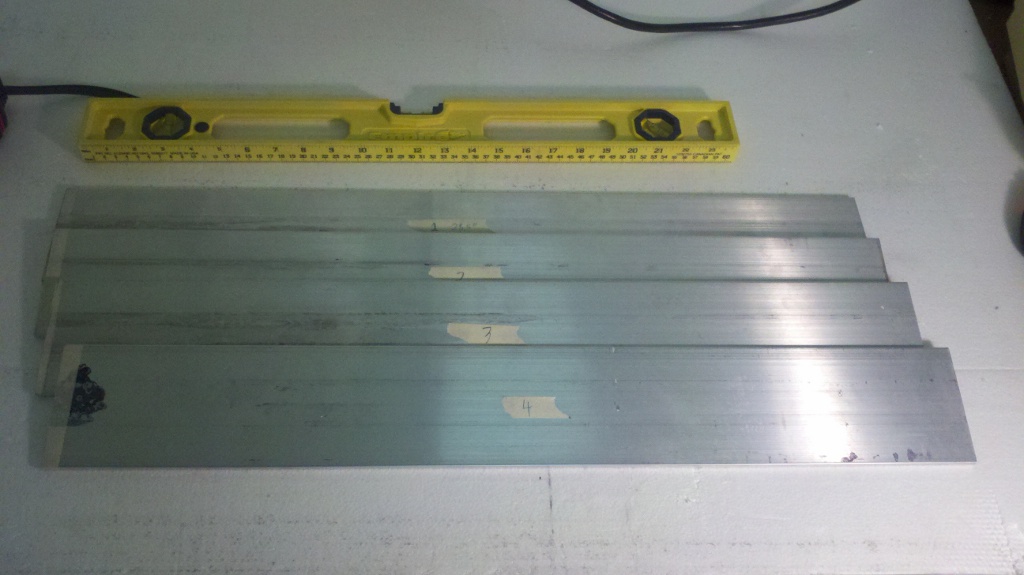 |
|
|
|
|
|
JinTu (OP)
|
 |
September 02, 2012, 03:01:37 AM
Last edit: September 09, 2012, 07:28:59 AM by JinTu |
|
It's a neat idea, here are some things to keep in mind:
Those passive radiators are cool and do work, but they're quite expensive and you will need many to dissipate 900W. For about $100-150 you can buy a brand new car radiator that is designed to handle many kilowatts of heat. Slap a big low RPM fan or two on there and it will be dead silent. Make up a nice box for it and nobody will notice it. This will also take up less space than a giant passive radiator.
If you use copper water blocks with those aluminum radiators, you will need to run a mix of coolant that includes a corrosion inhibitor to prevent galvanic corrosion.
Thanks for the input. Yea, the aluminum radiators are definitely a source of concern wrt galvanic corrosion, so I had to use nylon screws and nylon shoulder washers to electrically insulate the modules from the rack. I'll still use a corrosion inhibitor, but should be pretty well covered in this regard. The Cape Cora modules dissipate 22.5W/ea, so I need at least 40 (the current design has 42 for symmetry) |
|
|
|
|
|
JinTu (OP)
|
 |
September 02, 2012, 04:56:43 AM |
|
In April the first set of pump parts from Koolance arrived 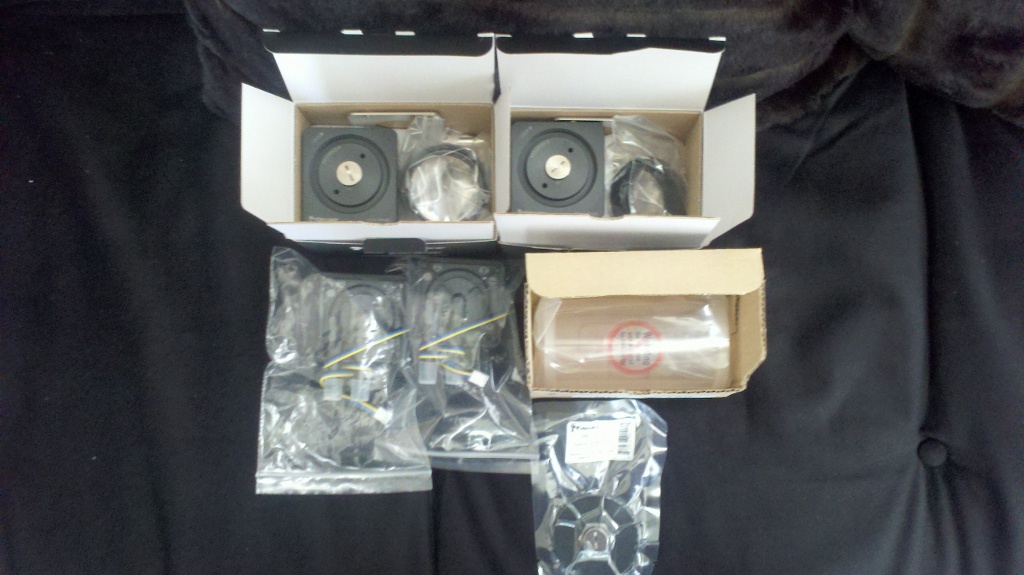 The reservoir and primary pump after assembly 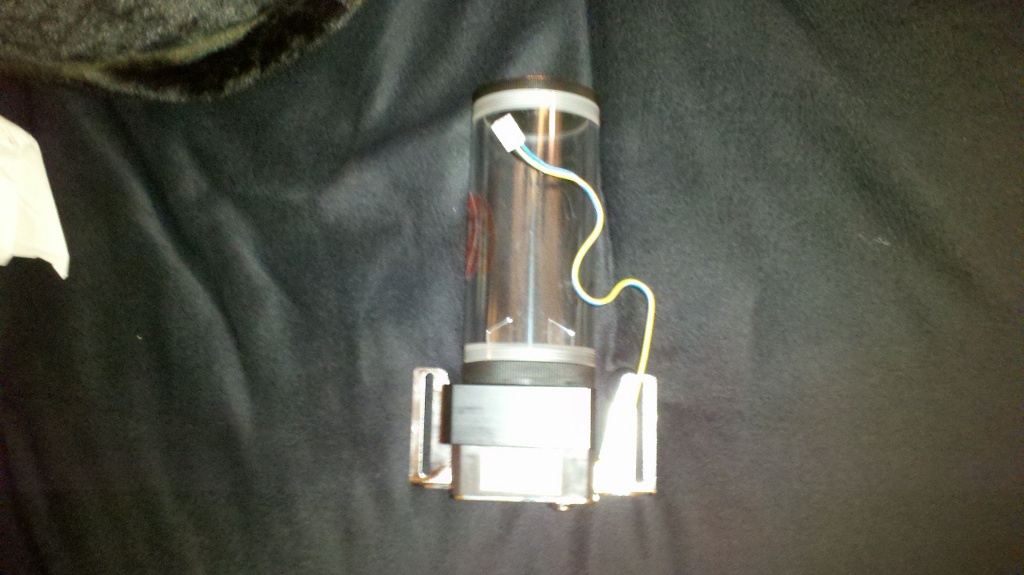 Measuring the clearance 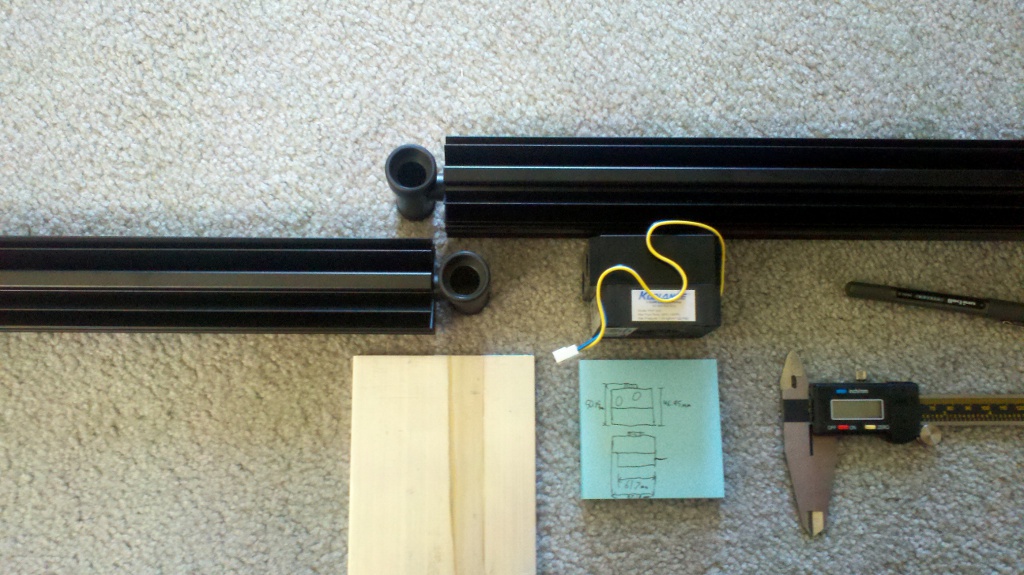 The final set of Cape Cora modules arrives. This makes 42 modules in total!  |
|
|
|
|
|
JinTu (OP)
|
 |
September 02, 2012, 05:39:00 AM |
|
May 2012: assembling the radiator segments of the center module Segments assembled with T-connectors removed 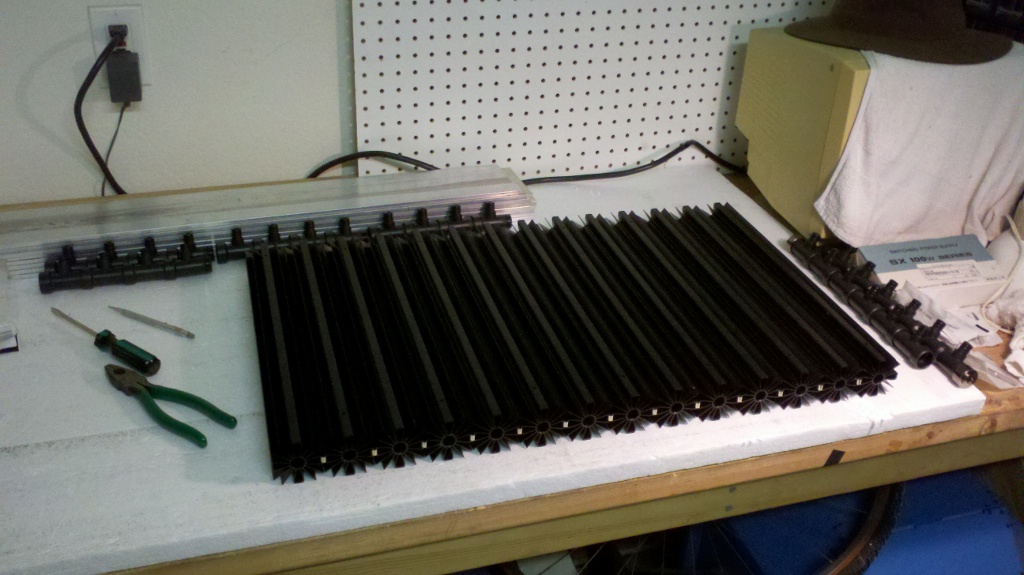 One of the ends 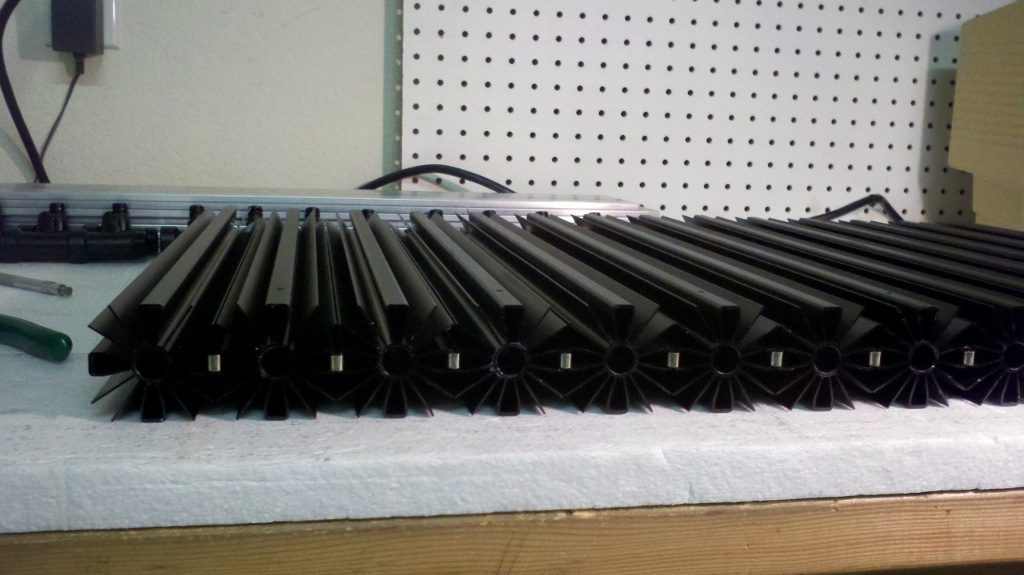 Showing the length of all 14 segments 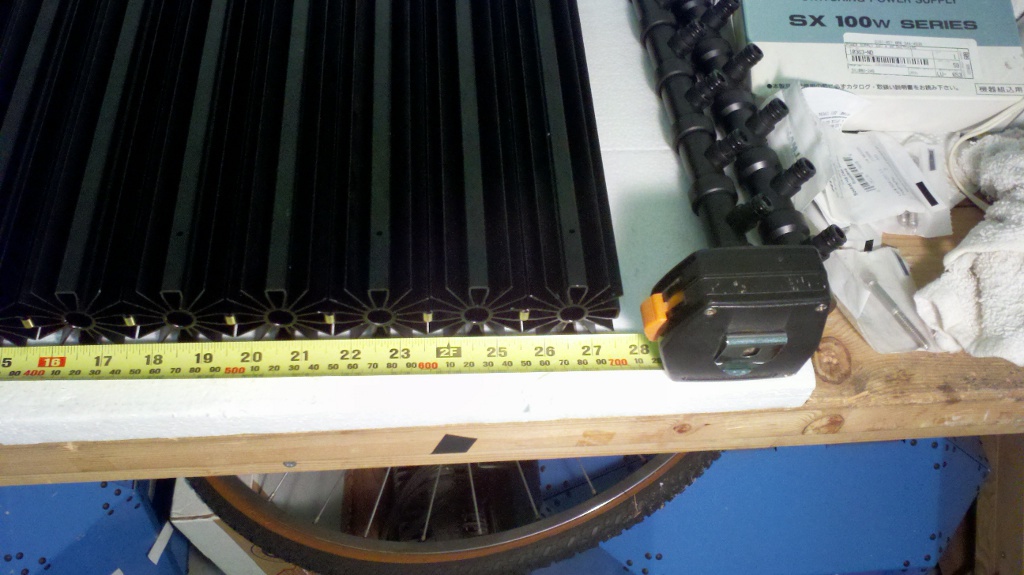 All the segments assembled with the T-connectors attached 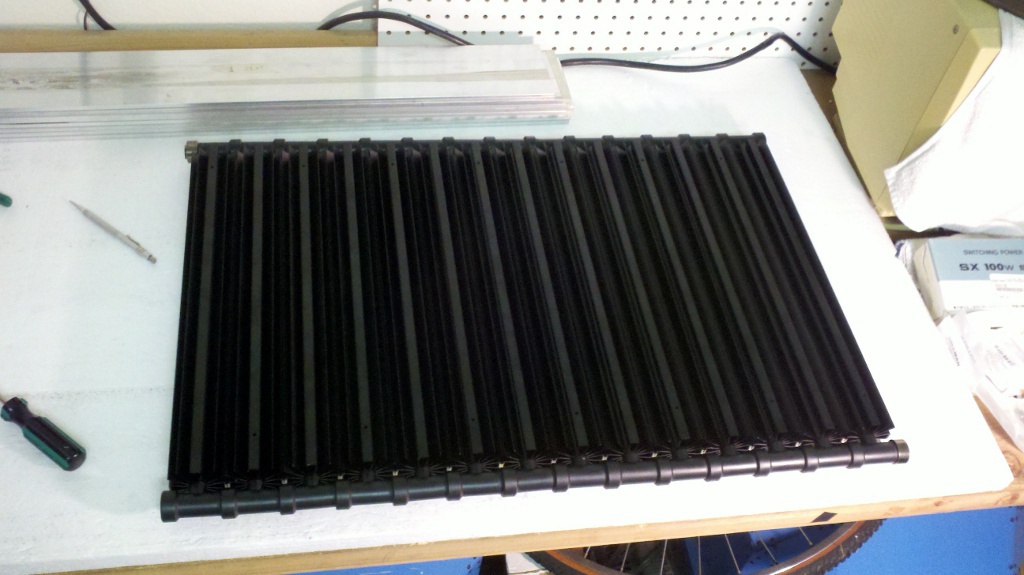 |
|
|
|
|
|
JinTu (OP)
|
 |
September 02, 2012, 05:45:10 AM |
|
June 2012: cutting the rail spacers and drilling the mounts Checking the fit 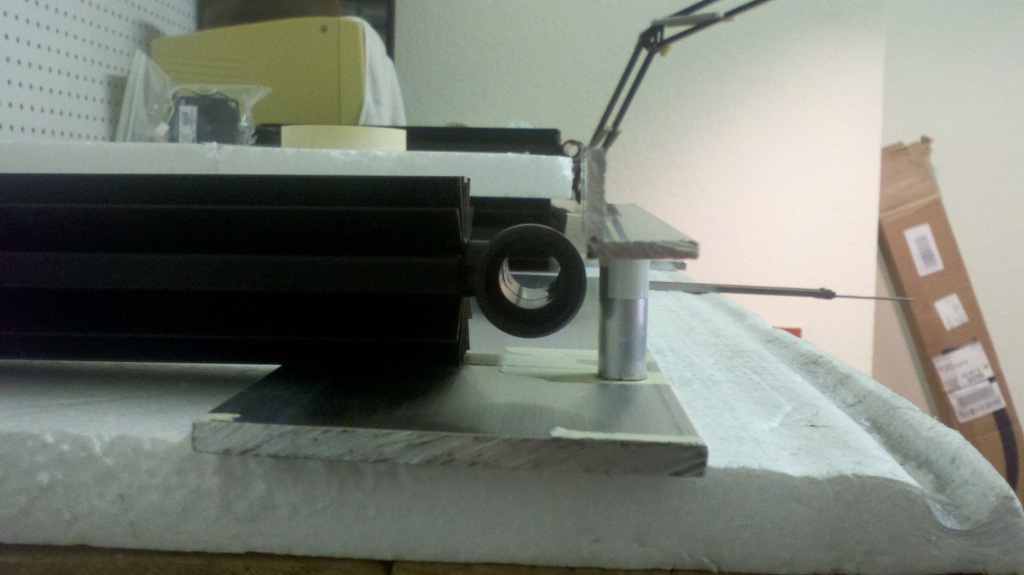 Drilling the mounts 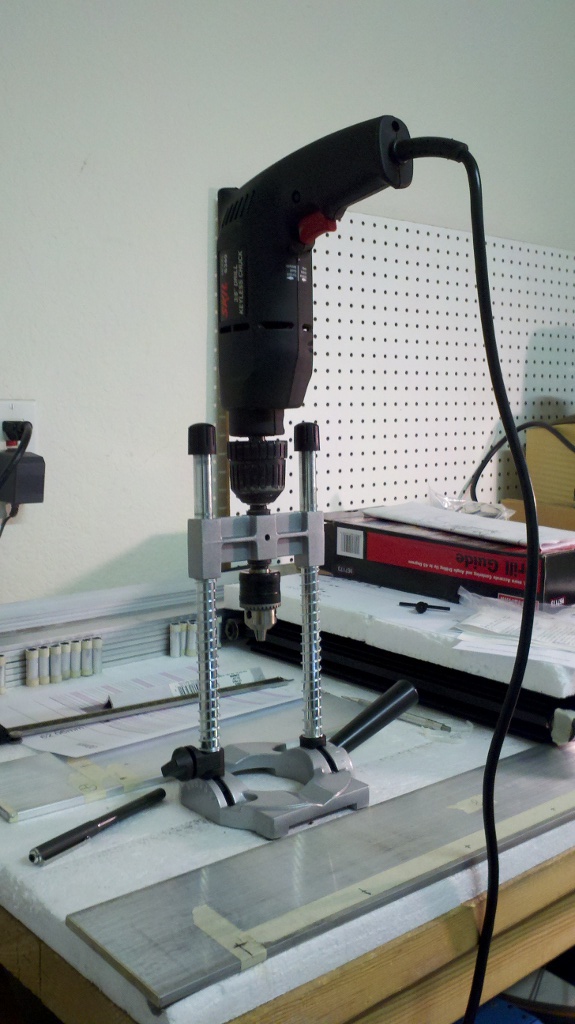 |
|
|
|
|
|
JinTu (OP)
|
 |
September 02, 2012, 06:03:39 AM |
|
July and August 2012: Drilling and mounting the rails Drilling the rails 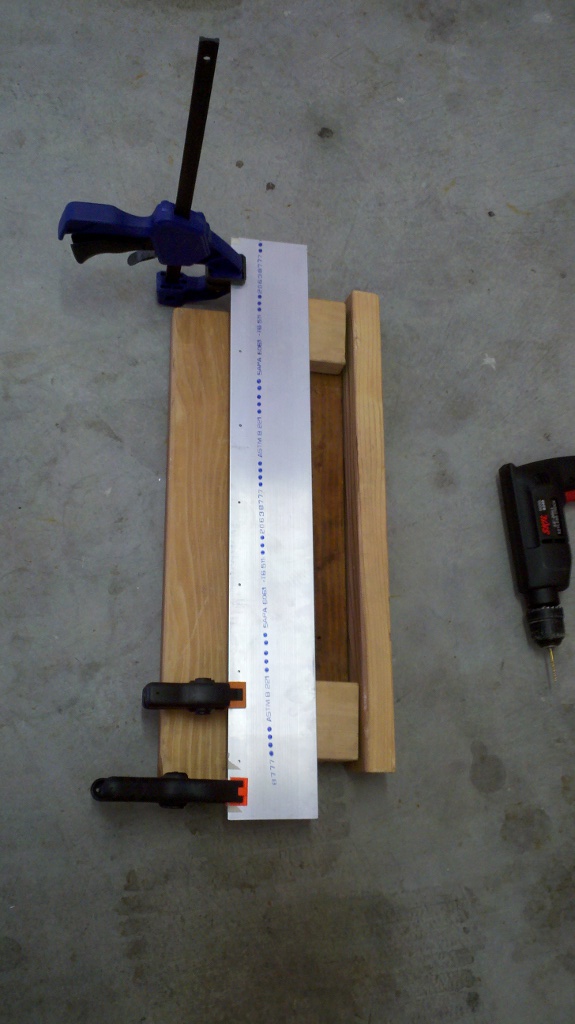 The Aquaero 5 XT has finally arrived! It was back-ordered for three months from Germany. This will serve as the controller for all the pumps and sensors. 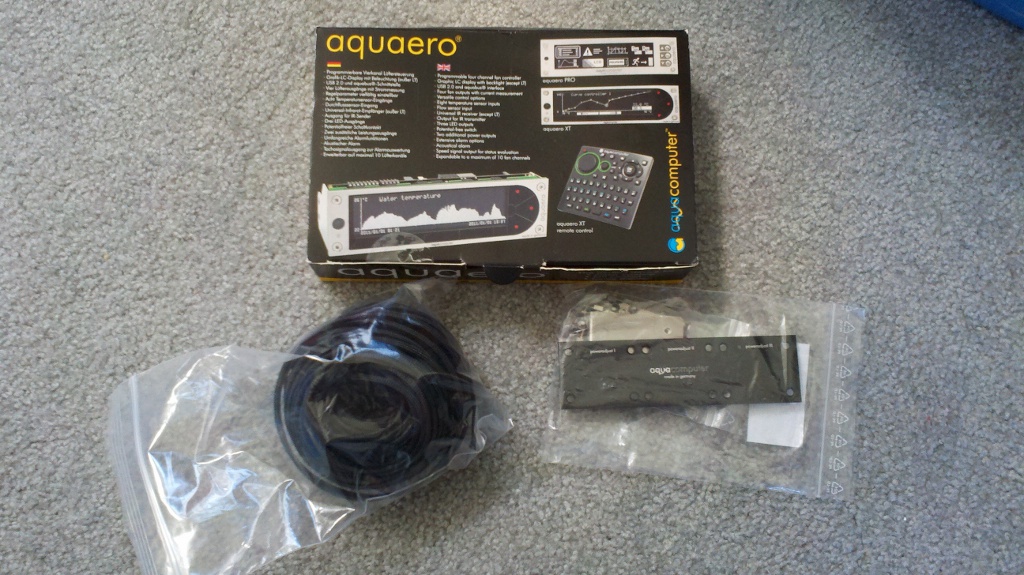 Expanding the holes on the rails 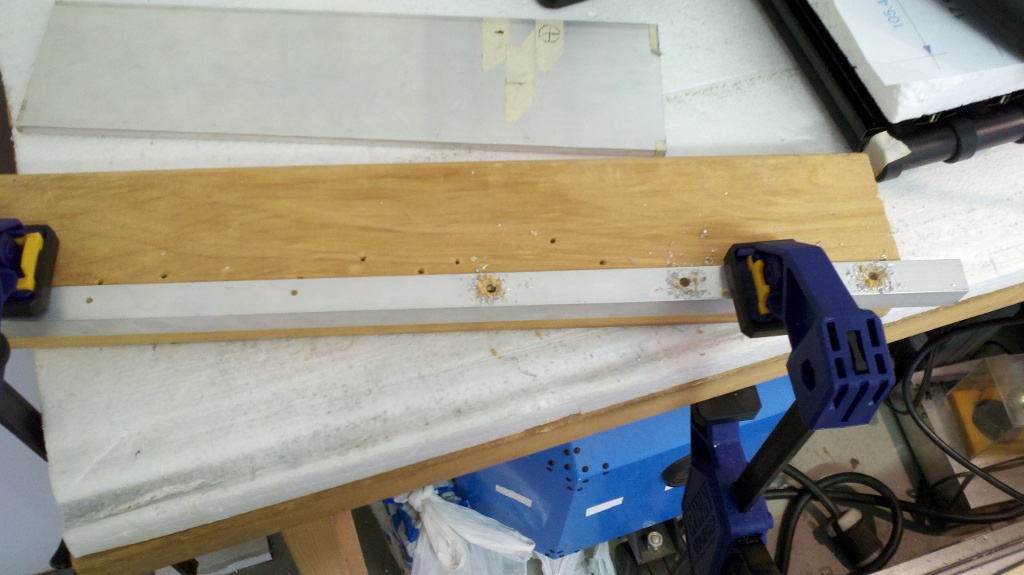 Tapping the holes on the mounts 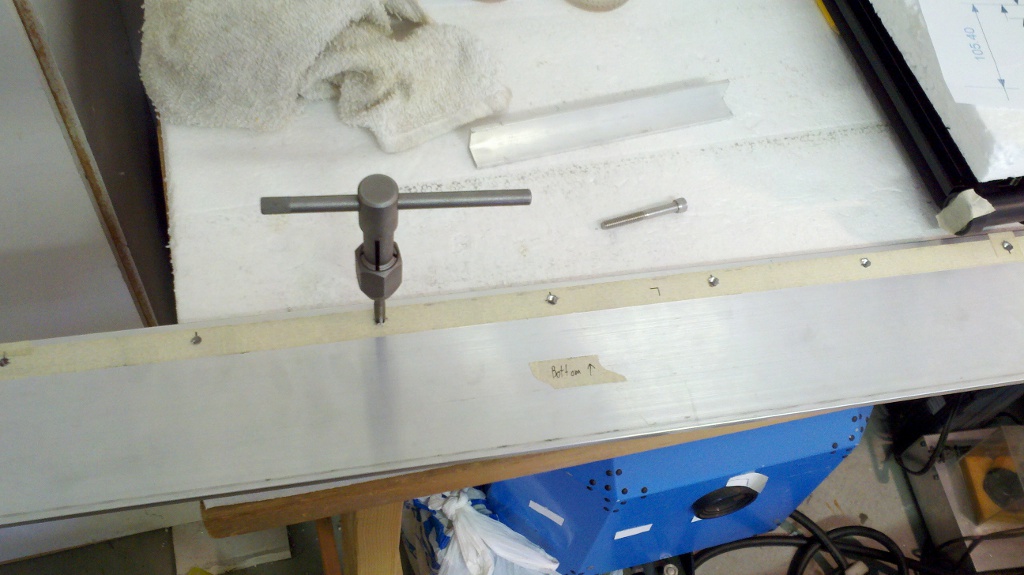 The bottom rail attached to the mount 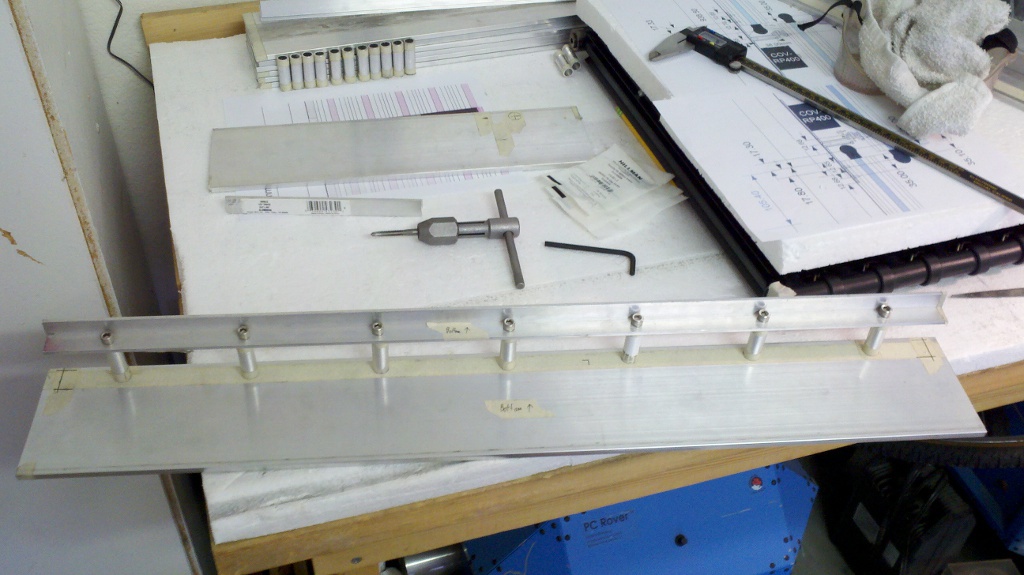 Top view of the bottom rail and mount 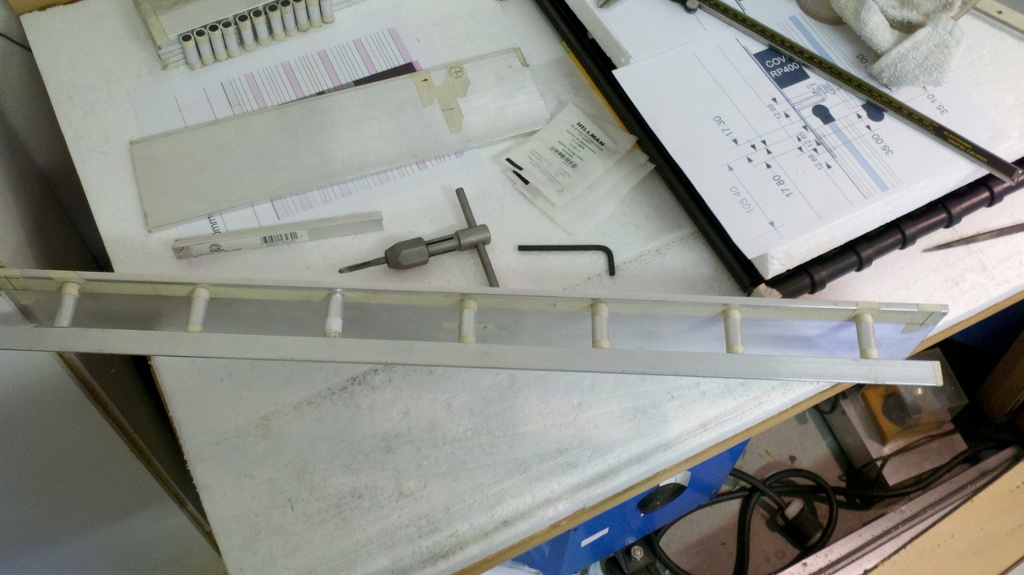 The top and bottom rails and mounts assembled. Less that 0.5mm difference between the two! Not bad for doing everything with hand tools... 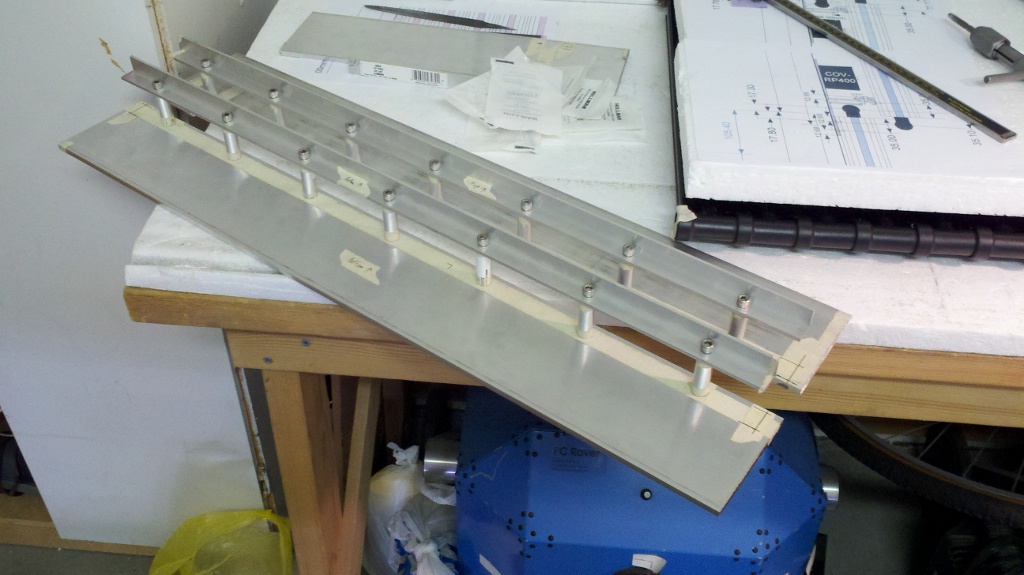 Initial assembly of the middle segment and rails with the nylon screws 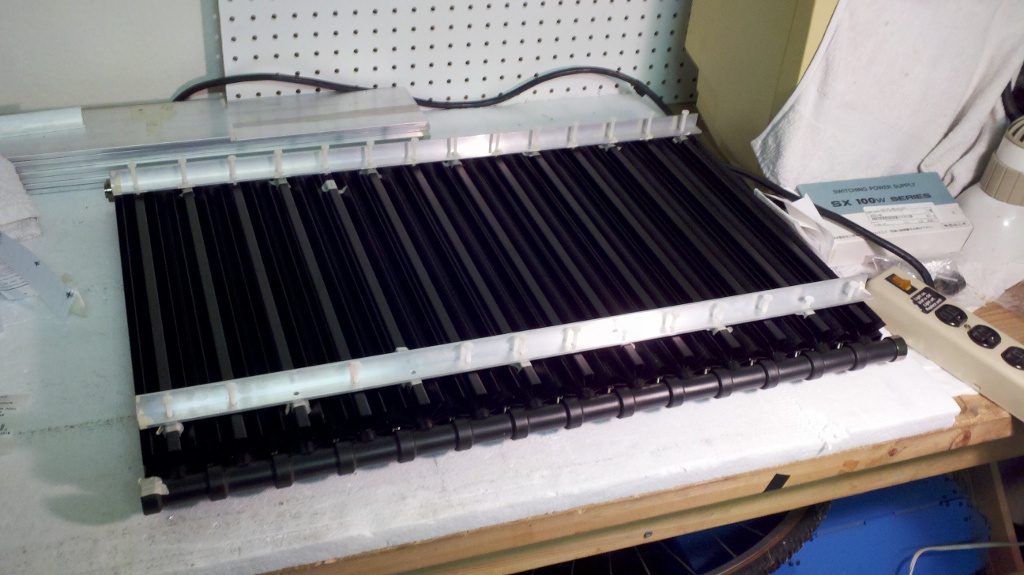 |
|
|
|
|
jojo69
Legendary

 Offline Offline
Activity: 3150
Merit: 4282
diamond-handed zealot

|
 |
September 02, 2012, 06:08:49 AM |
|
It's a neat idea, here are some things to keep in mind:
Those passive radiators are cool and do work, but they're quite expensive and you will need many to dissipate 900W. For about $100-150 you can buy a brand new car radiator that is designed to handle many kilowatts of heat. Slap a big low RPM fan or two on there and it will be dead silent. Make up a nice box for it and nobody will notice it. This will also take up less space than a giant passive radiator.
If you use copper water blocks with those aluminum radiators, you will need to run a mix of coolant that includes a corrosion inhibitor to prevent galvanic corrosion.
all this you should peruse [H]ardOCP, people have this stuff nailed down pretty good for uber gaming/folding rigs |
This is not some pseudoeconomic post-modern Libertarian cult, it's an un-led, crowd-sourced mega startup organized around mutual self-interest where problems, whether of the theoretical or purely practical variety, are treated as temporary and, ultimately, solvable.
Censorship of e-gold was easy. Censorship of Bitcoin will be… entertaining.
|
|
|
|
JinTu (OP)
|
 |
September 03, 2012, 06:24:45 AM
Last edit: September 03, 2012, 06:35:21 AM by JinTu |
|
September 2012: mounting the rails Today I trimmed the nylon screws and attached both rails to the center module 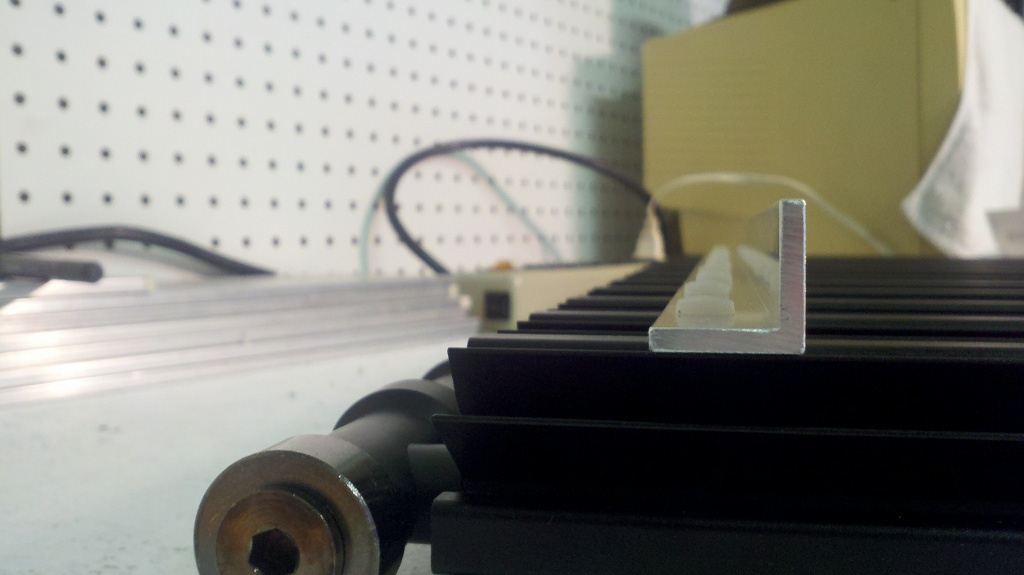 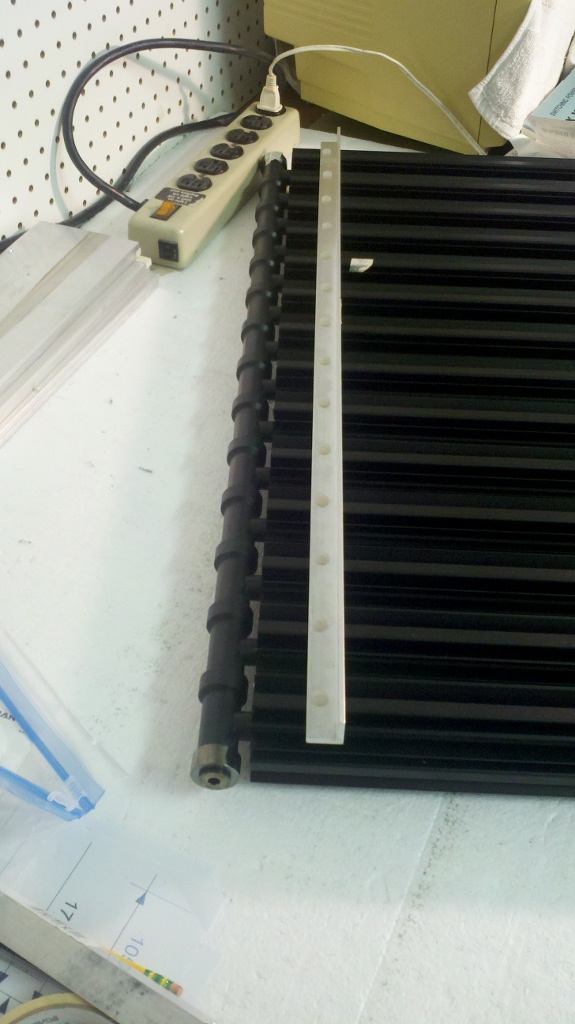 Closeup showing nylon spacer 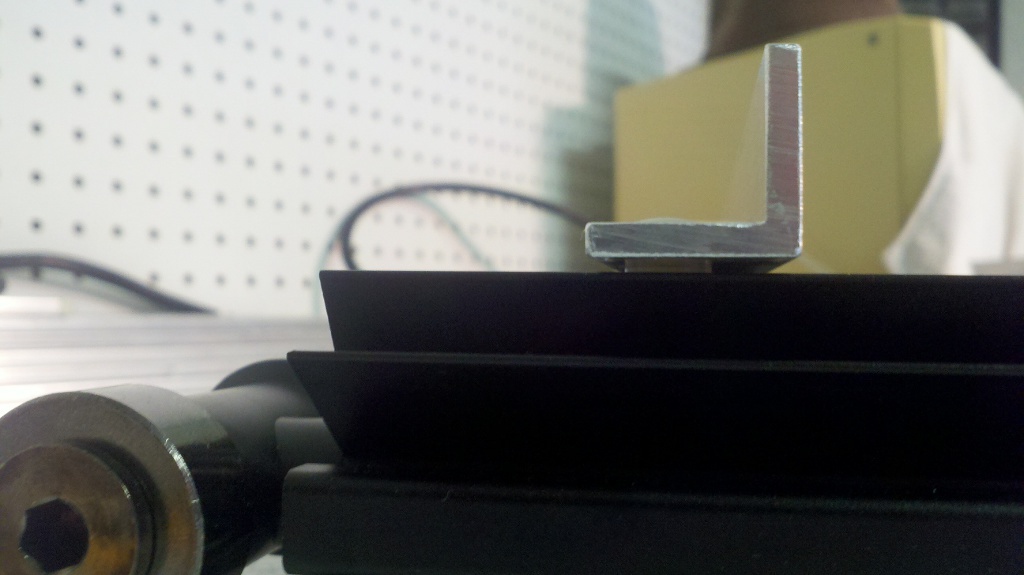 The hardware for mounting the remaining two module segments is on order, but won't arrive for another two weeks. |
|
|
|
|
|
JinTu (OP)
|
 |
September 04, 2012, 01:41:47 AM |
|
you should peruse [H]ardOCP, people have this stuff nailed down pretty good for uber gaming/folding rigs
Lots of good info and designs in the [H]ardOCP forums. Thanks for the tip! |
|
|
|
|
|
Nemesis
|
 |
September 06, 2012, 04:00:49 AM |
|
It's a neat idea, here are some things to keep in mind:
Those passive radiators are cool and do work, but they're quite expensive and you will need many to dissipate 900W. For about $100-150 you can buy a brand new car radiator that is designed to handle many kilowatts of heat. Slap a big low RPM fan or two on there and it will be dead silent. Make up a nice box for it and nobody will notice it. This will also take up less space than a giant passive radiator.
If you use copper water blocks with those aluminum radiators, you will need to run a mix of coolant that includes a corrosion inhibitor to prevent galvanic corrosion.
all this you should peruse [H]ardOCP, people have this stuff nailed down pretty good for uber gaming/folding rigs lol Hard are kiddo compared to XSystem Hard = highschool puter modders Xsystem = Professional in the industry with modding hobby. Let the OP do his project, stupid to tell ppl dont get a nice SL but mod a Mustang. |
|
|
|
|
jojo69
Legendary

 Offline Offline
Activity: 3150
Merit: 4282
diamond-handed zealot

|
 |
September 06, 2012, 03:45:11 PM |
|
I was not dissing on the OP's project at all, just pointing him at a resource. Dissimilar metals in a loop are a real concern, or I guess XSystem has overcome electrolysis  |
This is not some pseudoeconomic post-modern Libertarian cult, it's an un-led, crowd-sourced mega startup organized around mutual self-interest where problems, whether of the theoretical or purely practical variety, are treated as temporary and, ultimately, solvable.
Censorship of e-gold was easy. Censorship of Bitcoin will be… entertaining.
|
|
|
|
Nemesis
|
 |
September 06, 2012, 05:00:48 PM |
|
I was not dissing on the OP's project at all, just pointing him at a resource. Dissimilar metals in a loop are a real concern, or I guess XSystem has overcome electrolysis  What if he use Brass blocks? Dont be a retard and saying "dissimilar metals"... There is a technical term for what you're preferring to. I'm sure the OP is smart enough to use addictive. Dont assume... |
|
|
|
|
jojo69
Legendary

 Offline Offline
Activity: 3150
Merit: 4282
diamond-handed zealot

|
 |
September 06, 2012, 05:04:38 PM
Last edit: September 06, 2012, 05:22:52 PM by jojo69 |
|
I was not dissing on the OP's project at all, just pointing him at a resource. Dissimilar metals in a loop are a real concern, or I guess XSystem has overcome electrolysis  What if he use Brass blocks? Dont be a retard and saying "dissimilar metals"... There is a technical term for what you're preferring to. I'm sure the OP is smart enough to use addictive. Dont assume... Uuuuum, try wiki Galvanic corrosion and report back the first two words under "overview" "preferring to", "use addictive"?? ignore button engaged |
This is not some pseudoeconomic post-modern Libertarian cult, it's an un-led, crowd-sourced mega startup organized around mutual self-interest where problems, whether of the theoretical or purely practical variety, are treated as temporary and, ultimately, solvable.
Censorship of e-gold was easy. Censorship of Bitcoin will be… entertaining.
|
|
|
|
JinTu (OP)
|
 |
September 09, 2012, 07:39:02 AM |
|
Since folks have expressed concern about galvanic corrosion, here is how I plan to address this for the upper and lower radiator modules. Each module segment will be attached with two screws to both the upper and lower mounts. Since nylon screws likely couldn't take the torque of being moved around a lot, I chose to use stainless steel screws with nylon shoulder washers which will be countersunk into the bottom of the mounts. The radiator-facing side of the mount (right side in the diagram) will have a nylon washer between the mount and the radiator. Here is an exploded view: 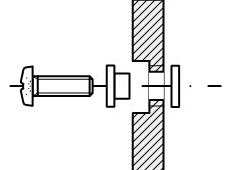 |
|
|
|
|
|
JinTu (OP)
|
 |
September 09, 2012, 07:51:03 AM |
|
The screws and nylon shoulder washers for the upper and lower modules arrived early, so I was able to drill the pilot holes on the lower mount, and make a jig for drilling the module segments. 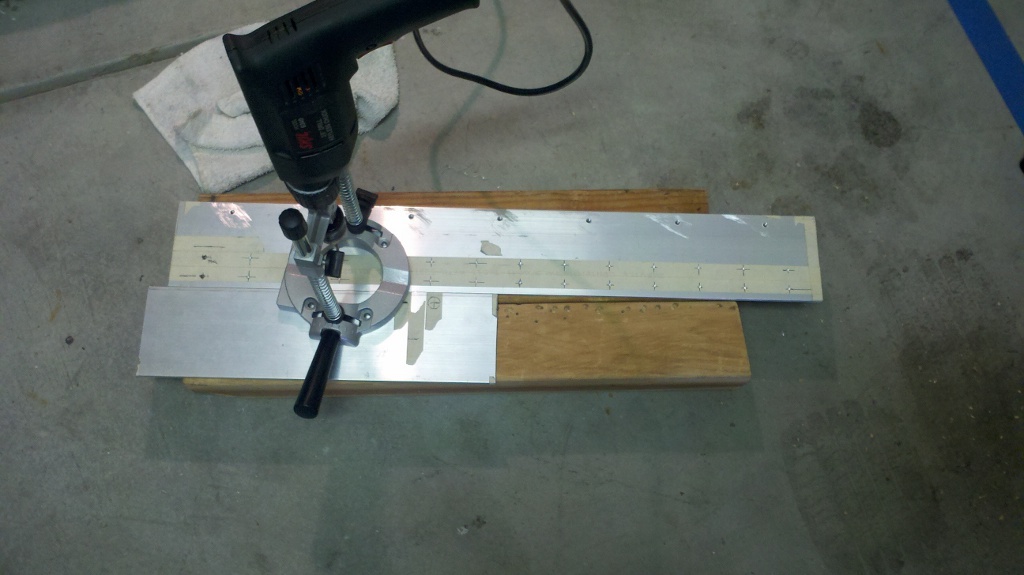 |
|
|
|
|
Cablez
Legendary

 Offline Offline
Activity: 1400
Merit: 1000
I owe my soul to the Bitcoin code...

|
 |
September 09, 2012, 01:20:06 PM |
|
Since folks have expressed concern about galvanic corrosion, here is how I plan to address this for the upper and lower radiator modules. SNIP
I don't think everyone is on the same page about the corrosion issue. Here is a good primer with pictures: http://martinsliquidlab.org/2012/01/24/corrosion-explored/The corrosion happens within the water loop due to mixed metals and degrades the blocks, pump and rads. Using additives will assist in keeping this to a minimum but will not stop it completely. The best approach is to design the loop without mixed metals if you can. |
Tired of substandard power distribution in your ASIC setup??? Chris' Custom Cablez will get you sorted out right! No job too hard so PM me for a quote
Check my products or ask a question here: https://bitcointalk.org/index.php?topic=74397.0
|
|
|
|
JinTu (OP)
|
 |
September 09, 2012, 04:45:33 PM
Last edit: September 10, 2012, 12:29:21 AM by JinTu |
|
Since folks have expressed concern about galvanic corrosion, here is how I plan to address this for the upper and lower radiator modules. SNIP
I don't think everyone is on the same page about the corrosion issue. Here is a good primer with pictures: http://martinsliquidlab.org/2012/01/24/corrosion-explored/The corrosion happens within the water loop due to mixed metals and degrades the blocks, pump and rads. Using additives will assist in keeping this to a minimum but will not stop it completely. The best approach is to design the loop without mixed metals if you can. Yep, lots of good info on martinsliquidlab. His review of the Aquaero 5 is what convinced me to use one in this project. I just wish he was still updating the site  In a typical PC water cooling case, the components are electrically connected to the PC case and therefor to each other satisfying the second requirement for galvanic corrosion to occur 2. These metals must be in electrical contact For this project, the only components of the loop that I will not be able to electrically isolate are the (GPU) water blocks themselves (which must be tied to the case ground). This will require some planning as new blocks/components are added in the future so not to create a problem, but for now things should be covered. I'll be sure to do electrical continuity tests once all the mounts/modules are assembled to ensure there isn't an inadvertent short between a radiator segment and a mount or rail somewhere. |
|
|
|
|
|
JinTu (OP)
|
 |
September 16, 2012, 04:38:00 AM |
|
Another load of parts, tools and supplies arrived just before Amazon tax day. After some deliberation, I decided on a 150W Pico PSU to power the pumps, Aquaero 5 XT and Poweradjust 2s. Also shown are the PSU bypass plug (allows the PSU to run w/o being attached to a motherboard), an illuminated toggle switch, heat gun some heat shrink tubing and the last of the mounting hardware. 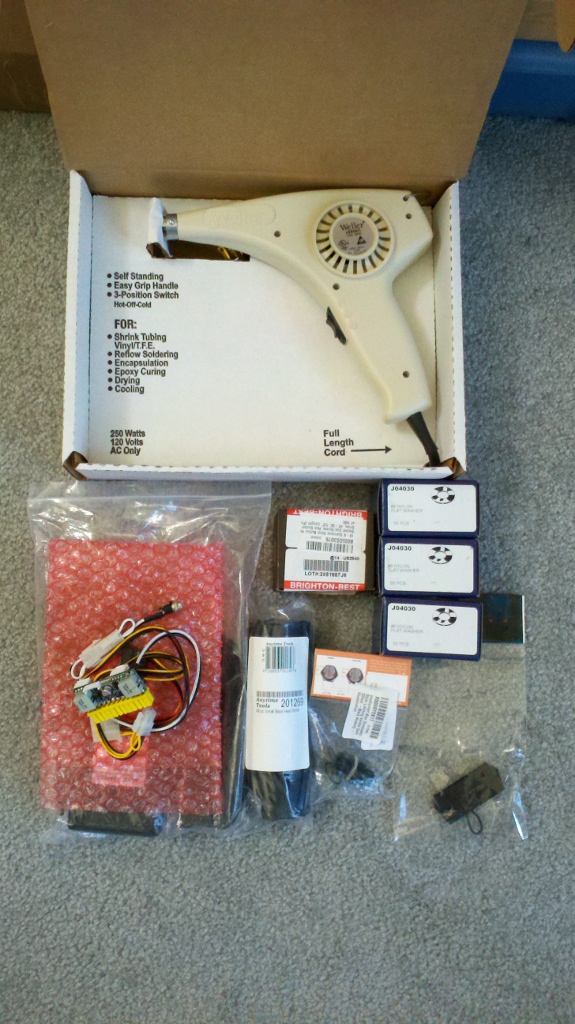 After the last batch of nylon washers arrived I was able to finish off the rails for the middle radiator module. It is shown here next to the rack for scale. 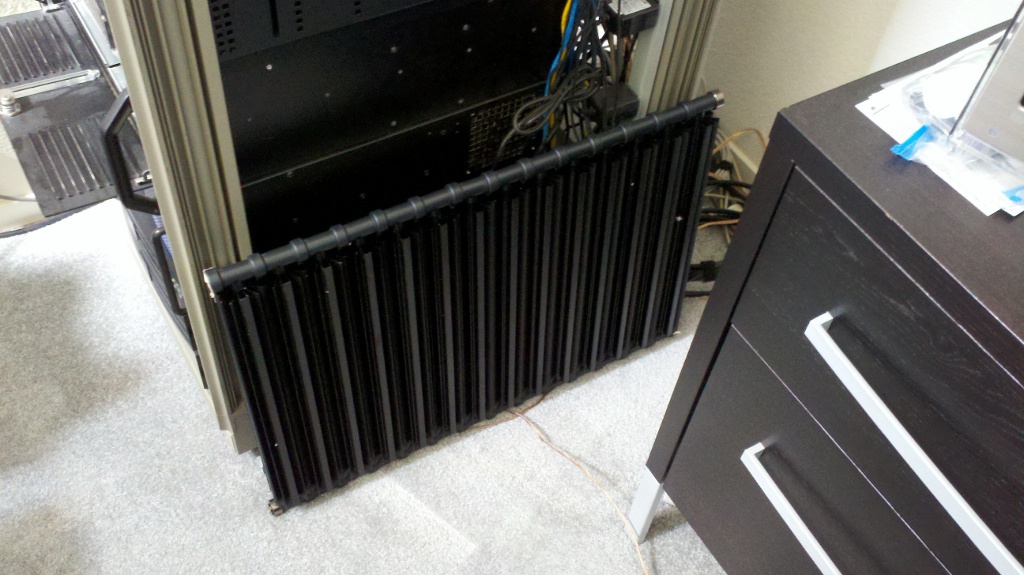 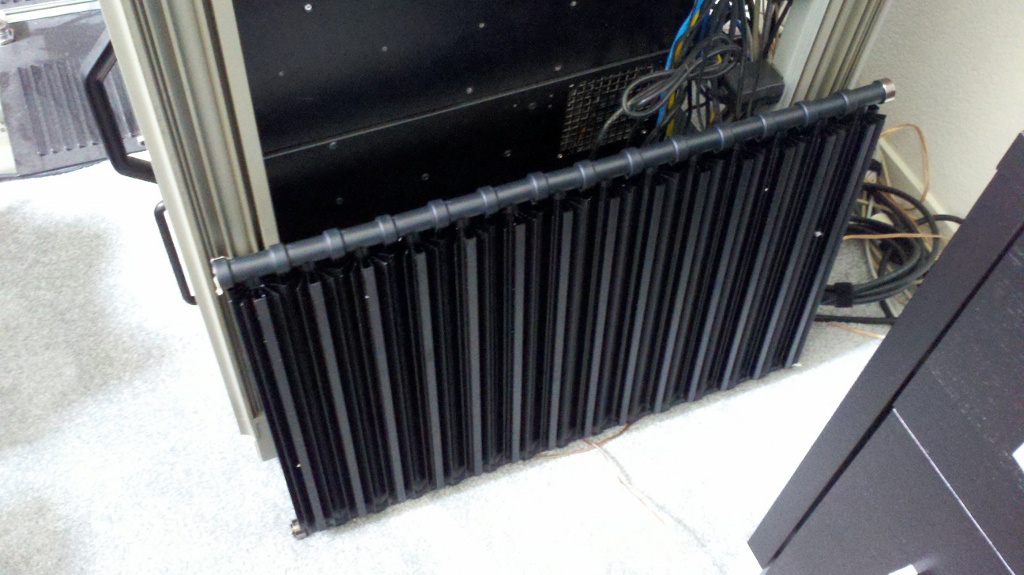 I also drilled the countersink holes for the nylon shoulder washers for the first of the mounts today. 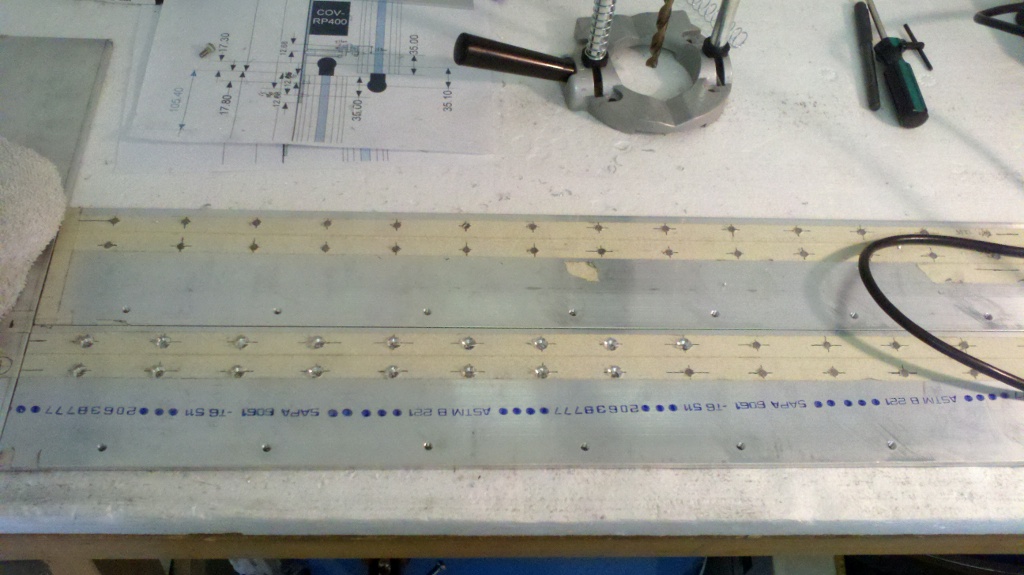 |
|
|
|
|
crazyates
Legendary

 Offline Offline
Activity: 952
Merit: 1000

|
 |
September 16, 2012, 05:11:28 AM |
|
I gotta say this is an awesome project. WC almost an entire KWh of heat is no small feat, and to do it passively (or close to it) is even more impressive.
I gotta ask tho: how much have you spent in parts/man hours into this project? Is it worth it for only one rig?
|
|
|
|
|
JinTu (OP)
|
 |
September 17, 2012, 05:32:24 AM |
|
I gotta say this is an awesome project. WC almost an entire KWh of heat is no small feat, and to do it passively (or close to it) is even more impressive.
I gotta ask tho: how much have you spent in parts/man hours into this project? Is it worth it for only one rig?
Thanks for the kudos. Thus far, for the raw materials I'm into this project ~$2.5k and looking at about another $1.5k to finish it off. As far as man hours go, I can only manage a few hours every other weekend (if I am lucky) so maybe 30 hours or so since I started (including the time to design it). Even though I am initially planning to only support a single rig, the design will support the cooling needs of emerging mining technologies. It might seem like overkill for now, but I am thinking ahead for whatever comes next. |
|
|
|
|
Cablez
Legendary

 Offline Offline
Activity: 1400
Merit: 1000
I owe my soul to the Bitcoin code...

|
 |
September 17, 2012, 12:51:28 PM |
|
|
Tired of substandard power distribution in your ASIC setup??? Chris' Custom Cablez will get you sorted out right! No job too hard so PM me for a quote
Check my products or ask a question here: https://bitcointalk.org/index.php?topic=74397.0
|
|
|
|
JinTu (OP)
|
 |
September 17, 2012, 03:26:00 PM |
|
Absolutely! I don't need that many coffee cups warmed  In all seriousness, ASICs are a lot more efficient than prior technologies, but still generate heat. In any high density configuration the heat will need to be moved away to prevent thermal failure, so there will still be a need for fans (or water cooling). |
|
|
|
|
|
JinTu (OP)
|
 |
September 19, 2012, 12:22:52 AM |
|
Now that the majority of the parts for the 1RU controller blade have arrived and I have taken a full set of measurements for their dimensions, I have done the initial (incomplete) set of drawings. Shown: 1RU half shelf, Aquaero 5 XT, 3x poweradjust 2, illuminated latching toggle switch. To be added: Pico-PSU, 12VDC power brick, wiring harnesses, detail on faceplate, detail on top cover 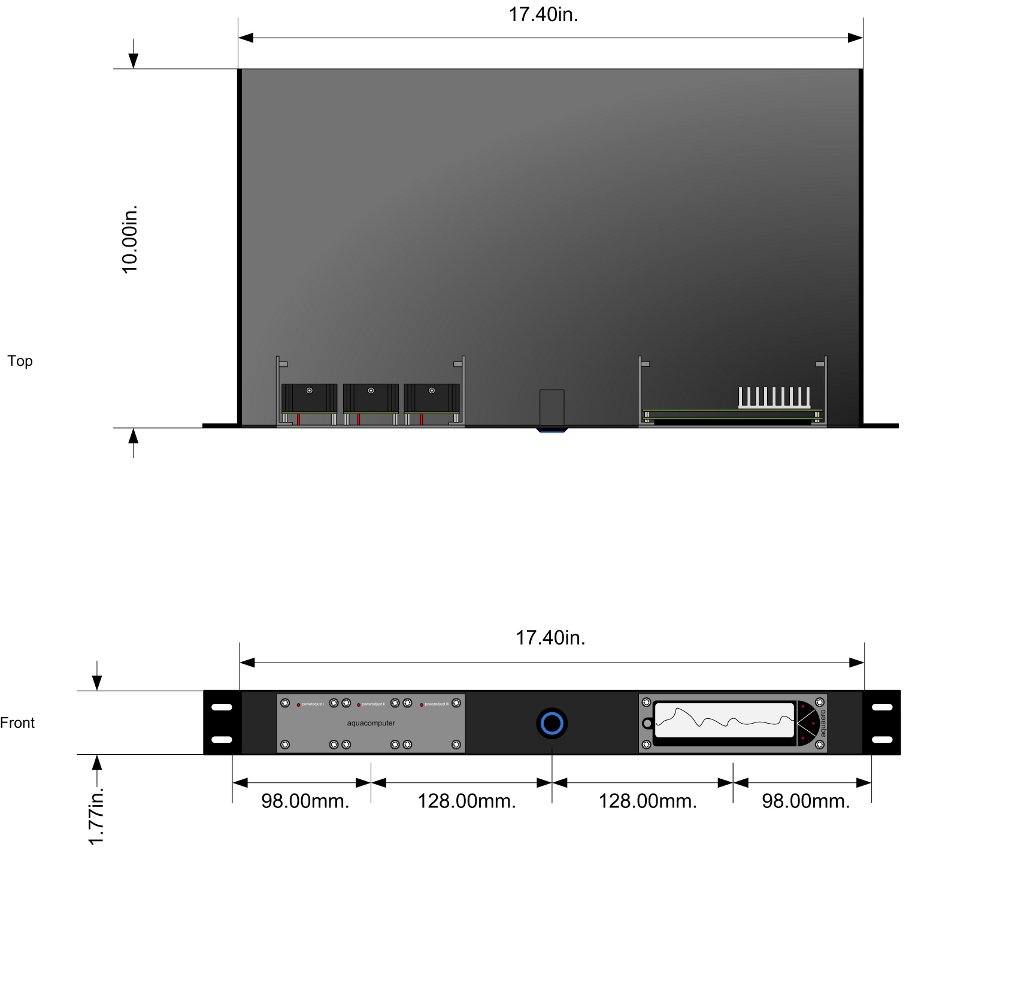 A high resolution version of this drawing can be found here. |
|
|
|
|
jojo69
Legendary

 Offline Offline
Activity: 3150
Merit: 4282
diamond-handed zealot

|
 |
September 19, 2012, 12:28:25 AM |
|
|
This is not some pseudoeconomic post-modern Libertarian cult, it's an un-led, crowd-sourced mega startup organized around mutual self-interest where problems, whether of the theoretical or purely practical variety, are treated as temporary and, ultimately, solvable.
Censorship of e-gold was easy. Censorship of Bitcoin will be… entertaining.
|
|
|
|
JinTu (OP)
|
 |
September 19, 2012, 04:34:34 AM |
|
That's an impressive build jojo69. I have been tempted to get one of those mini mills myself, but first need to convince the wife  |
|
|
|
|
jojo69
Legendary

 Offline Offline
Activity: 3150
Merit: 4282
diamond-handed zealot

|
 |
September 21, 2012, 02:23:53 AM |
|
Let me know if you need any parts cut, we'll work something out.
|
This is not some pseudoeconomic post-modern Libertarian cult, it's an un-led, crowd-sourced mega startup organized around mutual self-interest where problems, whether of the theoretical or purely practical variety, are treated as temporary and, ultimately, solvable.
Censorship of e-gold was easy. Censorship of Bitcoin will be… entertaining.
|
|
|
|
JinTu (OP)
|
 |
September 24, 2012, 07:00:45 AM |
|
I didn't make much progress on the construction this week due to family commitments but I was able to mark and drill the pilot holes for the upper radiator module mount. (no pics this time) Still remaining is to drill the primary and countersink holes, and then drill and tap the upper 14 radiator segments that will comprise the upper module. I also acquired the USB cabling and power plugs as well as the L-brackets for mounting the Aquaero 5 XT and Poweradjust 2's to the rack shelf and updated the controller drawings with the current plans (and a minor correction on the shelf detail.) 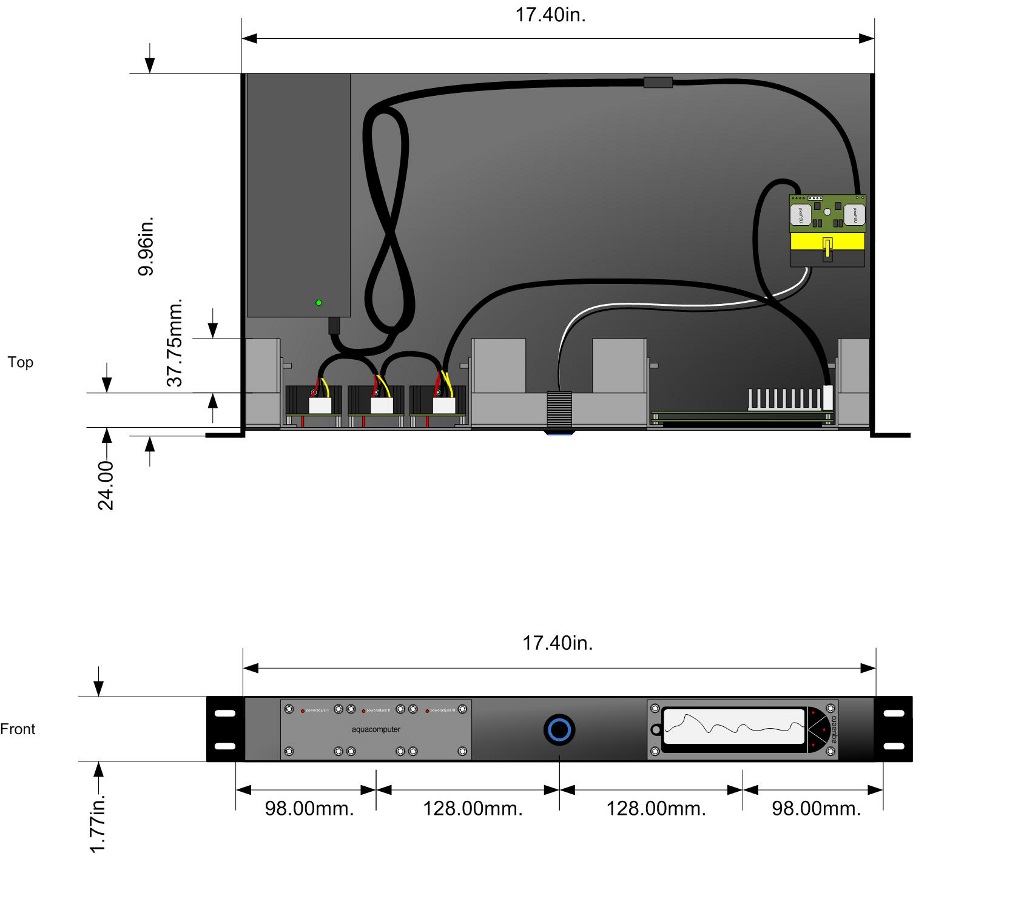 Higher resolution version here. |
|
|
|
|
|
JinTu (OP)
|
 |
September 25, 2012, 07:24:37 AM |
|
I called it a day at work a few hours early and was able to finish drilling the primary and countersink holes on the upper radiator module mount, and cut the 1.5" L channel that will serve as the mounts for the Aquaero 5 and Poweradjusts. However, after reviewing the Poweradjust 5.25" drive bay mount in the rack shelf, I have reconsidered the mounting location and decided to mount the units on opposite ends of the shelf. This is far simpler and leaves more space available in the middle for additional switches or components down the road. Shelf and Poweradjust drive bay mount faceplate 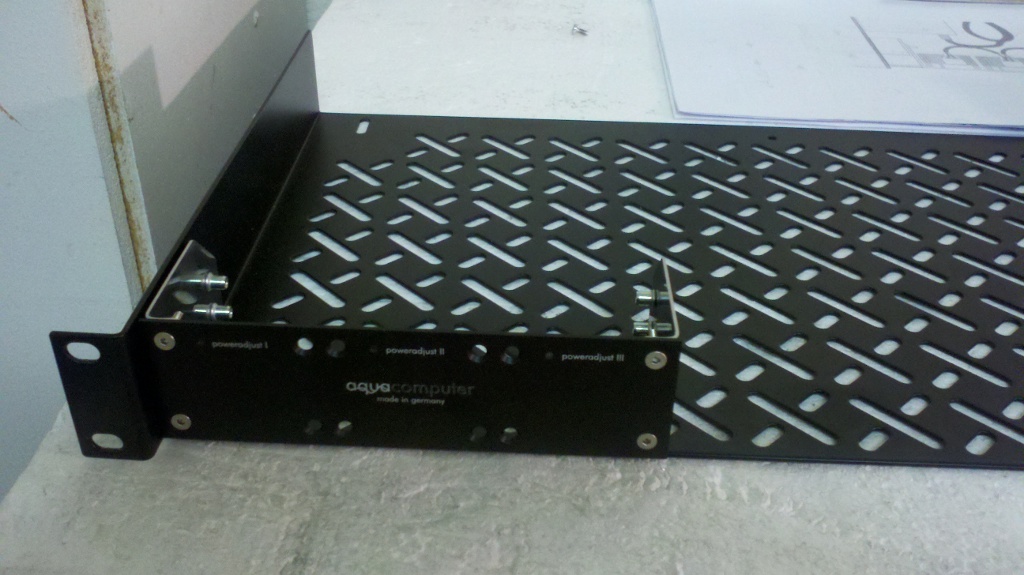 Revised drawing 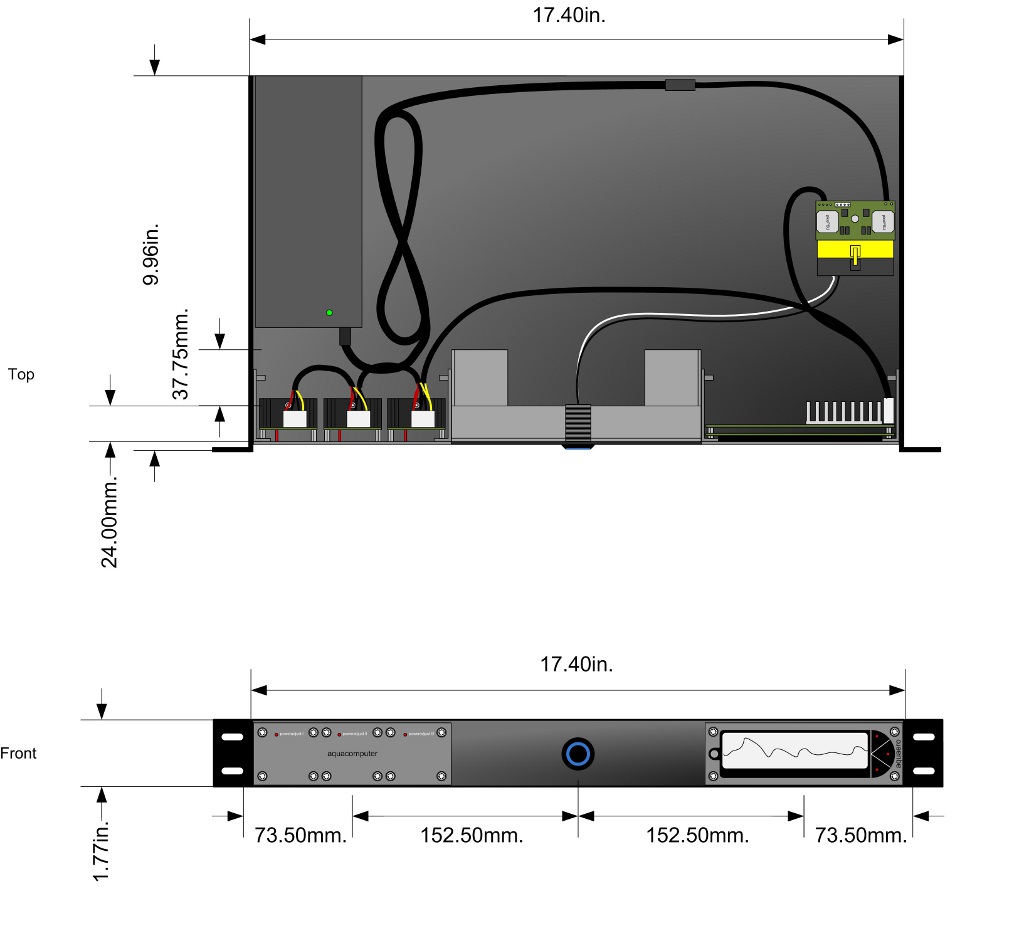 |
|
|
|
|
|
JinTu (OP)
|
 |
October 02, 2012, 06:52:45 AM |
|
I was able to finish off the hardware for mounting the Aquaero and picoPSU. Everything powered up and looked great save some issues with the touchscreen on the Aquaero 5 XT... 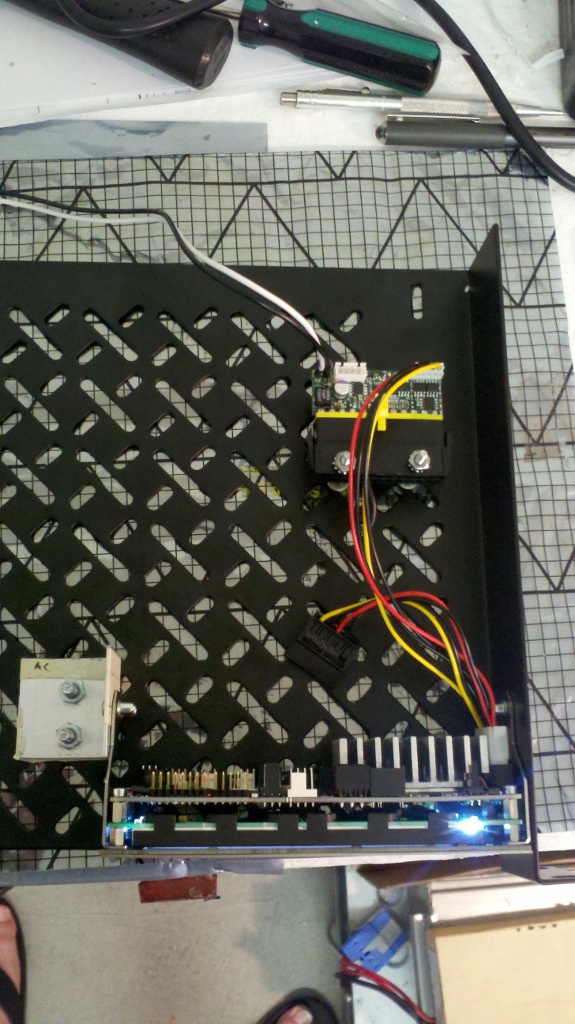 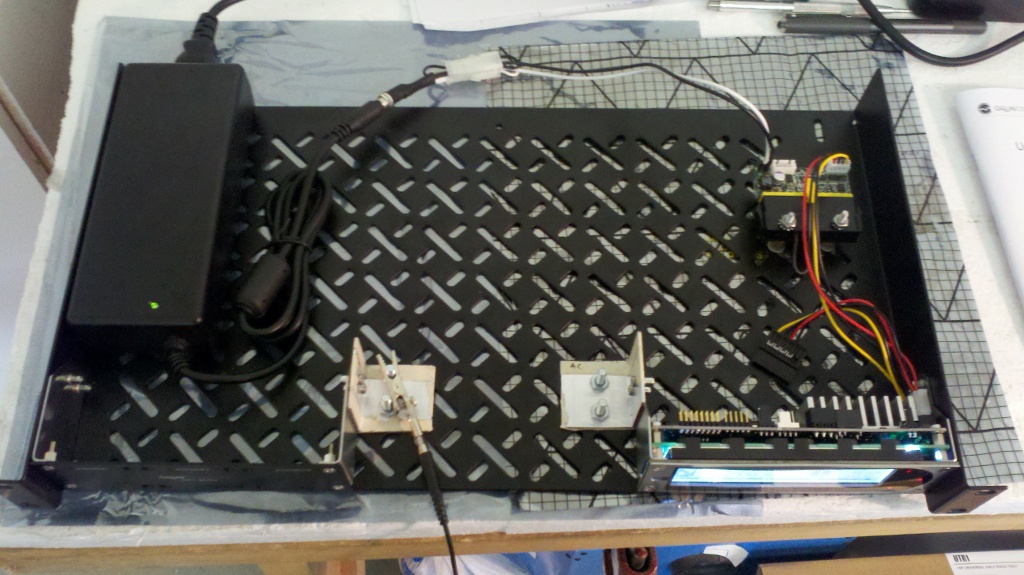 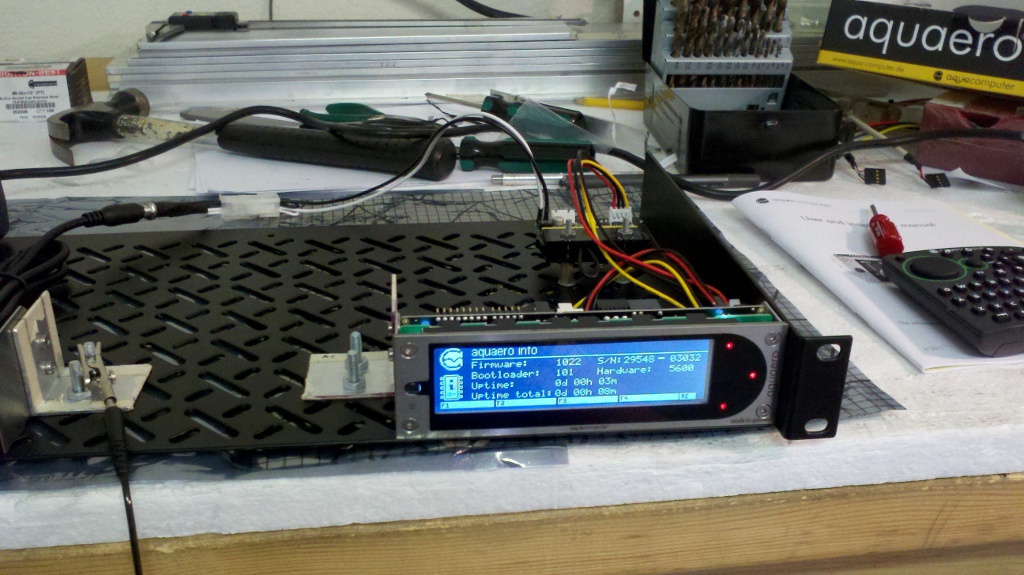 ...but, after hooking up the USB connector and double-checking the pinouts and wire color codes I then started up Aquasuite and plugged the USB cable into my laptop and poof: the laptop shutdown, the PicoPSU and Aquaero both shut off and the acrid smell of burned electronics permeated the air  Nothing would power up afterwards, but after a little cooling off I was able to get the laptop to power back up, but the USB port I had used is totally dead. The PicoPSU power brick had only blown a fuse, and after replacing it, the power brick and the PicoPSU came back to life. Unfortunately, not so for the Aquaero, it won't power up no matter what I do. Prior to plugging the USB cable in, I check and re-checked the pinouts and cable color codes and everything looked good. So you can imagine my surprise when this happened. Afterwards I checked again and nothing with the USB connection appears to have been wrong. I am using an internal to external USB adapter (the same type sold on the Aquacomputer online shop here). I am only using four of the five USB pins, leaving the outermost ground unconnected per Shoggy's recommendation in the post here: Aquastream USB Connector mod It would appear as though the USB port on the Aquaero is not adequately isolated to allow the use of an external power supply, but have reached out to AC support for further clarification. |
|
|
|
|
irritant
Sr. Member
   
 Offline Offline
Activity: 473
Merit: 250
Sodium hypochlorite, acetone, ethanol

|
 |
October 02, 2012, 10:40:08 AM |
|
ouch , too bad .. melting picopsu?
|
|
|
|
|
jojo69
Legendary

 Offline Offline
Activity: 3150
Merit: 4282
diamond-handed zealot

|
 |
October 03, 2012, 12:56:11 AM |
|
Dammit dude!
I feel your pain man...bummer
If it makes you feel better, GF called last night (I'm working on the road) and the rig I linked above is no POST no fan as of yesterday...
|
This is not some pseudoeconomic post-modern Libertarian cult, it's an un-led, crowd-sourced mega startup organized around mutual self-interest where problems, whether of the theoretical or purely practical variety, are treated as temporary and, ultimately, solvable.
Censorship of e-gold was easy. Censorship of Bitcoin will be… entertaining.
|
|
|
|
Morblias
|
 |
October 03, 2012, 01:54:44 PM |
|
This project looks amazing! That sucks about the burnt up electronics. Hopefully you can get that all figured out soon and keep this build going  |
Tips / Donations accepted: 1Morb18DsDHNEv6TeQXBdba872ZSpiK9fY
|
|
|
arklan
Legendary

 Offline Offline
Activity: 1778
Merit: 1008

|
 |
October 03, 2012, 04:56:37 PM |
|
i'm gonna be really sad when asic's start shipping and more or less make the need for such creative rig building unneeded. i love this stuff.
maybe i'll water cool... *shifty eyes* my HOUSE!
wait... i live in my brothers basement... crap! foiled again!
|
i don't post much, but this space for rent.
|
|
|
|
JinTu (OP)
|
 |
October 03, 2012, 08:00:16 PM |
|
Dammit dude!
I feel your pain man...bummer
If it makes you feel better, GF called last night (I'm working on the road) and the rig I linked above is no POST no fan as of yesterday...
Thanks for the kind words and sorry about your rig  Thus far I haven't heard back from Aquacomputer, but my leading theory is a ground loop due to both devices running from DC supplies, and inadequate USB isolation built in to the Aquaero. The good thing is USB isolators are relatively inexpensive, so even if AC can't offer an adequate solution, there is a path... |
|
|
|
|
|
JinTu (OP)
|
 |
October 07, 2012, 06:50:46 AM |
|
I spent a little more time inspecting the Aquaero 5XT mainboard this morning and unfortunately it looks like one of the components is damaged. It's hard to make out the part number with half of the cover of the IC package blown off (you can see the upper-left lead exposed inside the package), but it appears to be a diode on the +5V supply rail: 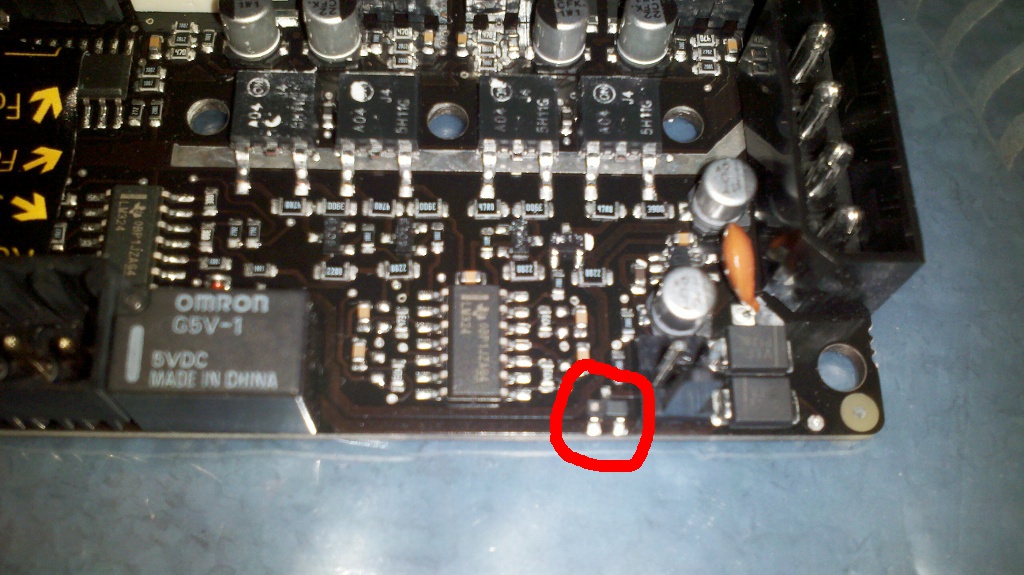 Prior to blowing up the AQ  , I was having some difficulty using the touchscreen (most buttons did not respond, but one appeared to be stuck down and the plastic portion of the touchscreen kept popping out). When I inquired about this in the Aquacomputer support forum one of the Admin's suggested that I get the touchscreen replaced. Here is what it looks like: 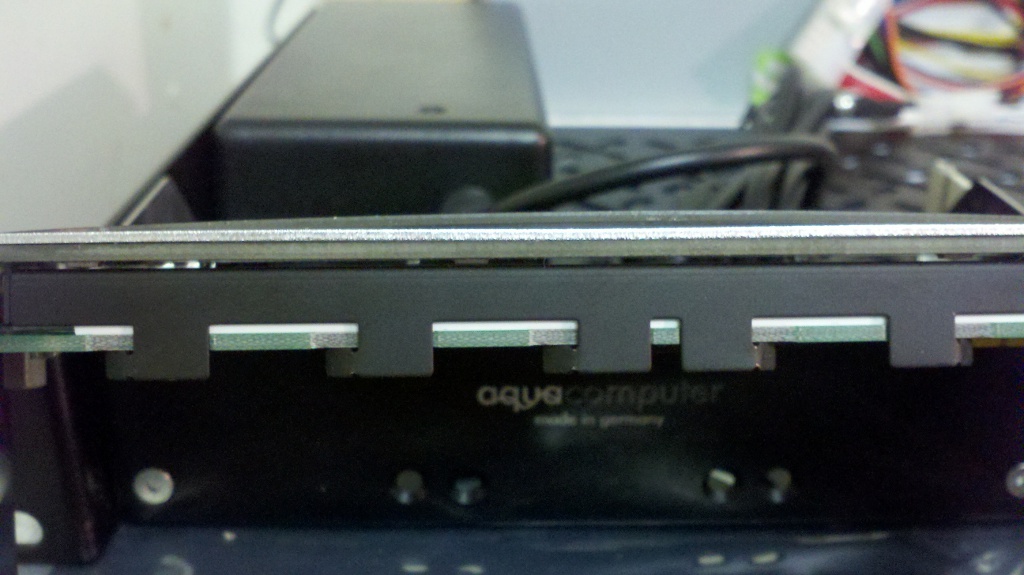 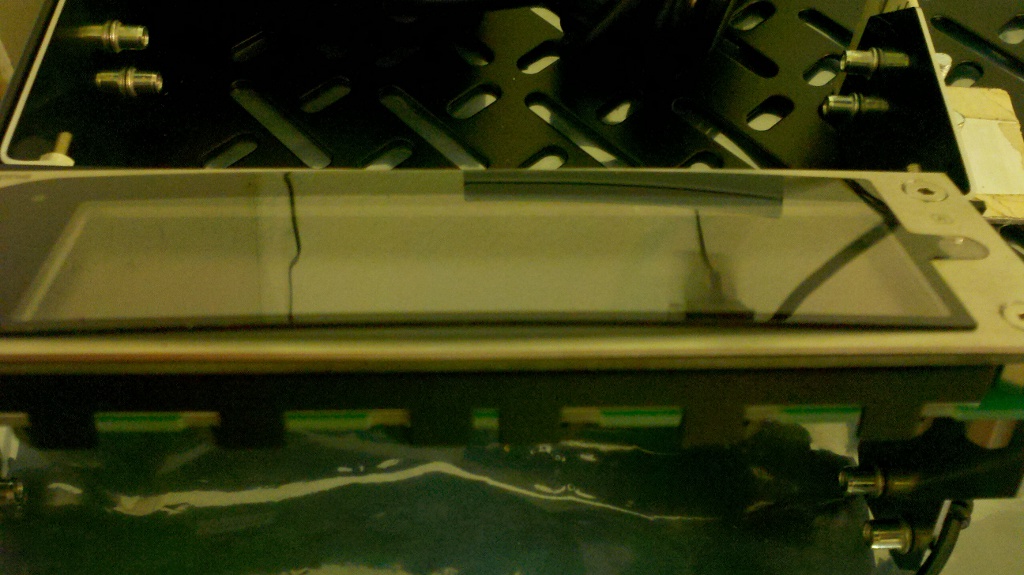 I have reached out to Aquacomputer to attempt to get replacement parts but this undoubtedly will take some time. In advance of the replacement Aquaero boards coming I ordered a USB isolator to prevent the same thing from happening again, but the lead time for receiving it is a full month. I will need to focus my construction efforts on completing the radiator modules in the mean time... |
|
|
|
|
jojo69
Legendary

 Offline Offline
Activity: 3150
Merit: 4282
diamond-handed zealot

|
 |
October 07, 2012, 07:19:33 AM |
|
It will be quite interesting to see if Aquacomputer takes care of you, they have an opportunity to really shine here.
|
This is not some pseudoeconomic post-modern Libertarian cult, it's an un-led, crowd-sourced mega startup organized around mutual self-interest where problems, whether of the theoretical or purely practical variety, are treated as temporary and, ultimately, solvable.
Censorship of e-gold was easy. Censorship of Bitcoin will be… entertaining.
|
|
|
|
JinTu (OP)
|
 |
October 10, 2012, 05:46:57 AM |
|
Absolutely! I don't need that many coffee cups warmed  In all seriousness, ASICs are a lot more efficient than prior technologies, but still generate heat. In any high density configuration the heat will need to be moved away to prevent thermal failure, so there will still be a need for fans (or water cooling). Ahem... BFL Releases Renderings of New BFL Single WaterBlock and Heat Sink |
|
|
|
|
Cablez
Legendary

 Offline Offline
Activity: 1400
Merit: 1000
I owe my soul to the Bitcoin code...

|
 |
October 10, 2012, 11:02:16 AM |
|
Absolutely! I don't need that many coffee cups warmed  In all seriousness, ASICs are a lot more efficient than prior technologies, but still generate heat. In any high density configuration the heat will need to be moved away to prevent thermal failure, so there will still be a need for fans (or water cooling). Ahem... BFL Releases Renderings of New BFL Single WaterBlock and Heat SinkYeah, it's nice to know we are all over BFL. Now if only we could see inside the building...hehe  |
Tired of substandard power distribution in your ASIC setup??? Chris' Custom Cablez will get you sorted out right! No job too hard so PM me for a quote
Check my products or ask a question here: https://bitcointalk.org/index.php?topic=74397.0
|
|
|
|
Aahzman
|
 |
October 11, 2012, 05:33:51 PM |
|
Sweet zombie Jesus! I am suffering so much nerd envy right now, I'm probably emitting gamma radiation. |
|
|
|
|
JinTu (OP)
|
 |
October 12, 2012, 04:56:16 AM |
|
It will be quite interesting to see if Aquacomputer takes care of you, they have an opportunity to really shine here.
After a bit of back and forth with AC they are having me send it back for repair. Unfortunately their opportunity to shine is rapidly diminishing with every exchange... Per Shoggy on the AC forums "The damaged part is a surge protection diode. We can try to repair it but we would not exchange that board since it is clearly an overvoltage damage which is not covered by the warranty." I have been quite clear with then on what happened, and rather than being apologetic I get snarky, terse comments like this. IMHO this is a design flaw. After all, when was the last time you blew up an external USB HDD (which requires external power) by plugging it in to a PC? |
|
|
|
|
jojo69
Legendary

 Offline Offline
Activity: 3150
Merit: 4282
diamond-handed zealot

|
 |
October 12, 2012, 06:11:58 PM |
|
That is unfortunate, their market is after all modders. You can't be the first guy to try this.
@Aahzman Why thank you sir, fortunately nothing seems damaged, a quick teardown and I was able to put the rig back online in time for the [H]orde to retake #1 in folding at home.
|
This is not some pseudoeconomic post-modern Libertarian cult, it's an un-led, crowd-sourced mega startup organized around mutual self-interest where problems, whether of the theoretical or purely practical variety, are treated as temporary and, ultimately, solvable.
Censorship of e-gold was easy. Censorship of Bitcoin will be… entertaining.
|
|
|
|
JinTu (OP)
|
 |
October 14, 2012, 06:40:46 AM |
|
With the Aquaero 5XT on the slow boat back to Germany to be repaired, I am focusing my efforts on the radiator modules again. I spent a few hours this morning drilling and tapping the 56 screw holes of the segments for the upper module: 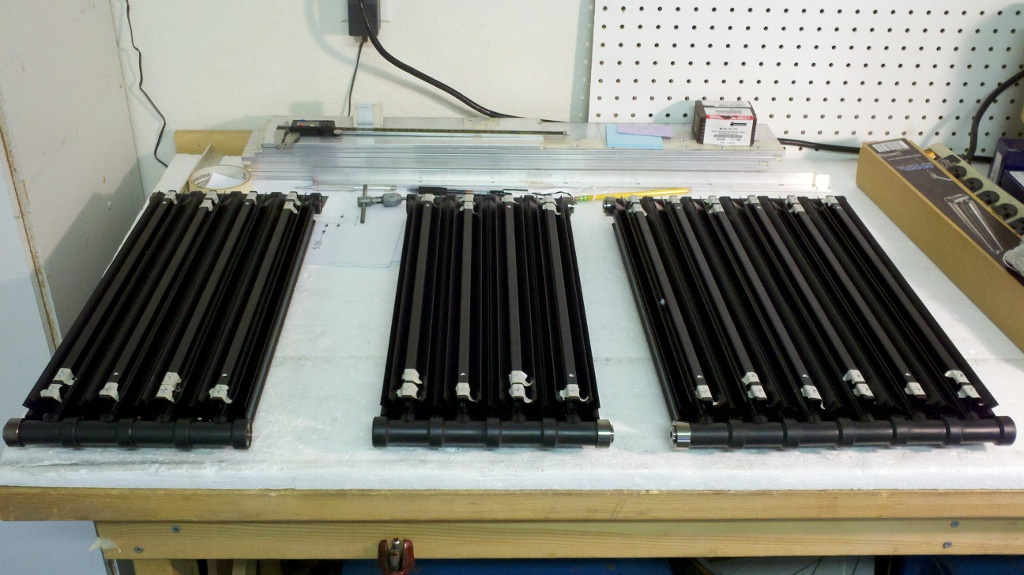 I still need to remove and re-tension the inter-segment clips as most of them seen to have been shaken loose (and some have fallen out) in shipping. I will then attach the segments to the mounts to ensure alignment and fit, then on to the third and final module. |
|
|
|
|
|
JinTu (OP)
|
 |
October 15, 2012, 12:51:54 AM |
|
I was able to assemble the module segments for the upper module and to a test fit with the mounts and things are looking good. 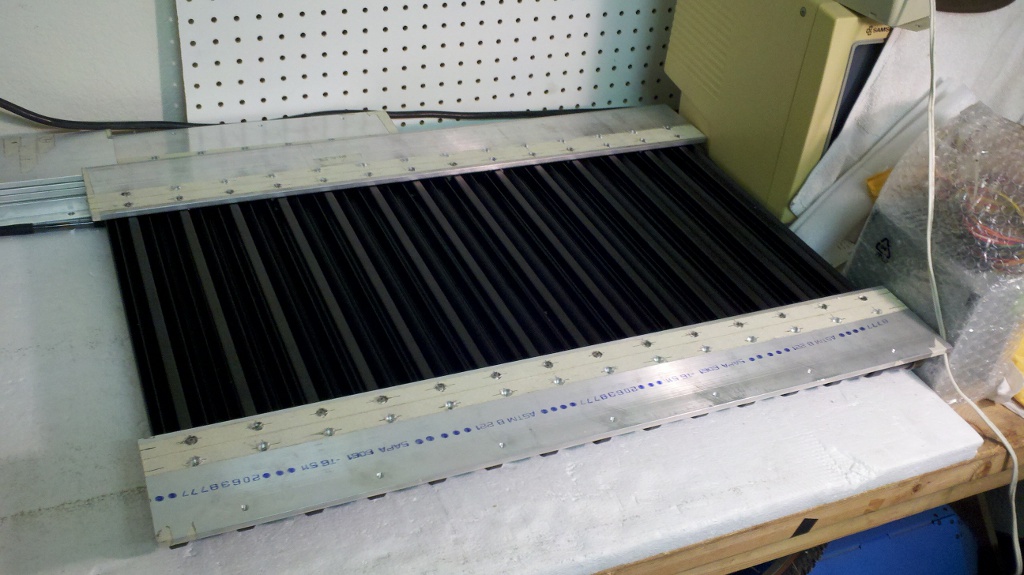 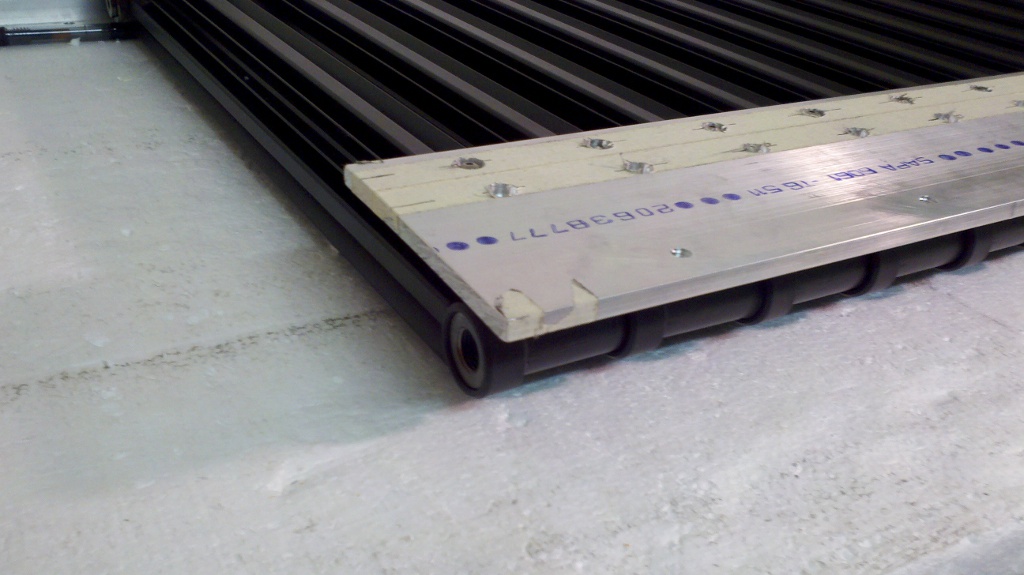 I'll next need to tear it all apart again, drill the holes for the mounts to attach with the rack, re-assemble everything, rough-fit it to the rack and take the final set of measurements for the lower mount for the bottom module to make sure everything still looks ok dimension-wise before drilling the module mount holes. |
|
|
|
|
|
JinTu (OP)
|
 |
November 05, 2012, 05:03:10 PM
Last edit: November 06, 2012, 07:54:31 AM by JinTu |
|
I was able to spend a few hours on the project again this weekend after having to take the last few weeks off due to family commitments. I drilled and tapped the final set of radiator segments that will make up the lower module. This picture was taken just prior to completing masking and marking the segments prior to drilling. As you can see on the right, another T-connector was damaged in shipping (I hadn't spotted this earlier.) Fortunately Aquatuning had preemptively sent me some spares on my last order so it's no big deal. 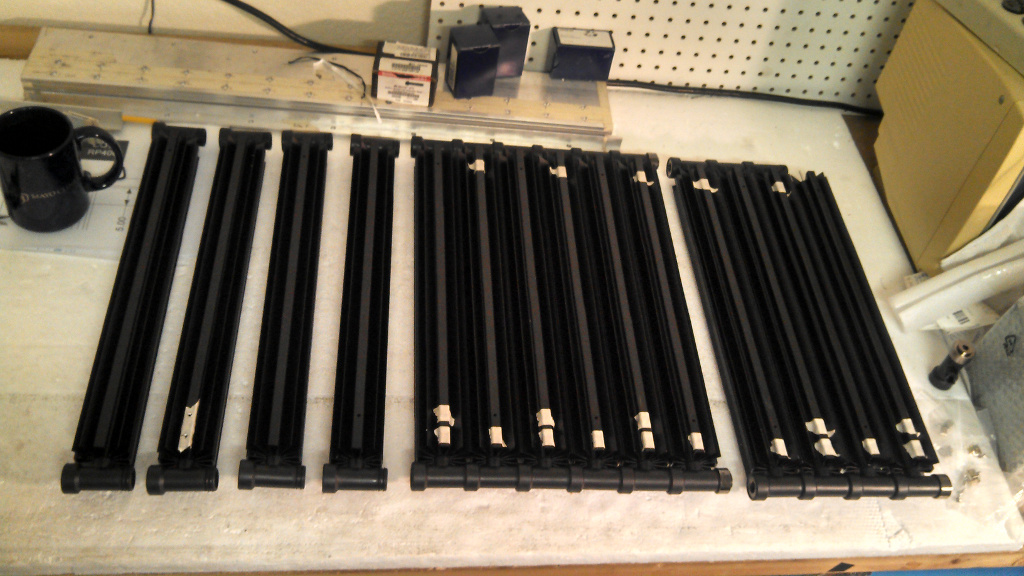 I also received the USB isolator two weeks ago and should be ready to try again when the Aquaero 5XT comes back from repair from Aquacomputer in Germany. Aquacomputer received my non-functioning Aquaero on 10/31, but thus far they haven't completed the inspection to determine what is needed in terms of repair. |
|
|
|
|
|
vitruvio
|
 |
November 05, 2012, 06:53:40 PM |
|
Good work.
Regards
|
|
|
|
|
|
BR0KK
|
 |
November 05, 2012, 10:37:33 PM |
|
Cooling passive wont be that good .... I know these radiators and they are more for show effect than cooling. I would invest in a good tripple (120, active) Radiator for backup as well. You could place it behind the Aquero and rig it to start when the in temperature in your system gets to high  |
|
|
|
|
JinTu (OP)
|
 |
November 12, 2012, 10:45:58 PM |
|
Cooling passive wont be that good .... I know these radiators and they are more for show effect than cooling. I would invest in a good tripple (120, active) Radiator for backup as well. You could place it behind the Aquero and rig it to start when the in temperature in your system gets to high  I hear what you are saying, but as long as the Cape Cora modules meet spec (22.5W dissipated by natural convection alone per module segment) the design should be ok as-is w/o adding an active heat exchanger to the loop. It is definitely true that a passive heat exchanger needs to have a larger surface area to get the same temperature drop as compared with an active setup, but this has been factored in. |
|
|
|
|
|
JinTu (OP)
|
 |
November 19, 2012, 04:54:34 PM |
|
Two updates for last week: Aquacomputer finally reviewed my damaged Aquaero 5 XT and found both the main controller and the display board to be damaged and unable to be repaired. Fortunately they offered me a replacement for a bit less than retail, which should be shipping out later this week. The screws for attaching the mounts to the side panel of the 19" rack also arrived, and I drilled the majority of the rack mount holes for the mounts. I plan to finish this part off and attempt mounting two of the modules to the rack over the long weekend. Next up is drilling the last of the segment holes for the lower module mounts and one final hole in each of the lower segments. |
|
|
|
|
|
JinTu (OP)
|
 |
November 26, 2012, 04:24:17 PM |
|
I made quite a bit of progress over the long weekend. Drilling the rack mount holes on the final set of mounts 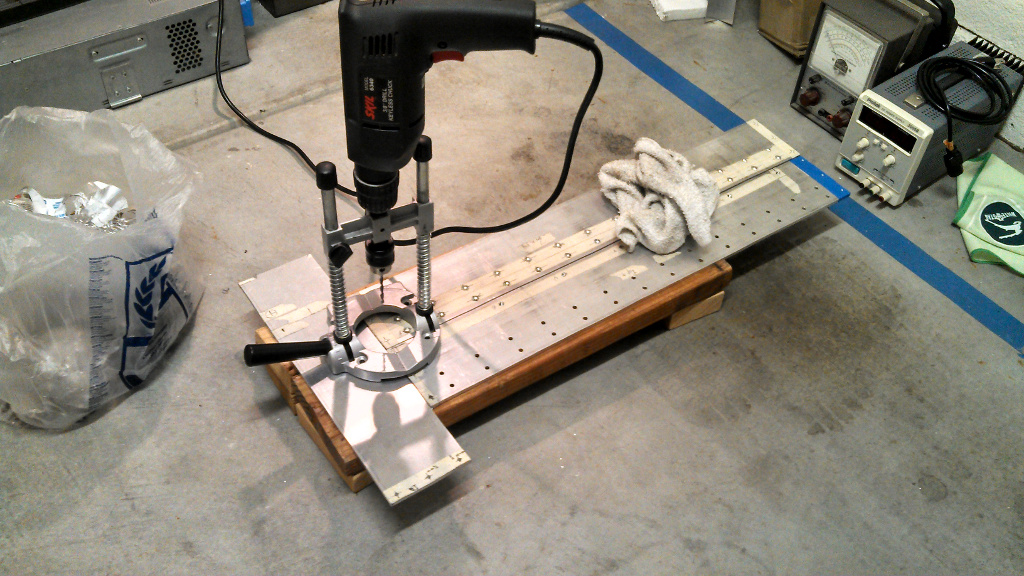 Testing the fit of the upper mount 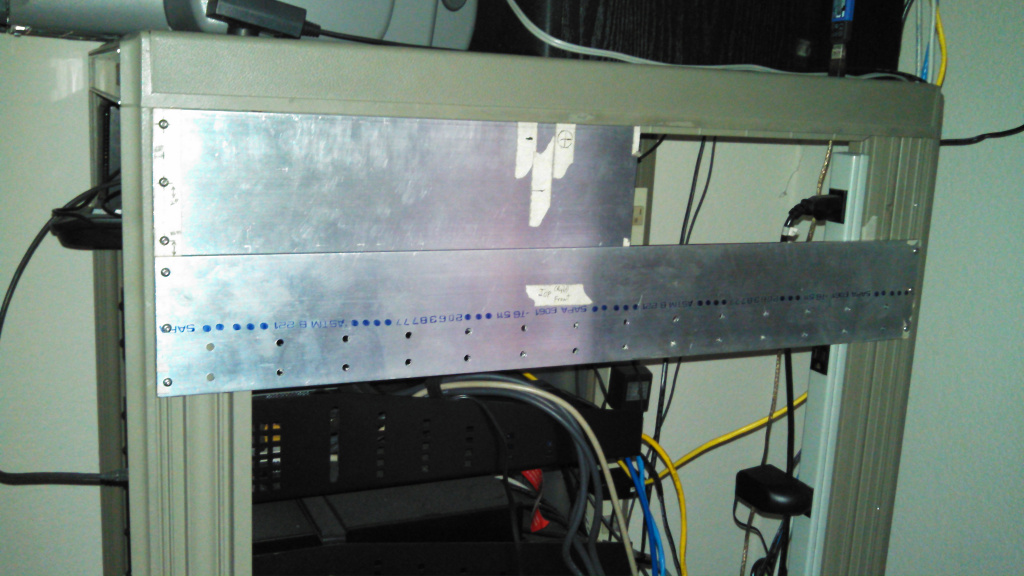 Mounting the upper module 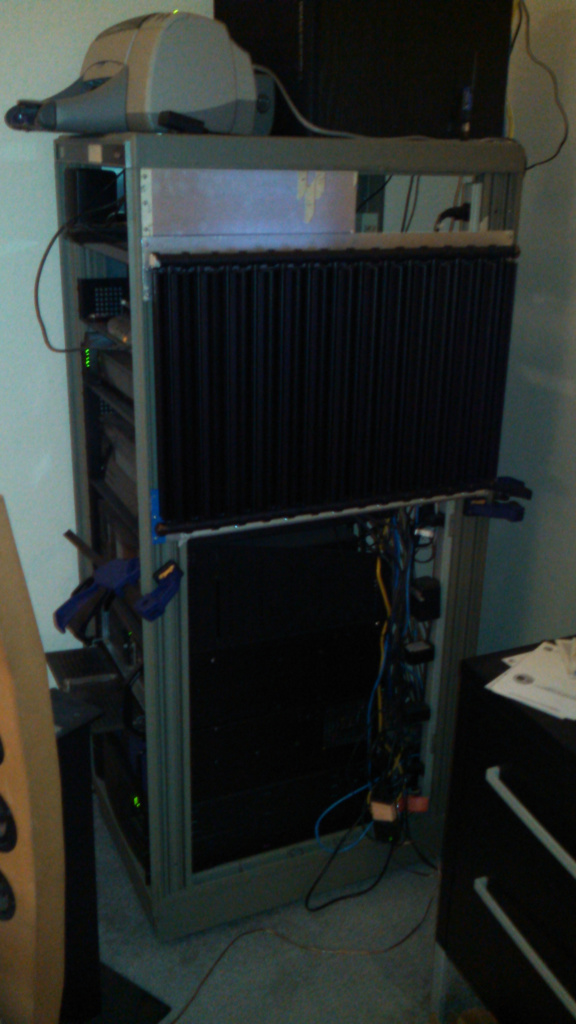 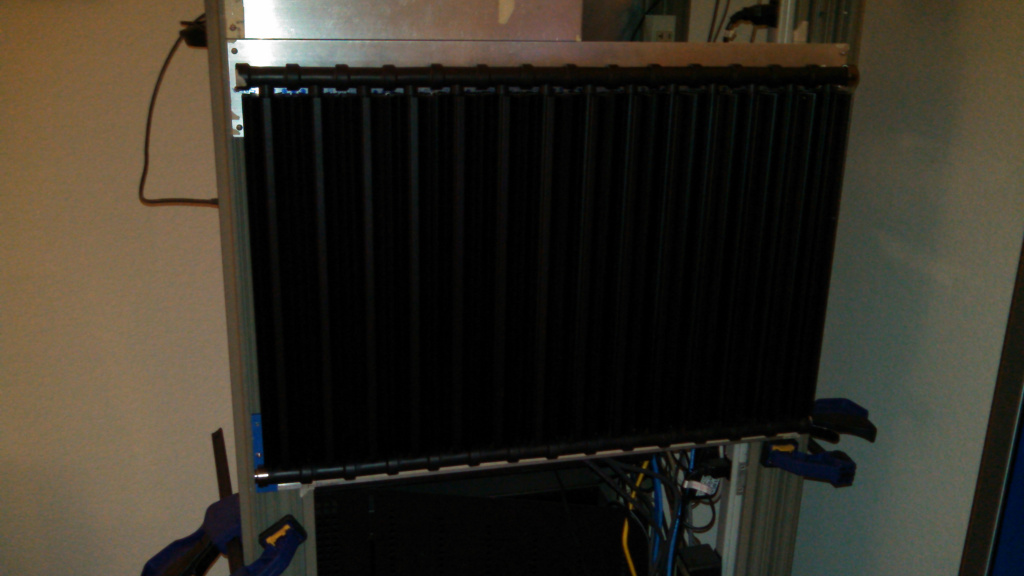 The middle module attached 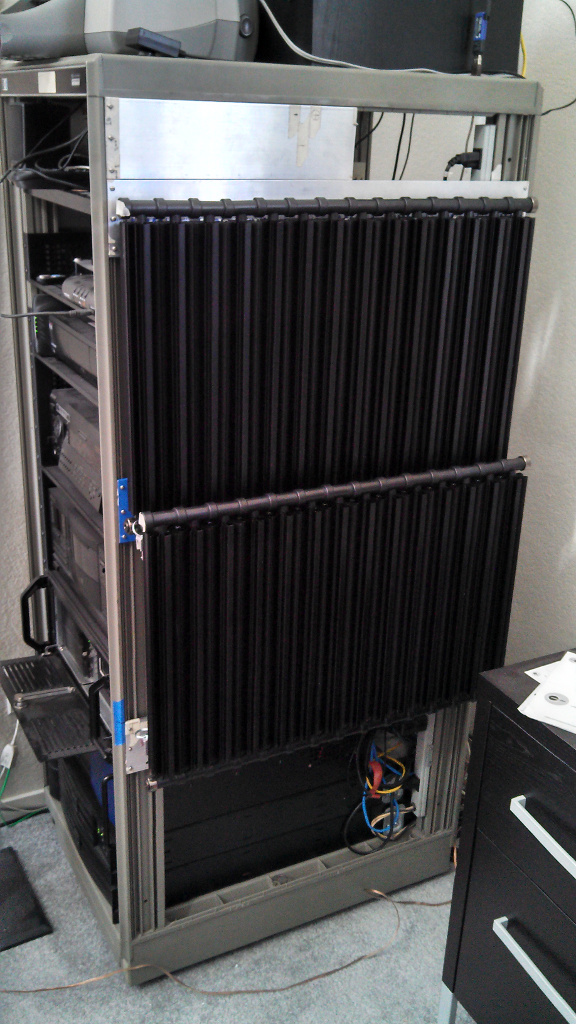 Detail on the middle module 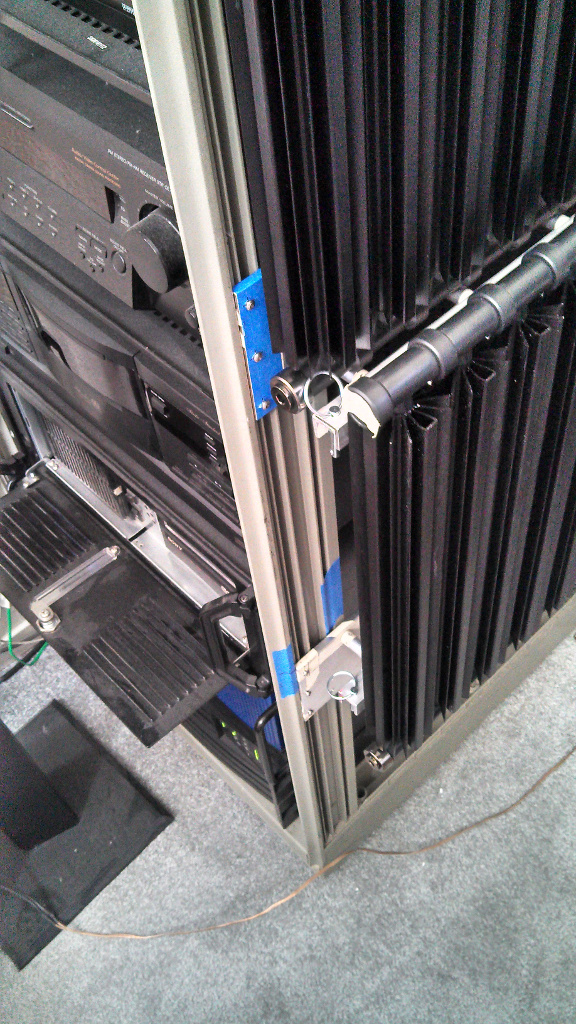 Side view of the upper and middle modules 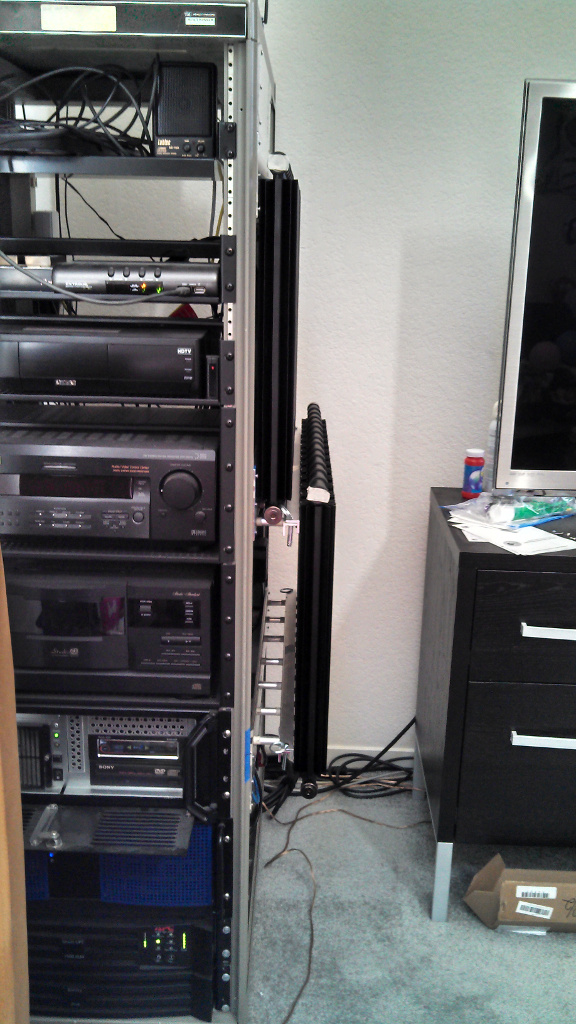 Detail on one of the pins used to attach the middle module 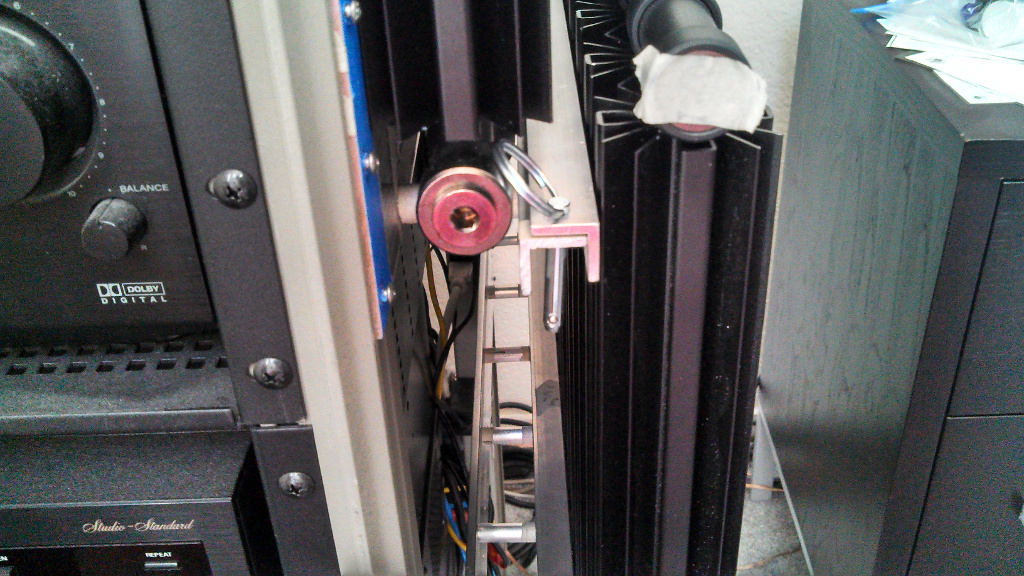 Testing the fit and measuring the lower module prior to drilling 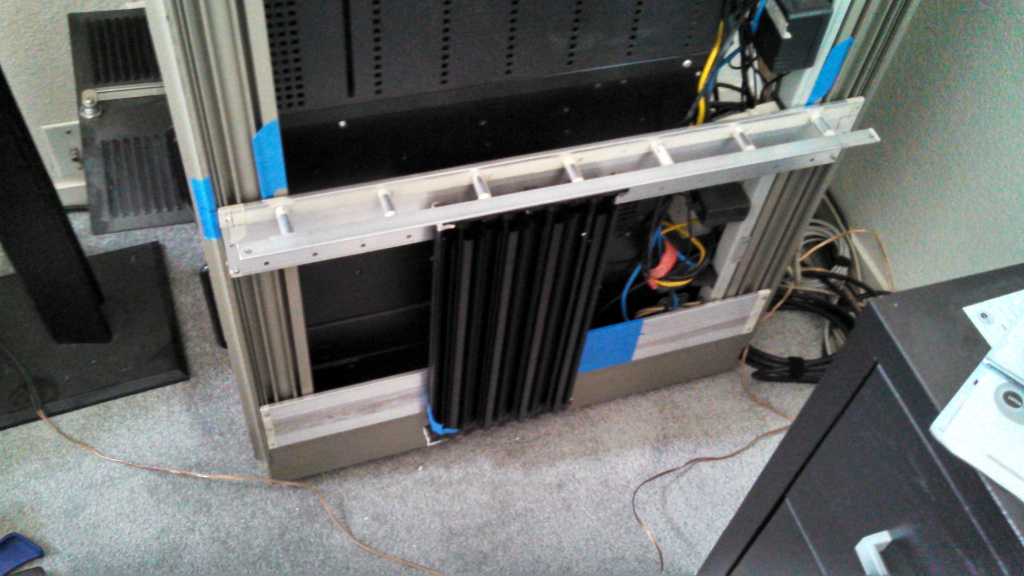 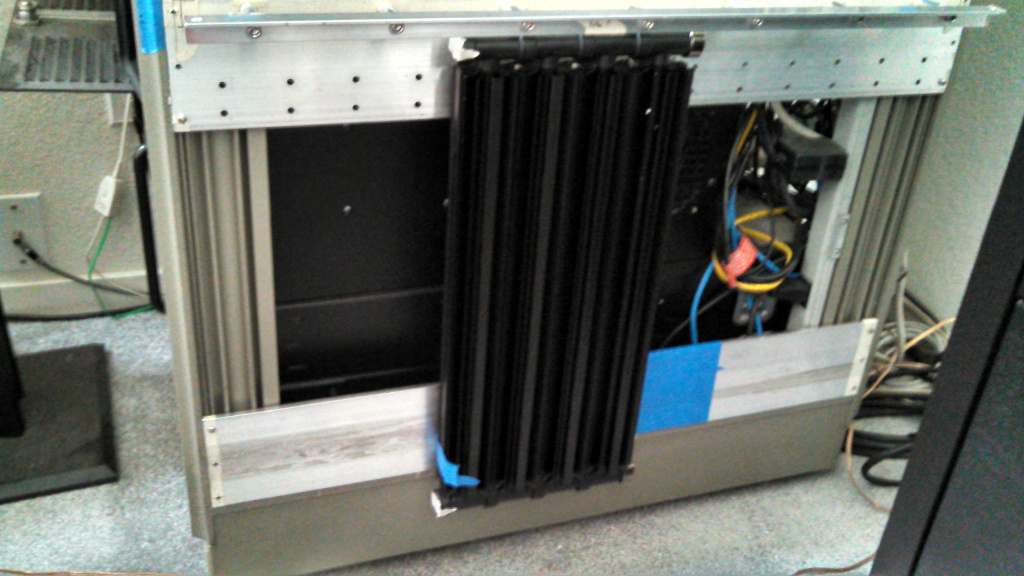 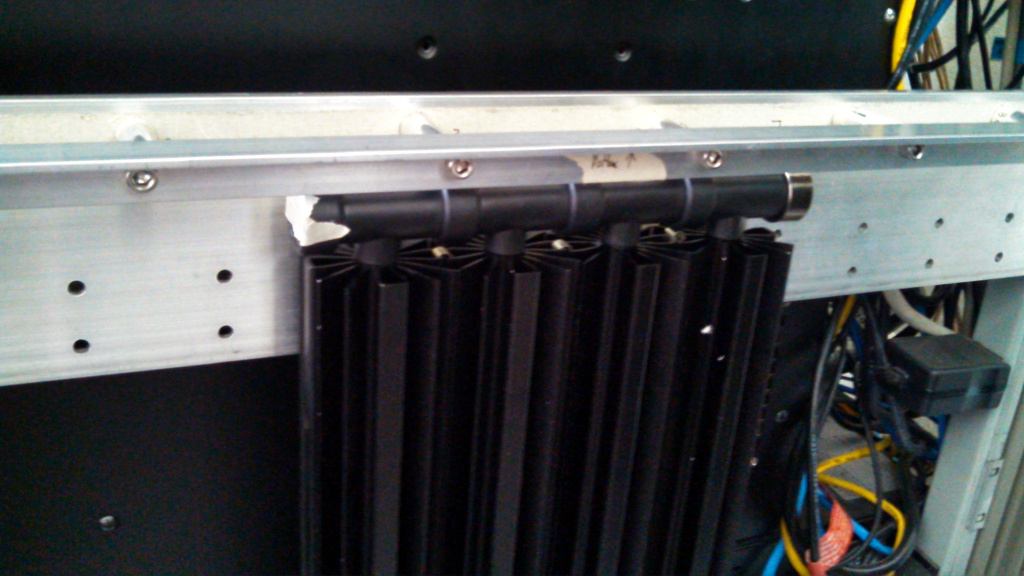 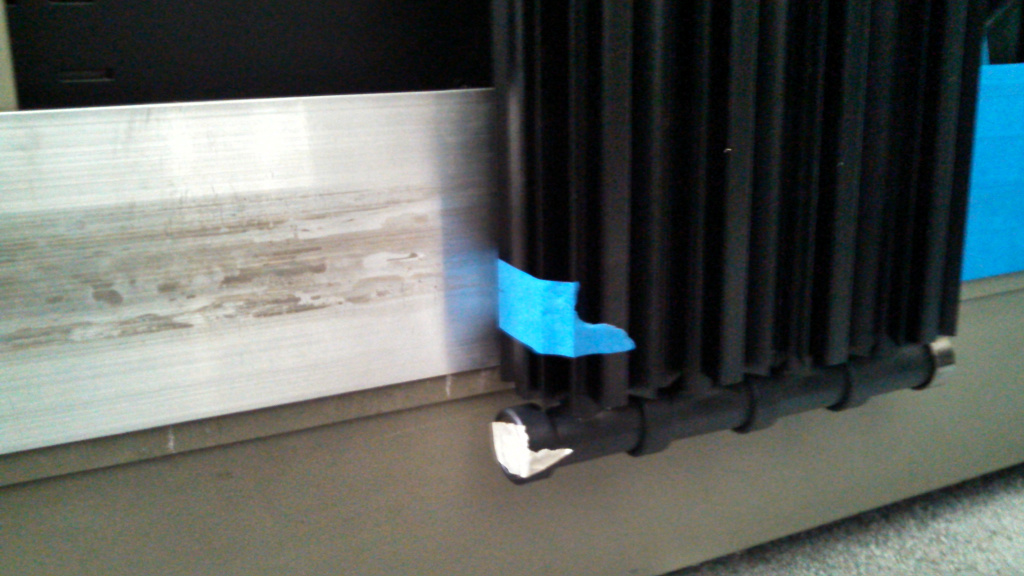 Also, Aquacomputer shipped out my replacement Aquaero 5XT and it should be in my hands in a week or two. |
|
|
|
|
Cablez
Legendary

 Offline Offline
Activity: 1400
Merit: 1000
I owe my soul to the Bitcoin code...

|
 |
November 26, 2012, 07:38:29 PM |
|
Nice work. I really like the hitch pins for easy module removal. Keep it up.  |
Tired of substandard power distribution in your ASIC setup??? Chris' Custom Cablez will get you sorted out right! No job too hard so PM me for a quote
Check my products or ask a question here: https://bitcointalk.org/index.php?topic=74397.0
|
|
|
|
JinTu (OP)
|
 |
November 27, 2012, 01:59:55 AM |
|
Nice work. I really like the hitch pins for easy module removal. Keep it up.  Thanks Cablez, that was the general idea. Since the plan is to have at least two pumps under the center module the pins should help make things a bit easier to service. |
|
|
|
|
|
HDSolar
|
 |
December 02, 2012, 07:14:29 PM |
|
This setup is getting sick, wow it is just looking cooler and cooler (both in style and temp,  ). Question, on the APC backup at the bottom, what model is that and does it have a standard plug into the wall or a more industrially style plug? |
|
|
|
|
JinTu (OP)
|
 |
December 03, 2012, 08:44:43 AM |
|
This setup is getting sick, wow it is just looking cooler and cooler (both in style and temp,  ). Question, on the APC backup at the bottom, what model is that and does it have a standard plug into the wall or a more industrially style plug? Thanks for the kudos. There is a long way to go before it will be up and running... The UPS (top) is an APC Smart-UPS XL SUM1500RMXL2U 2U Rackmount paired with a APC SUM48RMXLBP2U Smart-UPS XL Modular 48V Extended Run Battery Pack (bottom). This will keep all my gear powered for over an hour even while mining, or over three if I shut down mining. The SUM1500RMXL2U does indeed have a regular 120VAC 15A (residential) plug. |
|
|
|
|
|
JinTu (OP)
|
 |
December 03, 2012, 08:59:21 AM |
|
Hi folks, I finished drilling the final mount for the lower module and mounted the radiator segments Sunday morning and test fit the assembly to the rack Sunday evening. 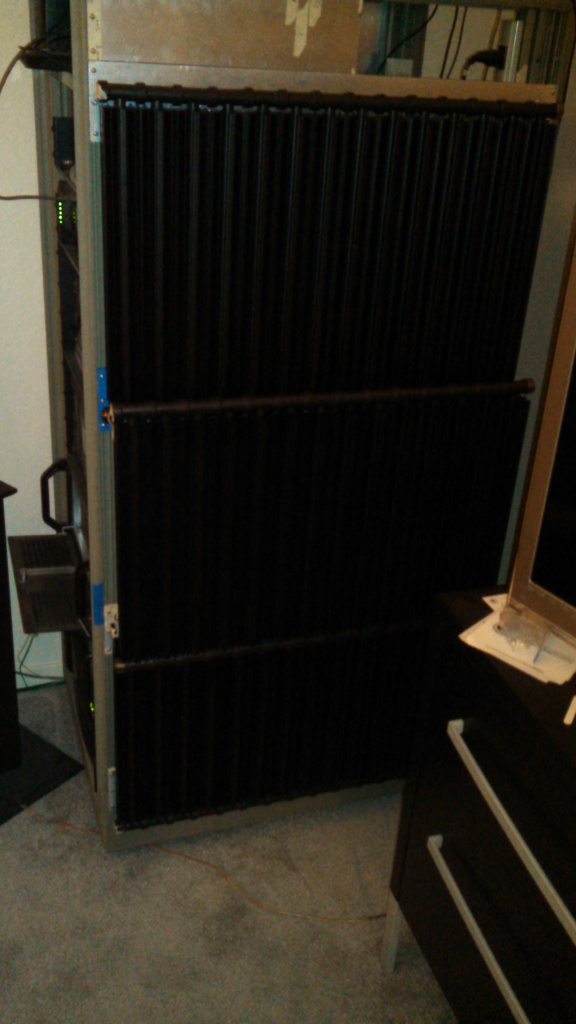 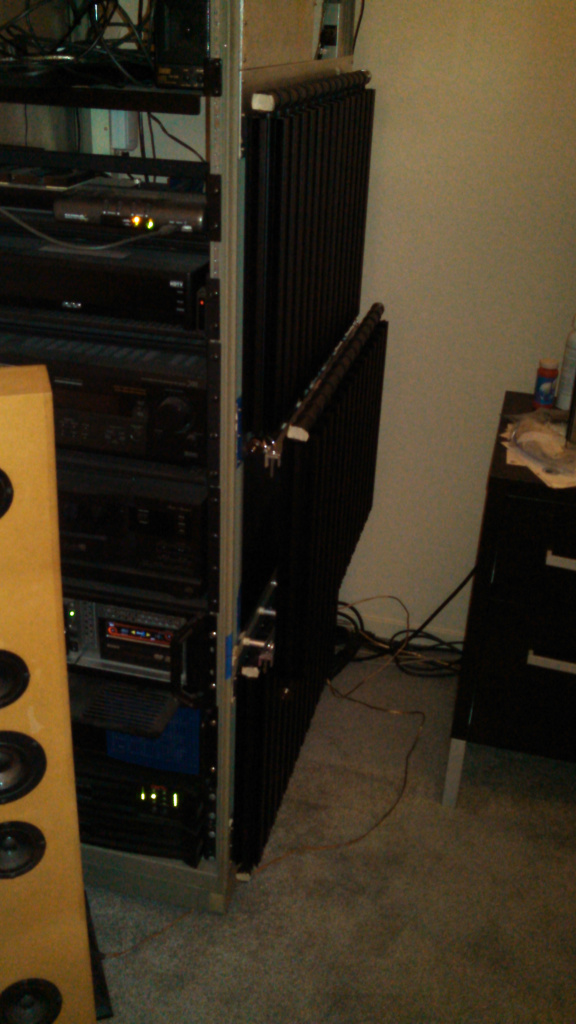 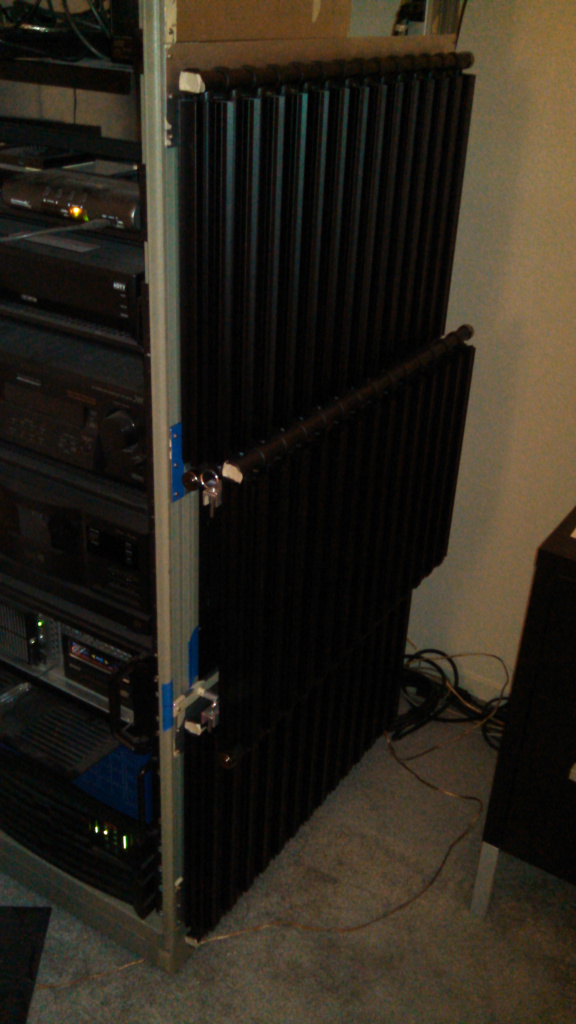 Sorry for the blurry pictures, but my cellphone camera doesn't do well at night. I still haven't received my replacement Aquaero 5XT, but it has at least made it into the country. |
|
|
|
|
jojo69
Legendary

 Offline Offline
Activity: 3150
Merit: 4282
diamond-handed zealot

|
 |
December 04, 2012, 06:16:40 PM |
|
very impressive indeed.
how much have you sunk into the rad modules at this point?
|
This is not some pseudoeconomic post-modern Libertarian cult, it's an un-led, crowd-sourced mega startup organized around mutual self-interest where problems, whether of the theoretical or purely practical variety, are treated as temporary and, ultimately, solvable.
Censorship of e-gold was easy. Censorship of Bitcoin will be… entertaining.
|
|
|
|
JinTu (OP)
|
 |
December 05, 2012, 07:49:25 AM |
|
very impressive indeed.
how much have you sunk into the rad modules at this point?
Thanks jojo69, Thus far the radiator segments alone (42 in total) have cost me $734. |
|
|
|
|
|
HDSolar
|
 |
December 06, 2012, 02:00:53 PM |
|
This setup is getting sick, wow it is just looking cooler and cooler (both in style and temp,  ). Question, on the APC backup at the bottom, what model is that and does it have a standard plug into the wall or a more industrially style plug? Thanks for the kudos. There is a long way to go before it will be up and running... The UPS (top) is an APC Smart-UPS XL SUM1500RMXL2U 2U Rackmount paired with a APC SUM48RMXLBP2U Smart-UPS XL Modular 48V Extended Run Battery Pack (bottom). This will keep all my gear powered for over an hour even while mining, or over three if I shut down mining. The SUM1500RMXL2U does indeed have a regular 120VAC 15A (residential) plug. That's cool on the UPS and gives me something to think about so thanks for the info. So one hour with mining but three without, wow, don't you love how this stuff just sucks the juice. |
|
|
|
|
JinTu (OP)
|
 |
December 11, 2012, 05:23:23 PM |
|
My repaired Aquaero 5XT finally arrived last week, so this past weekend I wired it back up (with the addition of the new USB isolator) flashed the latest firmware with my Win7-based work laptop and was off and running. The next bit requires Linux support (all my home systems are Linux-based) for reading temp/flow/etc from the Aquaero 5. I made a bit of progress ( thanks to hamster3null on the overclock.net forums) porting aerotools to the Aquaero 5 and thus far have been able to decipher a portion of the the Aquaero 5's R/O contents. It's likely going to be a while before aerotools can have full feature support for the Aquaero 5, as Aquacomputer has slipped the release date for the SDK to 2013 and some aspects are a bit harder to reverse-engineer. |
|
|
|
|
|
JinTu (OP)
|
 |
December 17, 2012, 09:27:20 AM |
|
I made a bit more progress porting aerotools to the Aquaero 5 over the past week and thus far can read the temperature sensors and fan stats (RPM, duty cycle, VRM temperature and current). I haven't yet figured out how to get to the device names or some of the other sensor stats (that I don't yet have myself). If there are any Aquaero 5 owners out there who are interested in a Linux utility like aerotools, check out this thread, and hit me up on the overclock.net forums, I could use your help. Here are a few pics of the radiator modules attached to be rack in better lighting: 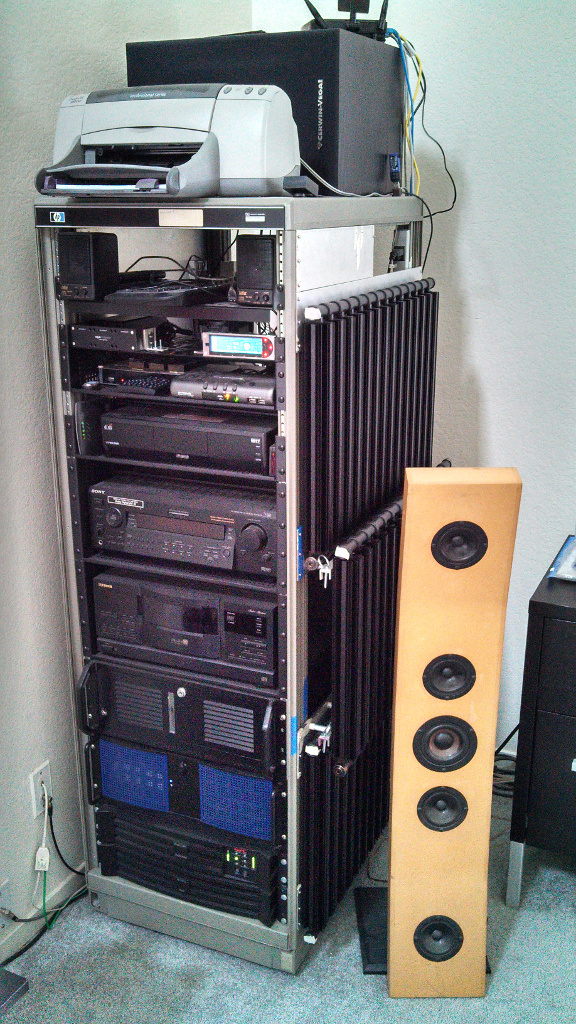 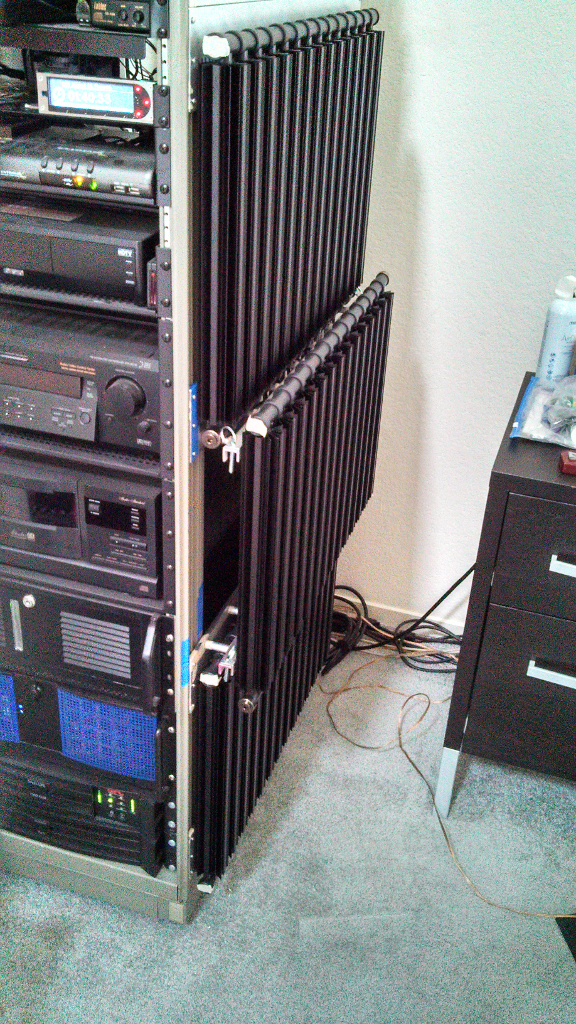 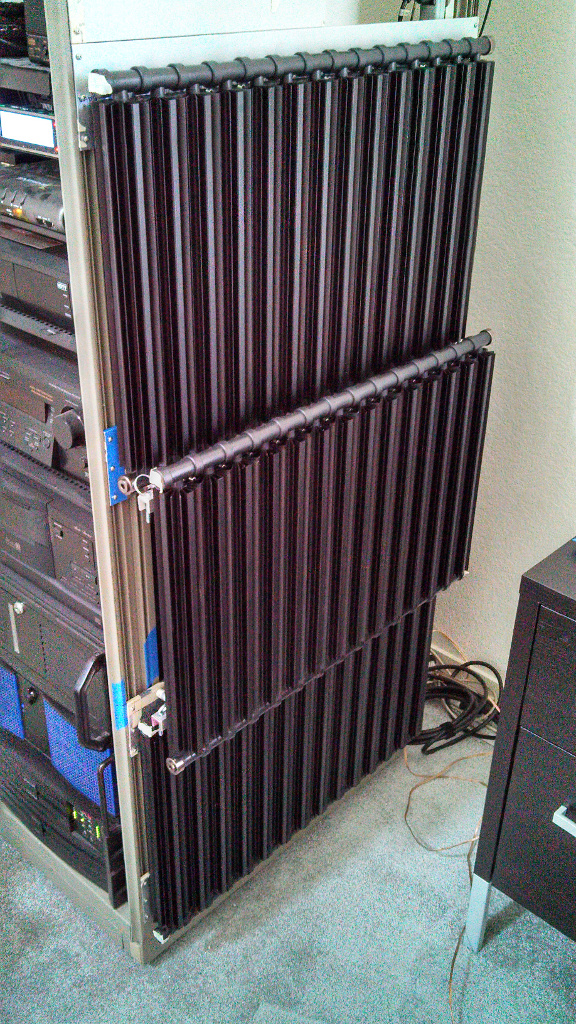 And here is a closeup of the Aquaero 5XT controller. The face plate plastic cover is removed and there is a fan installed further back on the shelf: 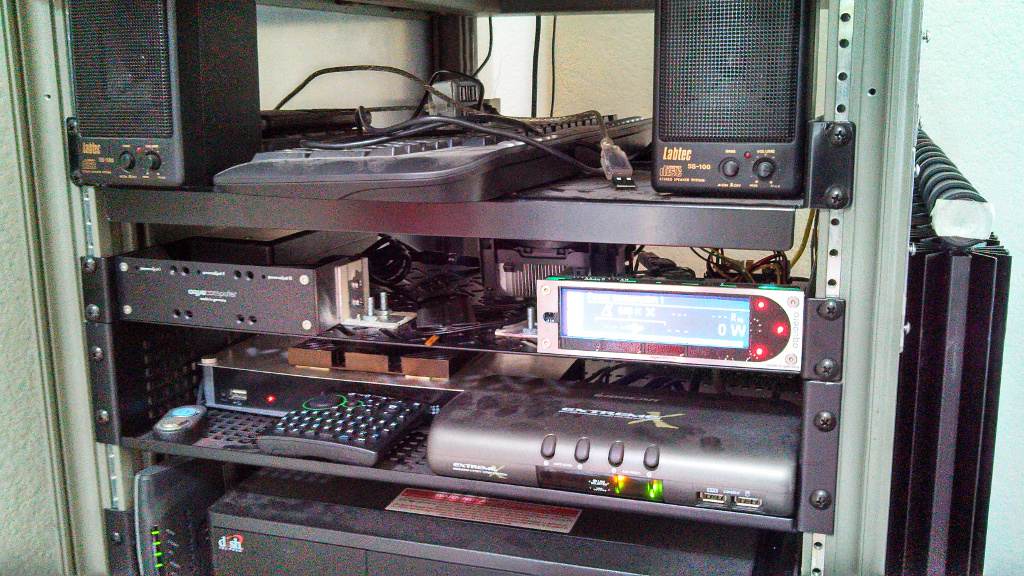 |
|
|
|
|
|
JinTu (OP)
|
 |
December 27, 2012, 06:53:42 PM
Last edit: December 27, 2012, 07:41:01 PM by JinTu |
|
I'm still chugging along on this, but have been putting my available time into coding. My latest efforts have been put into enhancements to aerotools-ng (for the Aquaero 5) which I discovered this past weekend. The original aerotools (for the Aquaero 4) author lynix created this new project on github last month, but hadn't made any updates since the initial commit yet. I sent the first pull request from my development fork a few days ago, but haven't heard back yet likely due to the holiday. I ordered the next batch of Aquacomputer parts ( tubemeter, PowerAdjust 2, flow meter) which should be in hand some time next week and should help shed some more light on the remaining unknown areas of the Aquaero 5's 659 byte payload. I'm still looking for Aquaero 5 owners running Linux that can help do some testing. Just PM me here, or on the Overclock.net forums. Edit: lynix merged in my changes earlier this morning. |
|
|
|
|
|
JinTu (OP)
|
 |
January 05, 2013, 02:18:55 AM |
|
Thanks to the time off I was able to get a lot done on aerotools-ng over the holiday, and put in another pull request for the following enhancements: - Added support for up to 14 flow sensors.
- Added support for 8 CPU temperatures
- Added support for current time, uptime and total time
- Fixed issue with fan VRM current was being read from the previous fan, and fan 1 never changed
I also did some playing with HID and udev code on Linux and was able to get the report descriptor and all the feature and input reports. Thus far I haven't deciphered most of the other reports, but I have some theories. My next set of parts came in this week 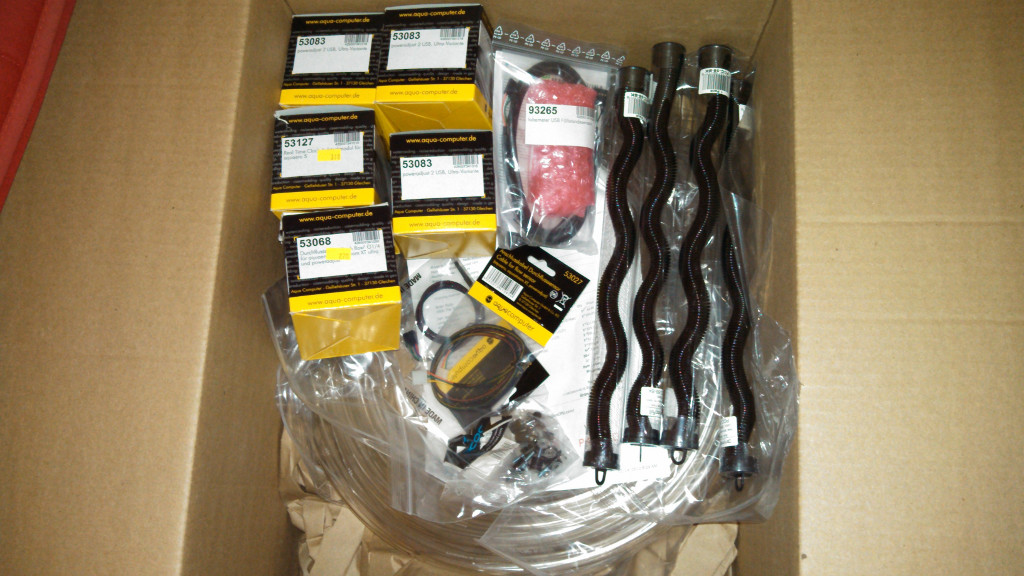 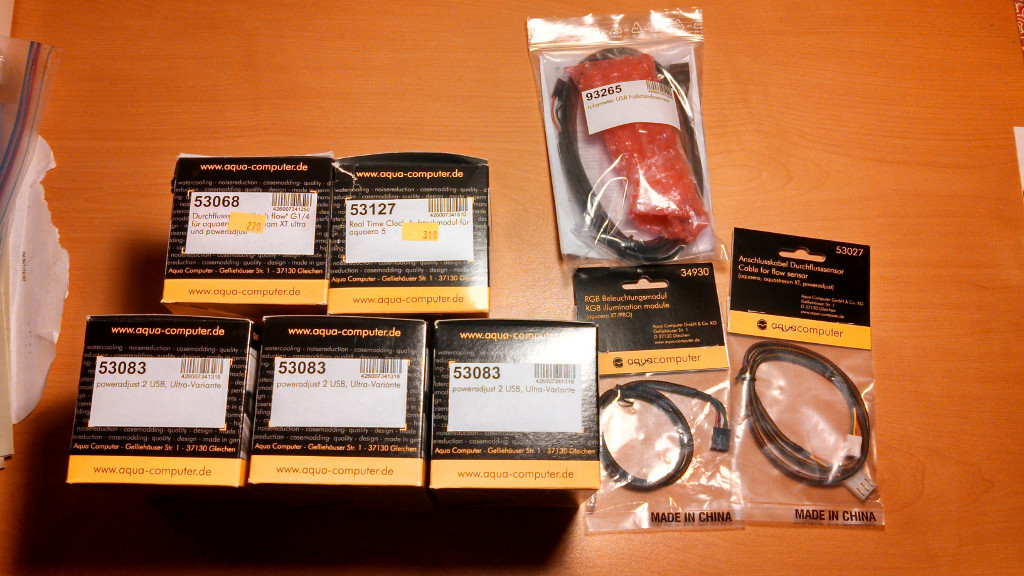 I started putting things together, but noticed one of the screws for the PowerAdjust2 5.25" bay mount had no threads on it. Come on Aquacomputer... I was able to get the screw installed, but only after tapping it myself. 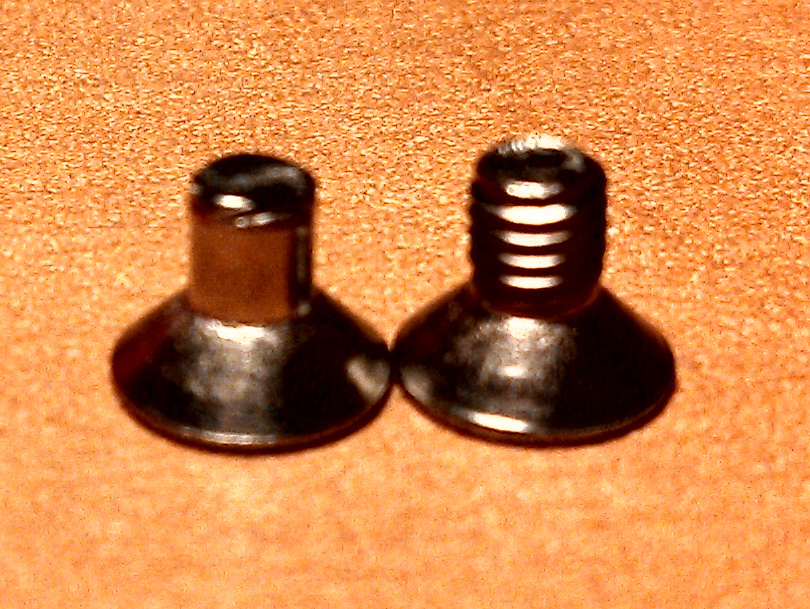 The assembled 3 PA2s 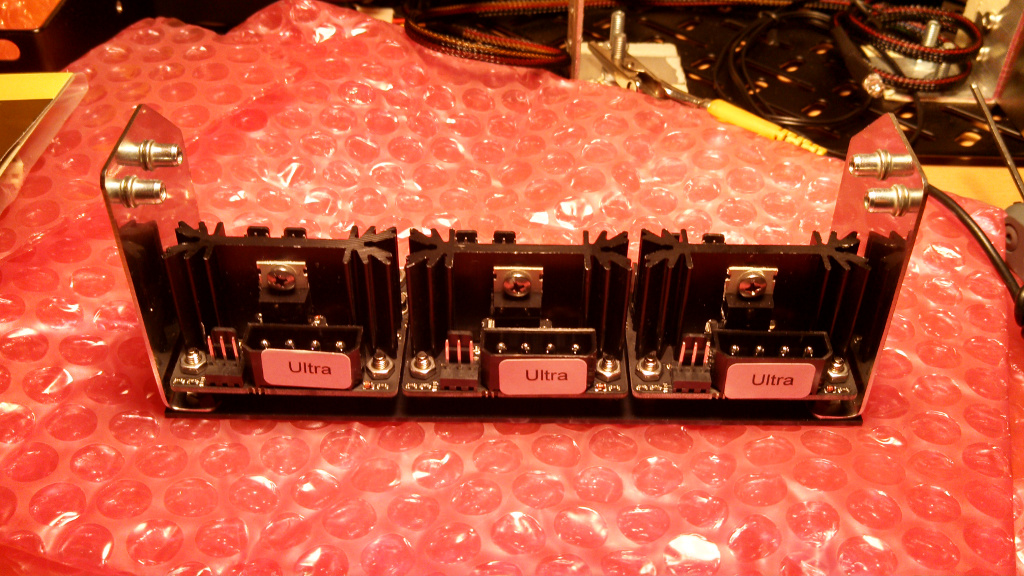 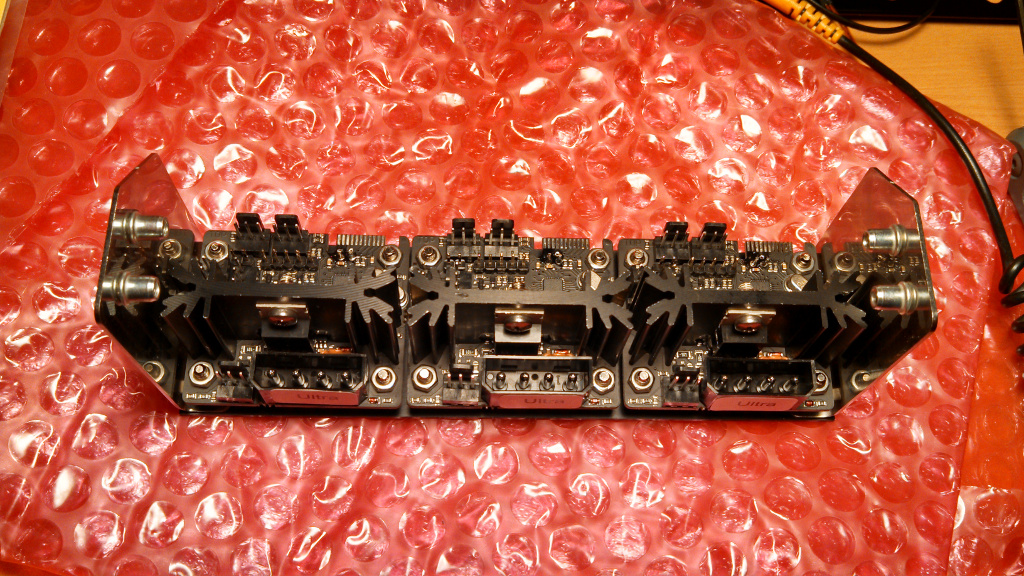 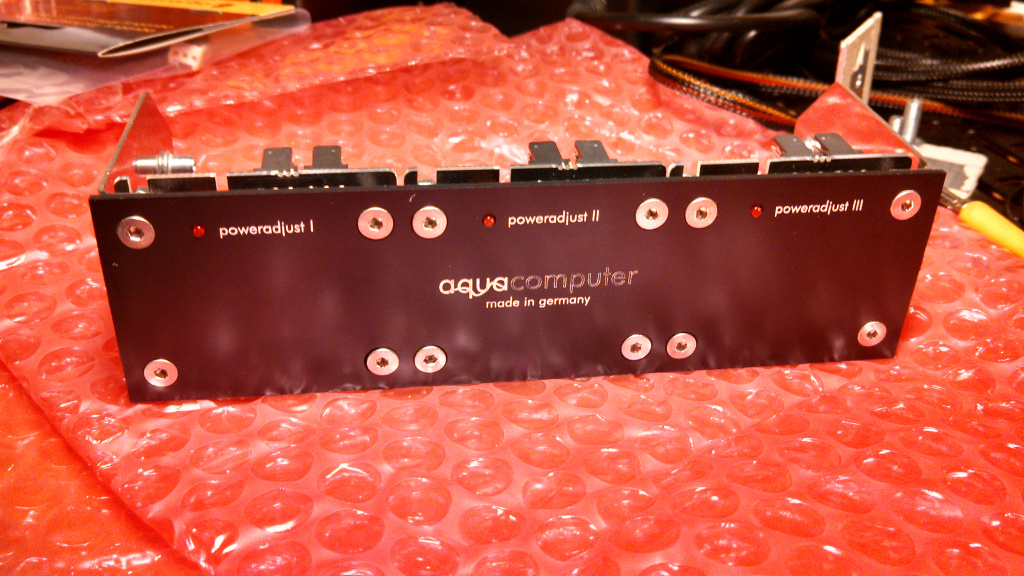 Cabling everything up 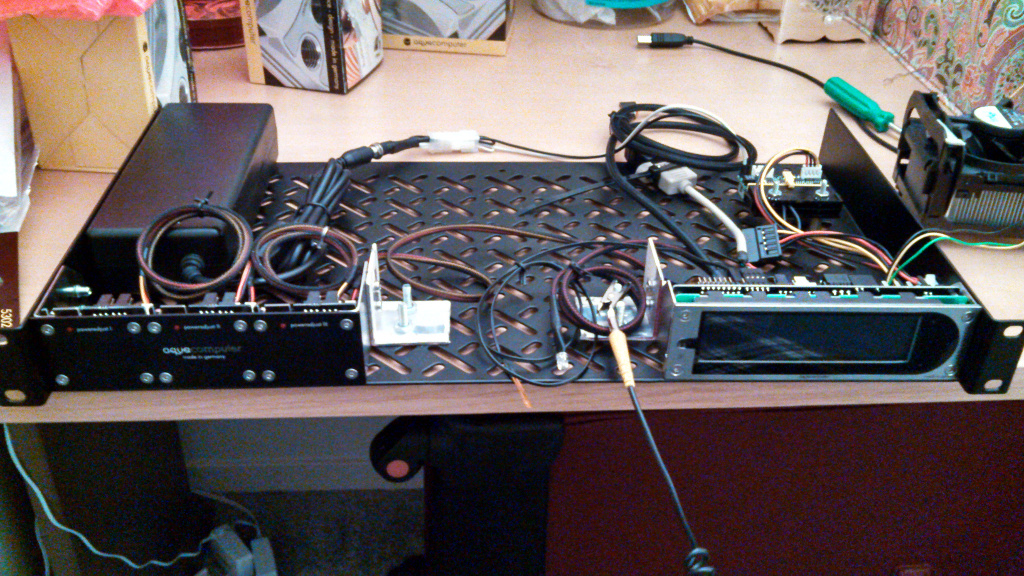 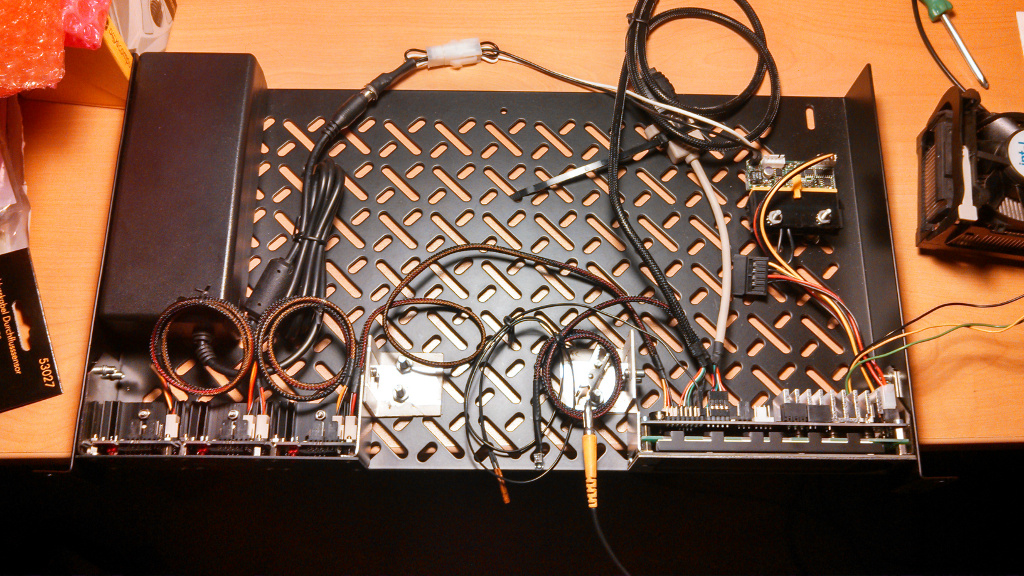 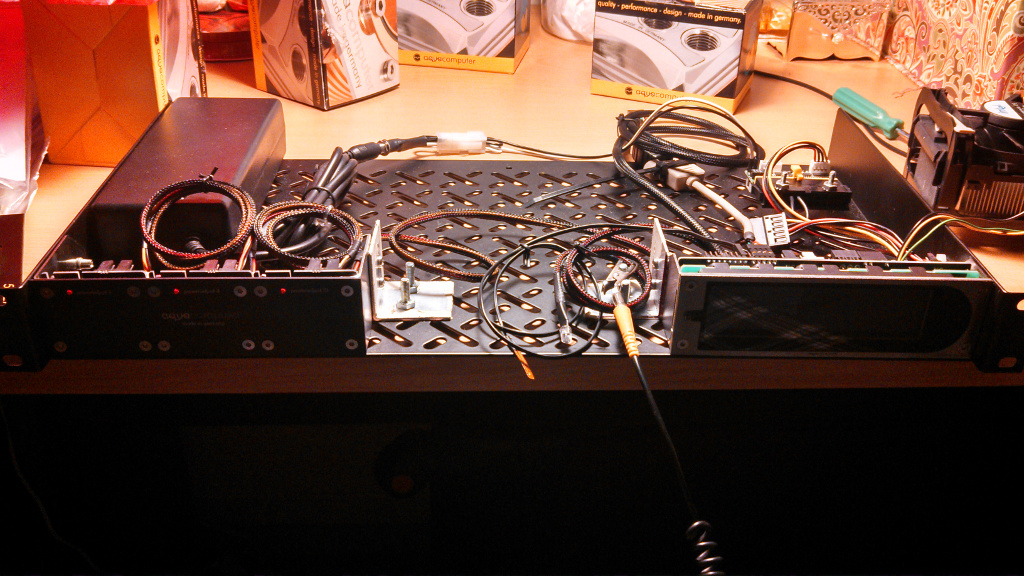 Preparing for testing 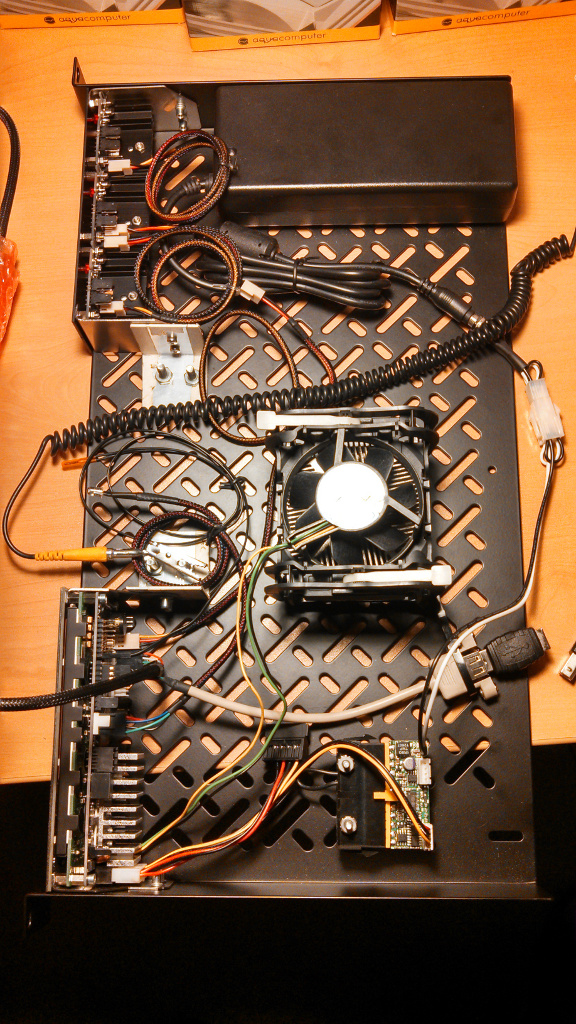 After installing the tubemeter, I was able to find the offset in the Aquaero 5's HID input 1 report, and checked the changes to support it into my devel branch on github. |
|
|
|
|
|
JinTu (OP)
|
 |
January 20, 2013, 10:29:29 PM |
|
I know, it's not specifically related to the rack cooling project, but after begging the wife for years for a drill press, I was finally able to get one  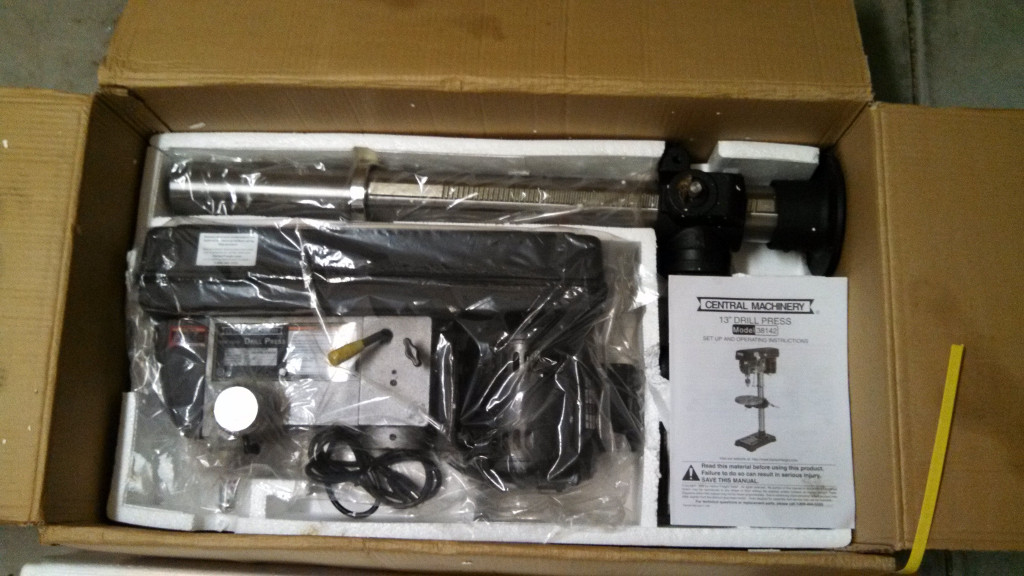 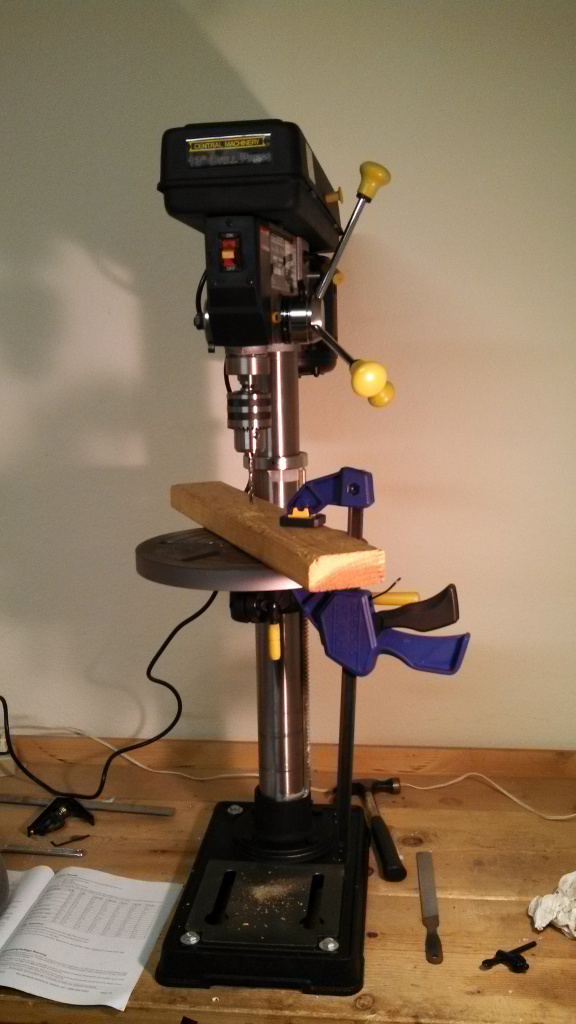 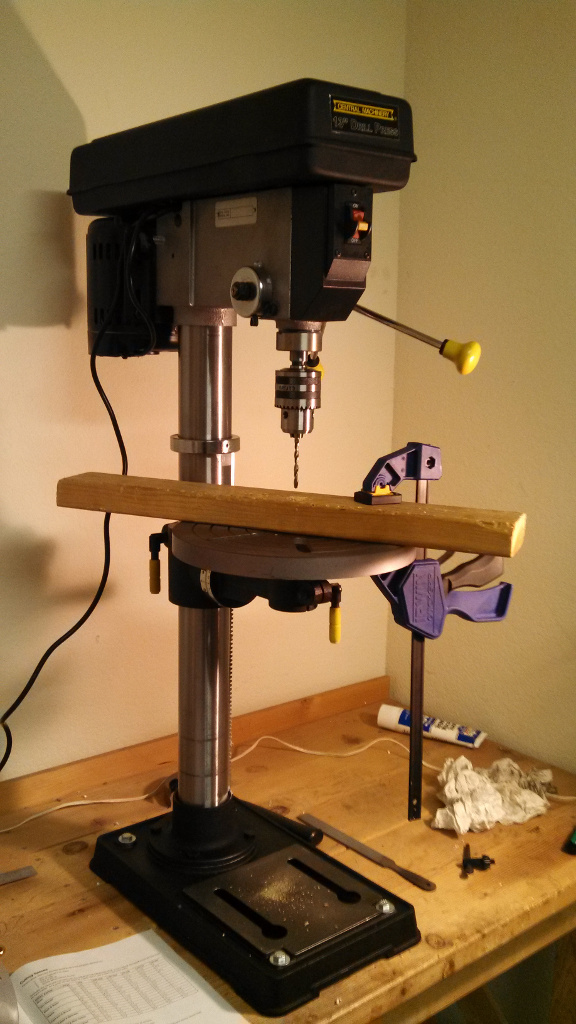 I have spent the last couple weeks building and calibrating the drill press but should be able to get back to building the rack shortly. This will help to make short work of any further drilling or milling needed. Next up for the 19" rack project is: - Remove all the modules from the rack
- Install the upper perf side panels to both sides and checking the measurements
- Measure, cut and install the lower perf side panels
- Remove all the segments from modules
- Mill out additional slop for some of the countersink holes on the mounts (some are too close to fit with the insulator in place or would allow the screw to touch the side)
- Expand the ID of the remaining radiator-facing insulating washers
- Cut and drill the pump mounts
- Test fit all the pumps on the pump mounts
- Finish and clean the mounts
- Re-assemble everything with the washers+insulators in place and confirm the radiator segments are electrically isolated
- Leak check the modules
|
|
|
|
|
Cablez
Legendary

 Offline Offline
Activity: 1400
Merit: 1000
I owe my soul to the Bitcoin code...

|
 |
January 22, 2013, 01:23:51 AM |
|
Nice press. I have one from harbor freight now for a few years and it still works great.  |
Tired of substandard power distribution in your ASIC setup??? Chris' Custom Cablez will get you sorted out right! No job too hard so PM me for a quote
Check my products or ask a question here: https://bitcointalk.org/index.php?topic=74397.0
|
|
|
|
JinTu (OP)
|
 |
January 22, 2013, 02:08:54 AM |
|
Nice press. I have one from harbor freight now for a few years and it still works great.  I had a few of the typical Harbor Freight tool issues (excessive packing oil, belts on backward, set screws needed to be re-tightened) but so far like the fit finish and capabilities of the press. It's working pretty well, but I'm still having an issue with excessive runout (bit vibration) on mine that I'm still working to correct. The belts, main drive pulley, spindle, arbor and the external portion of the chuck all appear to be ok, but bits seem to be moving more than I would like. I have an indicator and magnetic base arriving next week that should help to isolate the issue. I'm hoping a little gentle encouragement will help get it into alignment but haven't ruled out the possibility of replacing the stock chuck with a Jacobs super chuck... |
|
|
|
|
|


