Hey everyone, So Bitmain was very cool about issuing me coupons for the 24 AntMiners that I purchased off of Amazon before the price drop. I haven't decided if I'm going to use them all, or perhaps just a few
Still need to get a number of our first delivery up and running. So that said, I may be interested in either trading or selling a bunch of the coupons -the coupons are good through February 4, and our valued at $45.00. Just a heads up, you can only use one coupon per S5. Shoot me a private message if there is any interest in working out a deal on some of these. Cheers!  Strato I also bought 2 on Amazon but did not get coupons for those. What is the procedure for obtaining them? I could really use them as I'm about to order 4 more direct from Bitmain. Ditto Sorry I'm late on this one, the answer is to contact your Amazon seller for coupons. They have control of them. |
|
|
|
It's difficult to find people who meet all the following criteria. - Can be trusted to make the right decision
- Care enough to do it
- Have the time to look into these cases
Lots of people meet one or two, rarely all three. Since moderators are already being paid for mod work, which is traditionally volunteer-based only, maybe award some of the ad coins to trust maintainers. People will still complain that the trust system is being moderated especially after a decision doesn't go their way. Also, what happens when/if staff get it wrong? If there was a tribunal of 3-7, including senior members, I don't see it being a problem. People complain that the legal system is corrupt etc etc, there will always be accusations. |
|
|
|
Dogie did a review on the T-110 from Bitcrane
See sig |
|
|
|
Its not on there yet (bumped for it to be uploaded), in the meantime I've mirrored it here because I already had a copy. How do you update the firmware on these U3's? You don't, you change the cgminer. AMU ? It doesnt seem to be detecting the U3 properly. It should be saying AU3. Are you using cgminer 4.9.0 with out any settings to test. Bitmain continues to distribute its own binaries ignoring any development I put into mainline cgminer so their driver still uses a different driver name, trashes other icarus drivers, needs lots of weird command line options to get working etc. So people using their binary get devices as AMU. Dogie, why did Bitmain send CK a unit to develop CGMiner support (for which it appears he did a fine job!) for this device and then not use it? You can use his work on non fork cgminer. As for why, maybe their experience is still using the icarus protocol. |
|
|
|
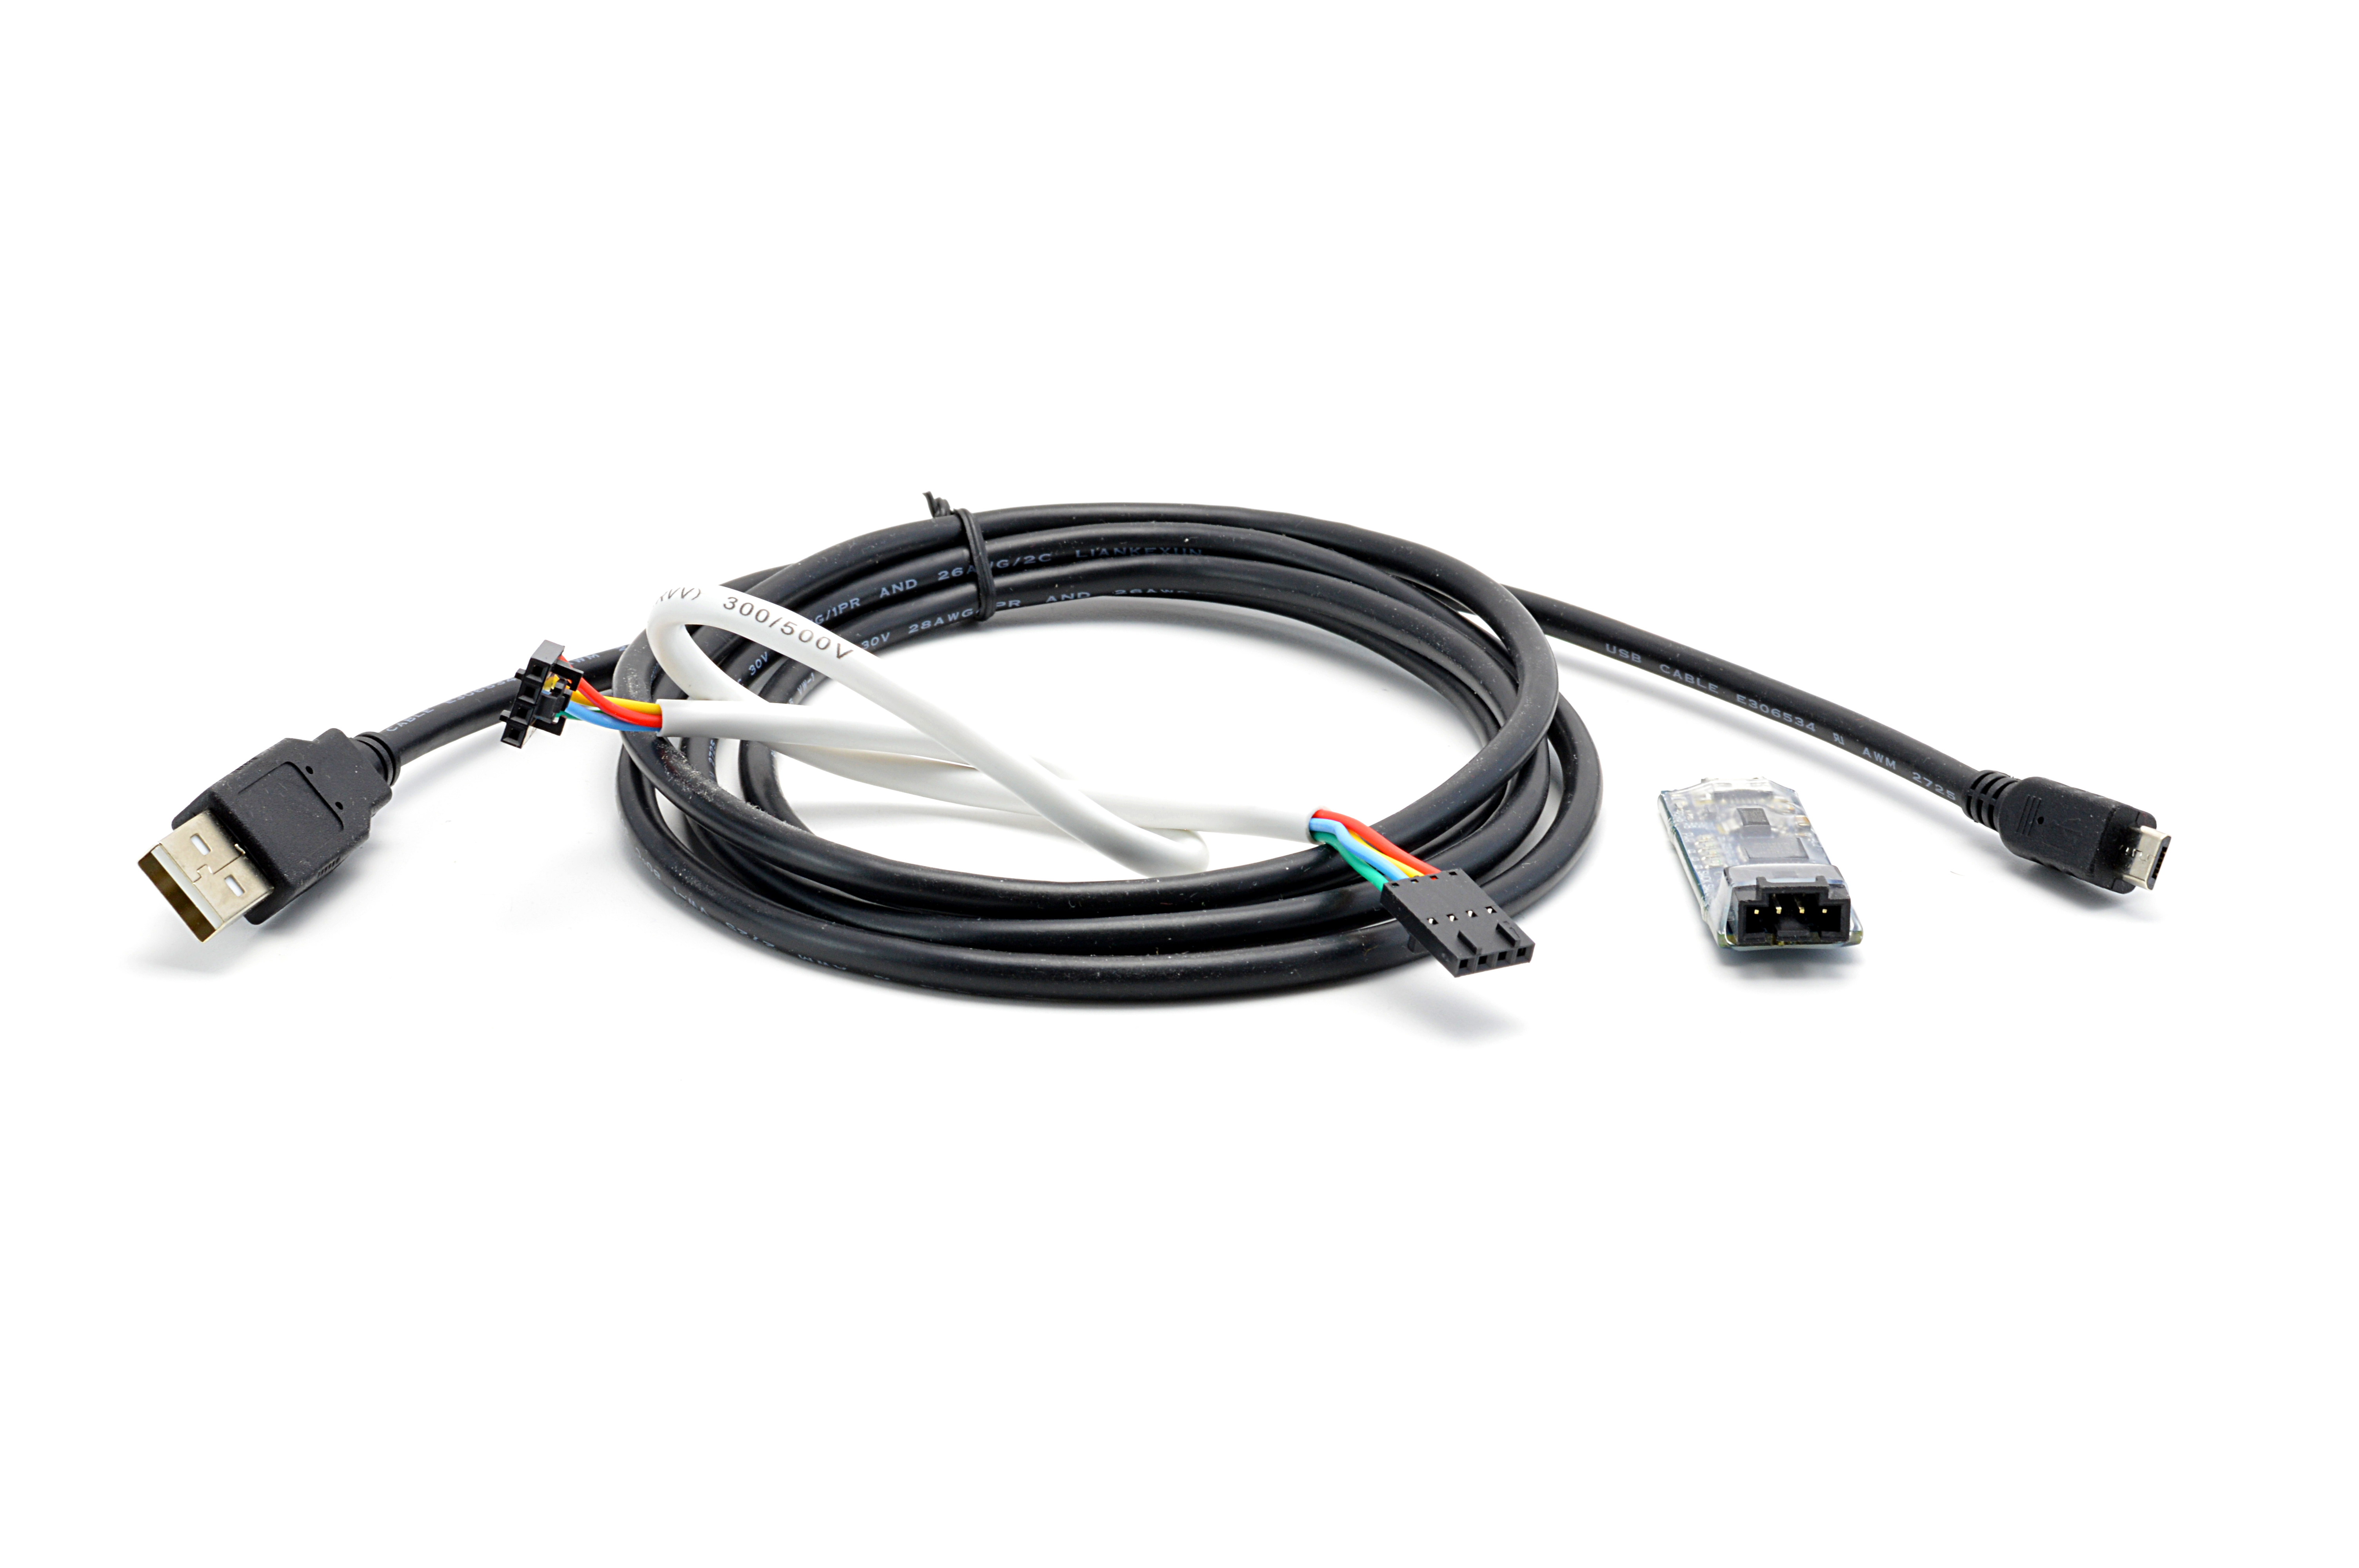
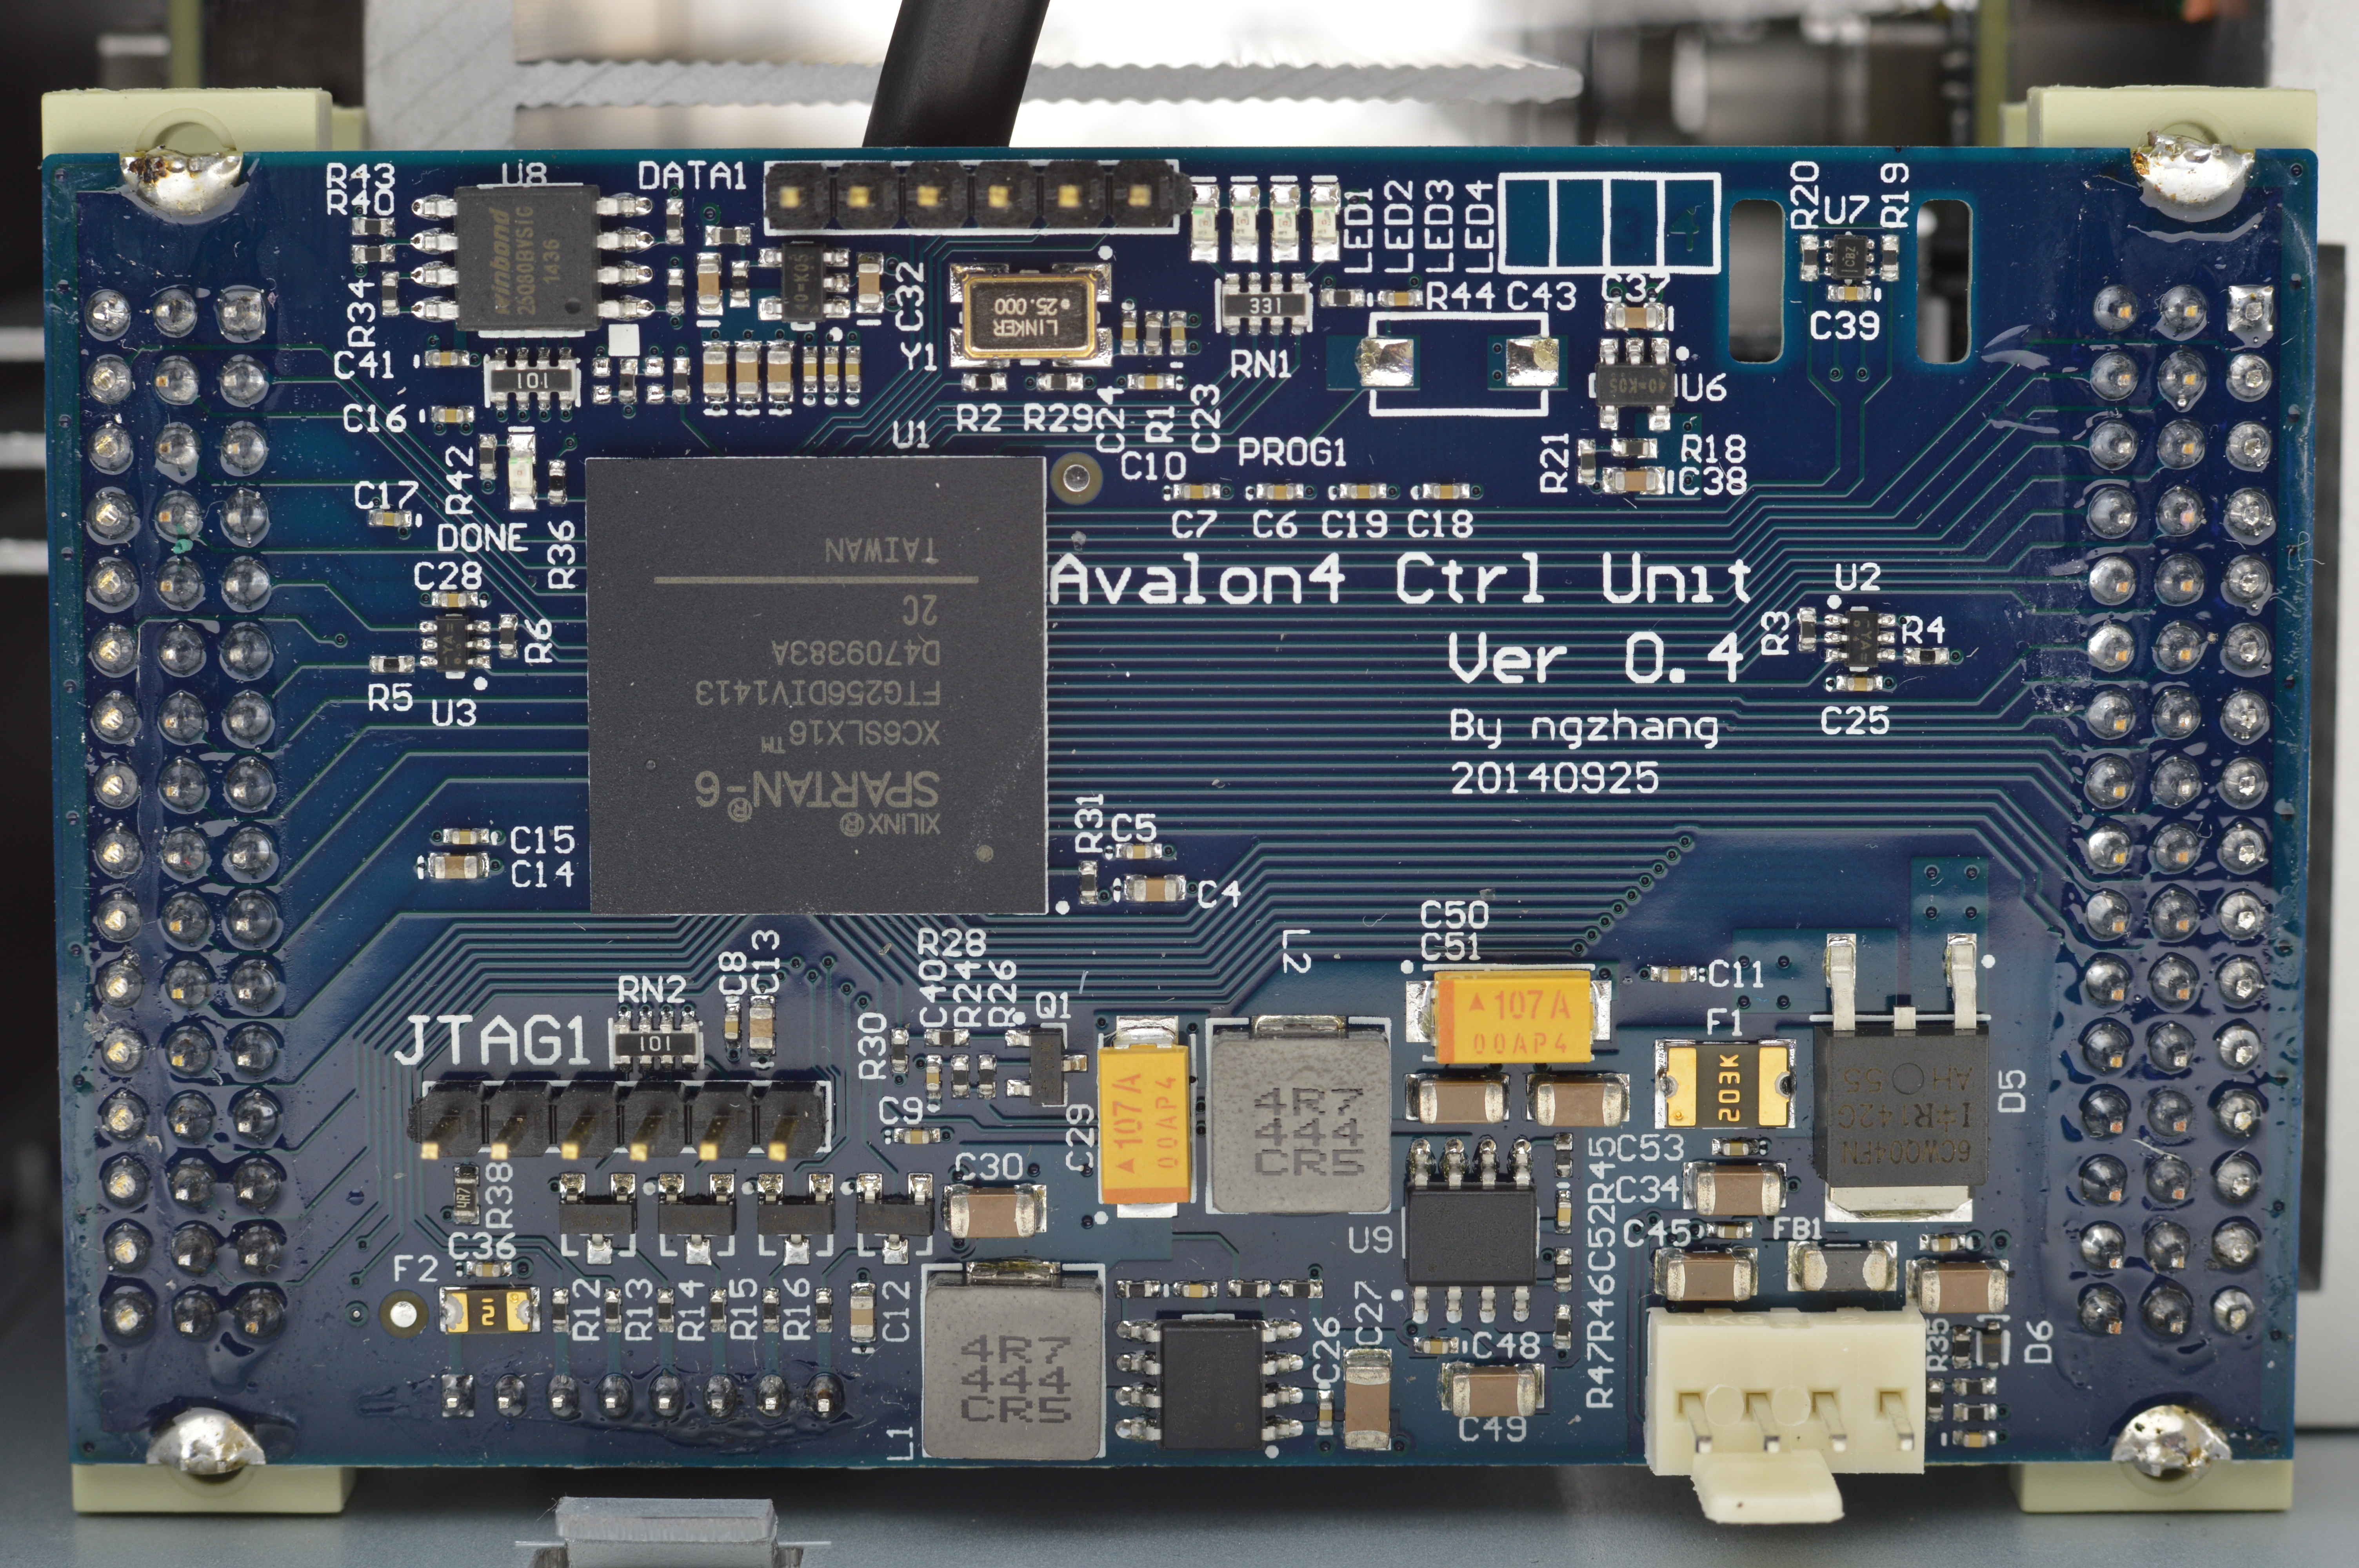
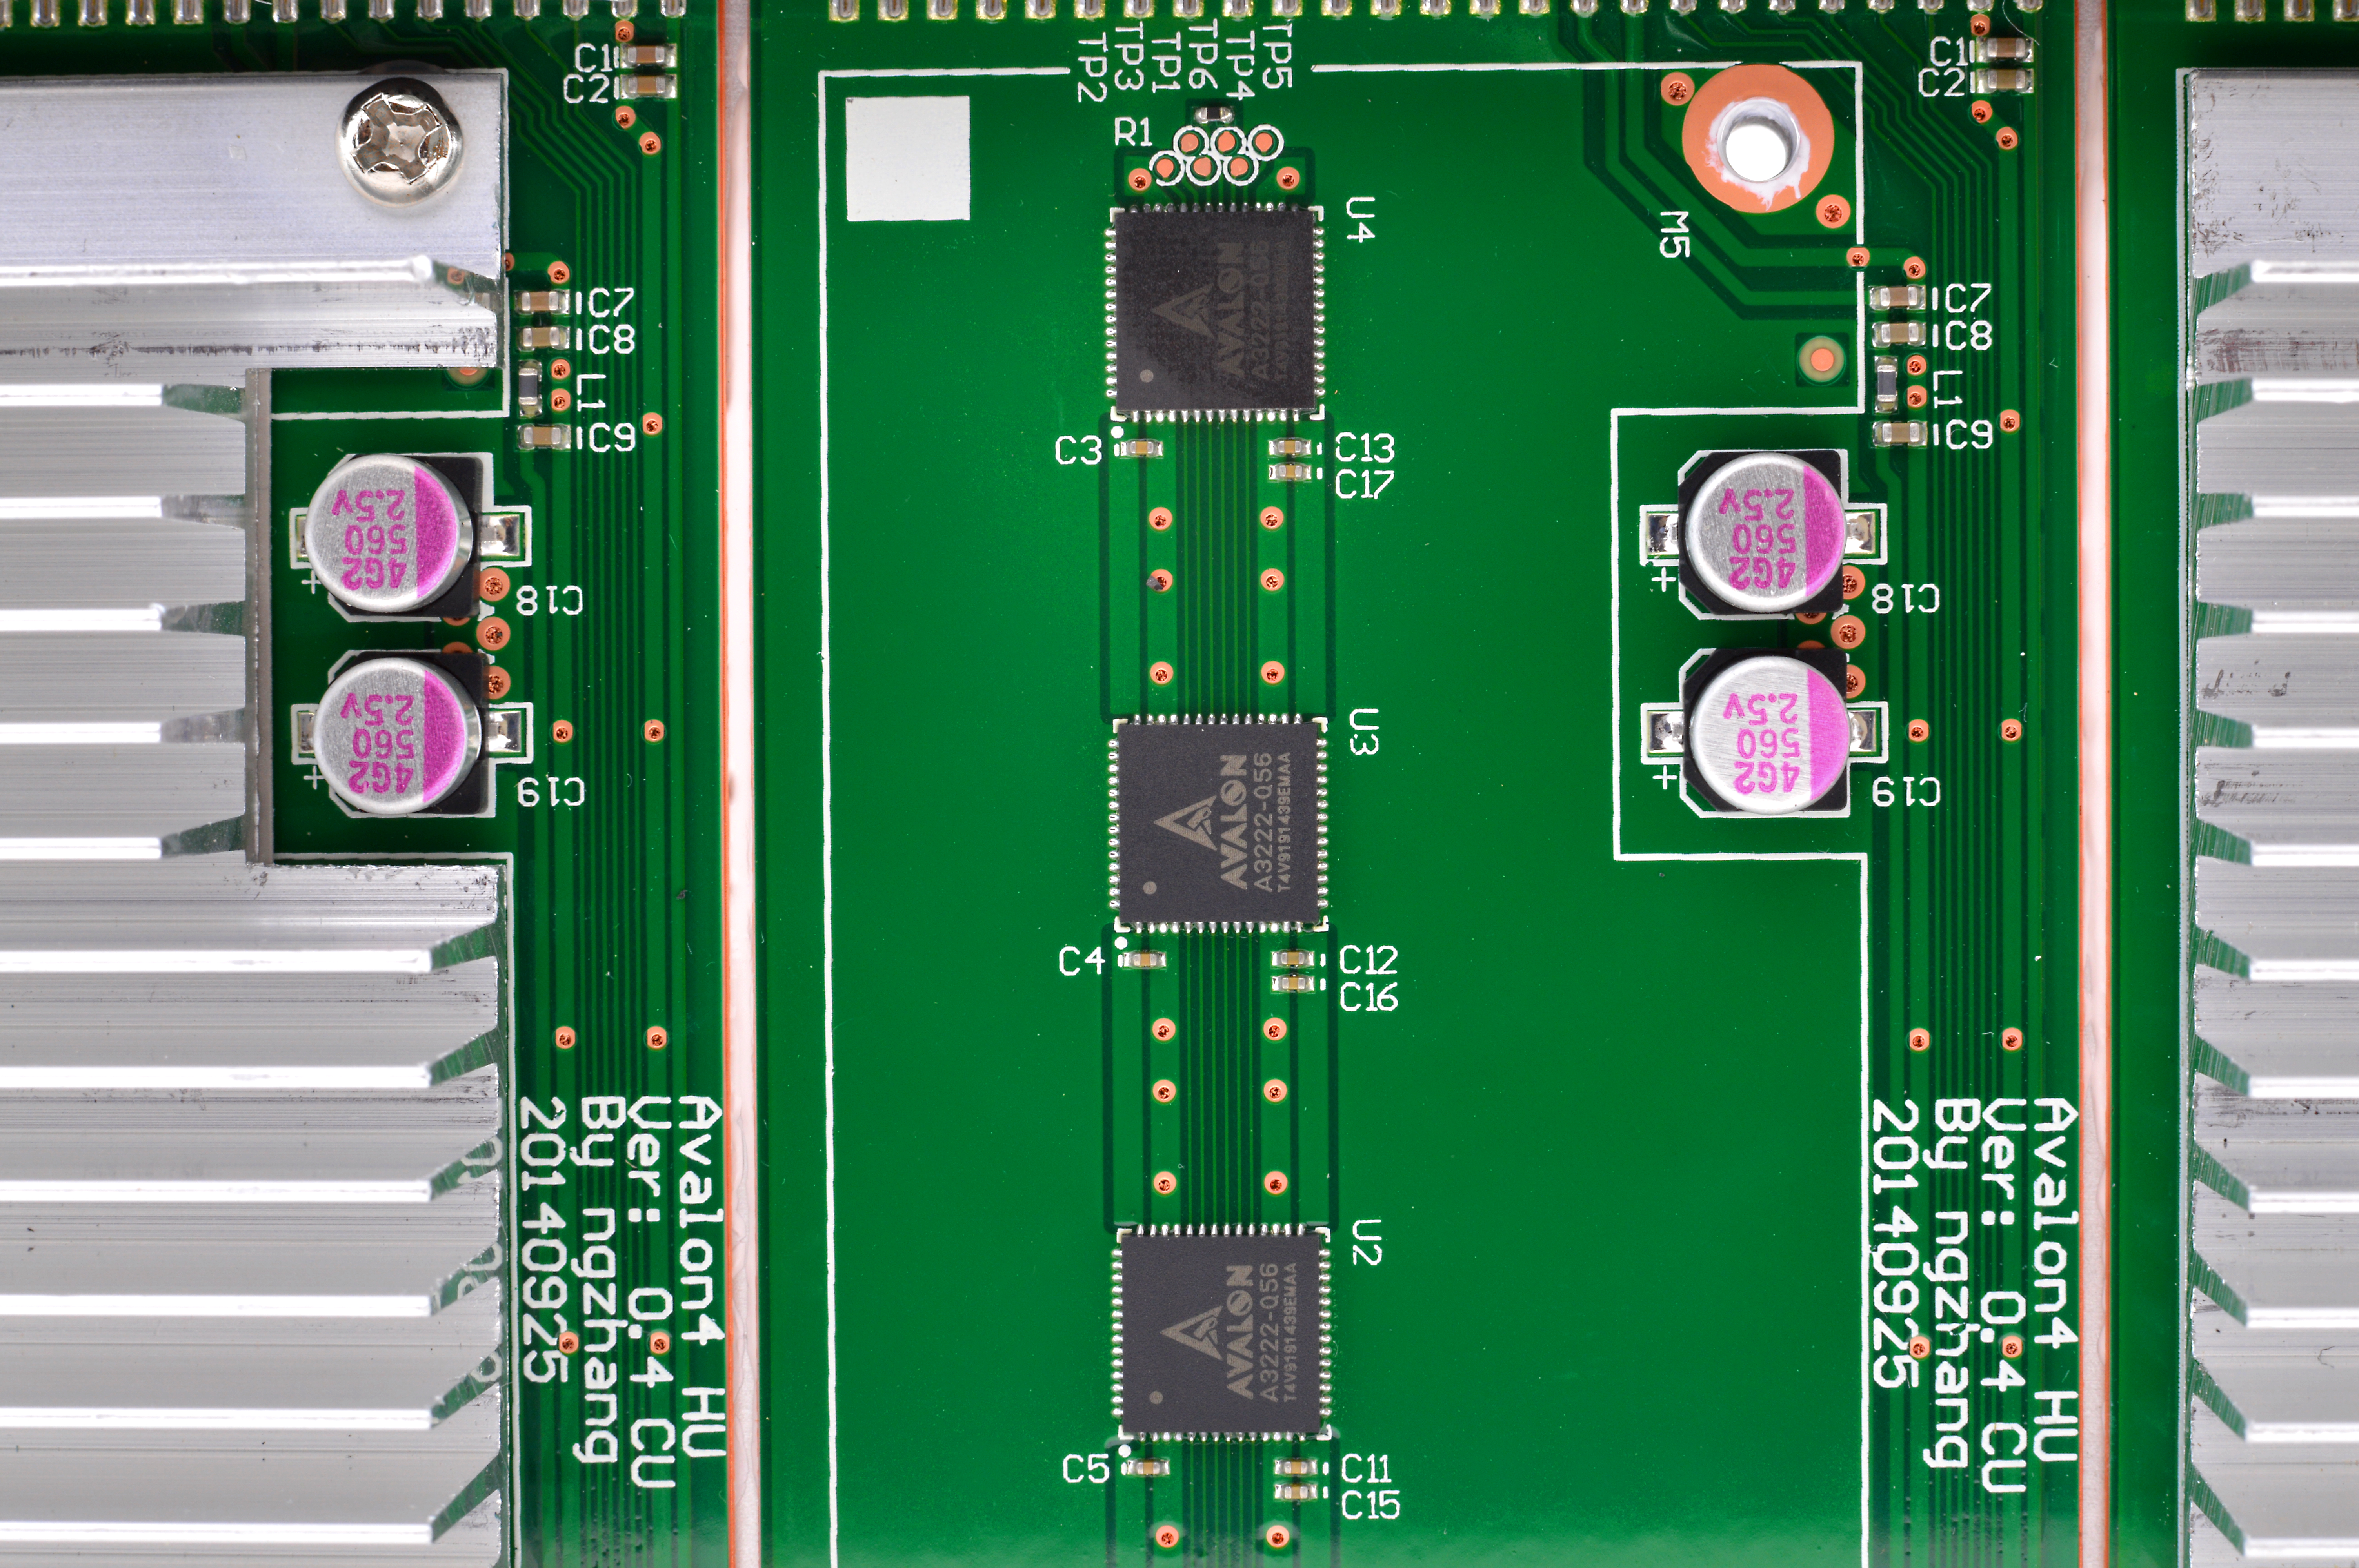
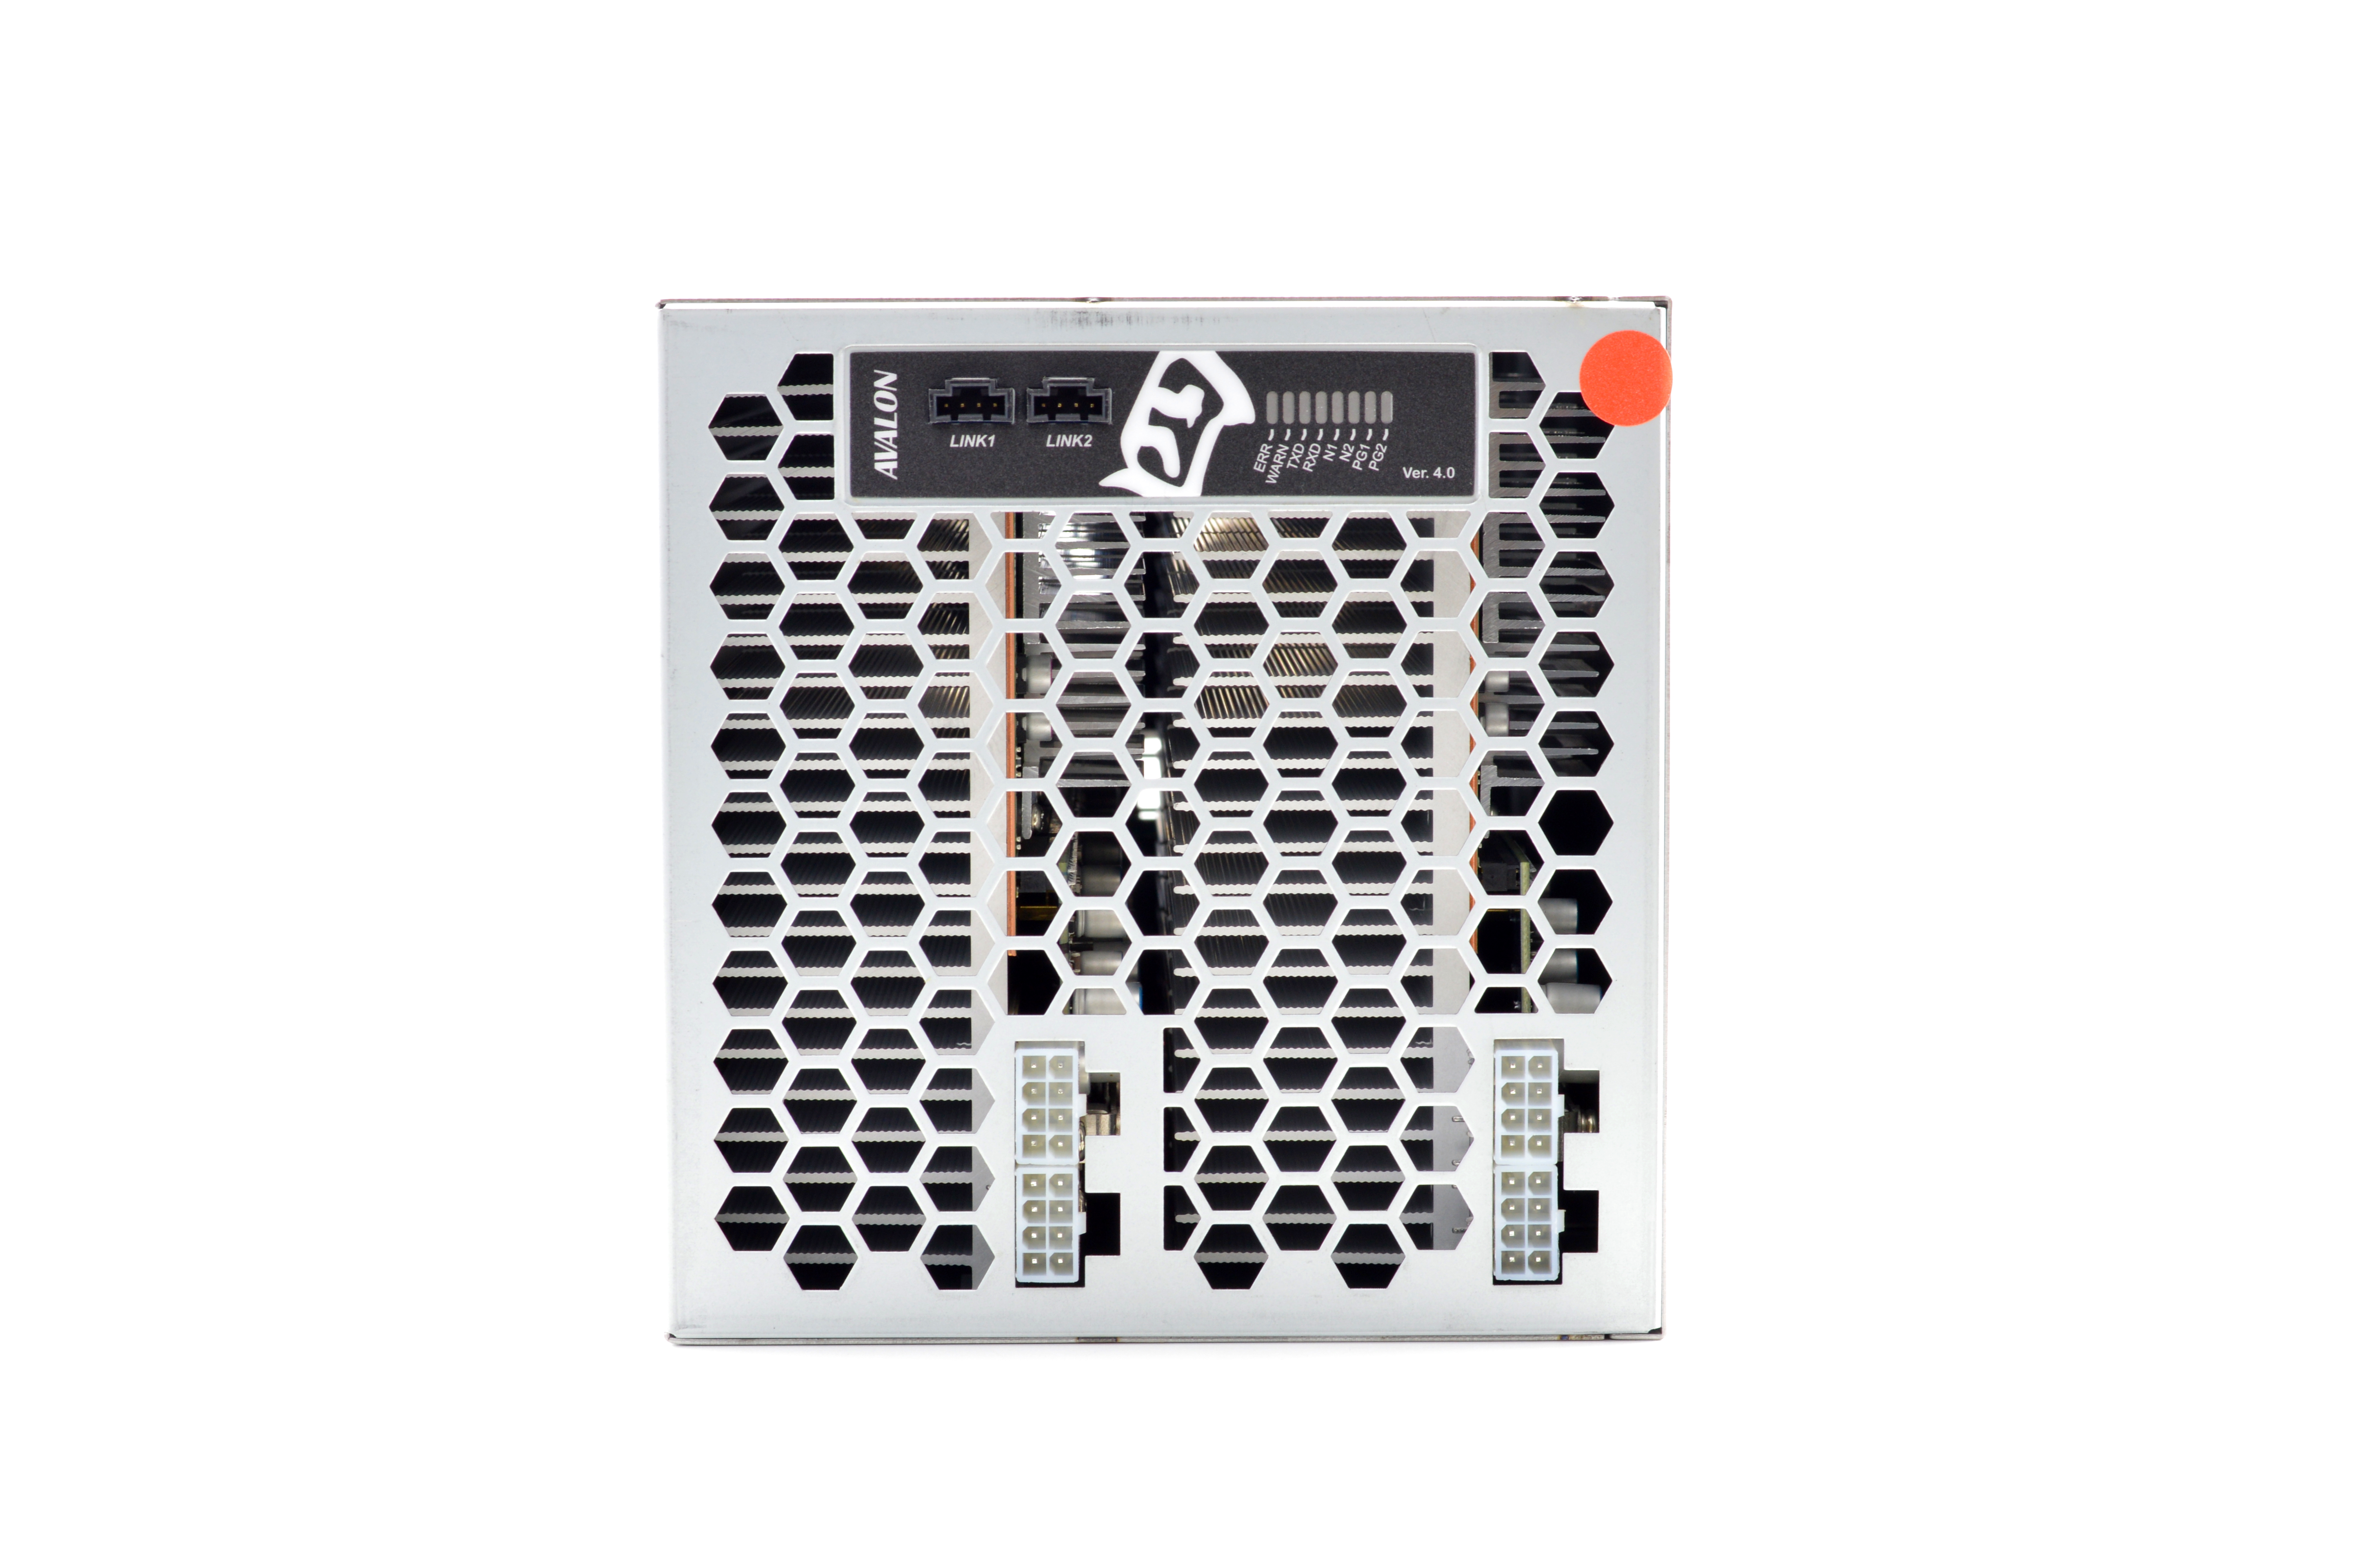
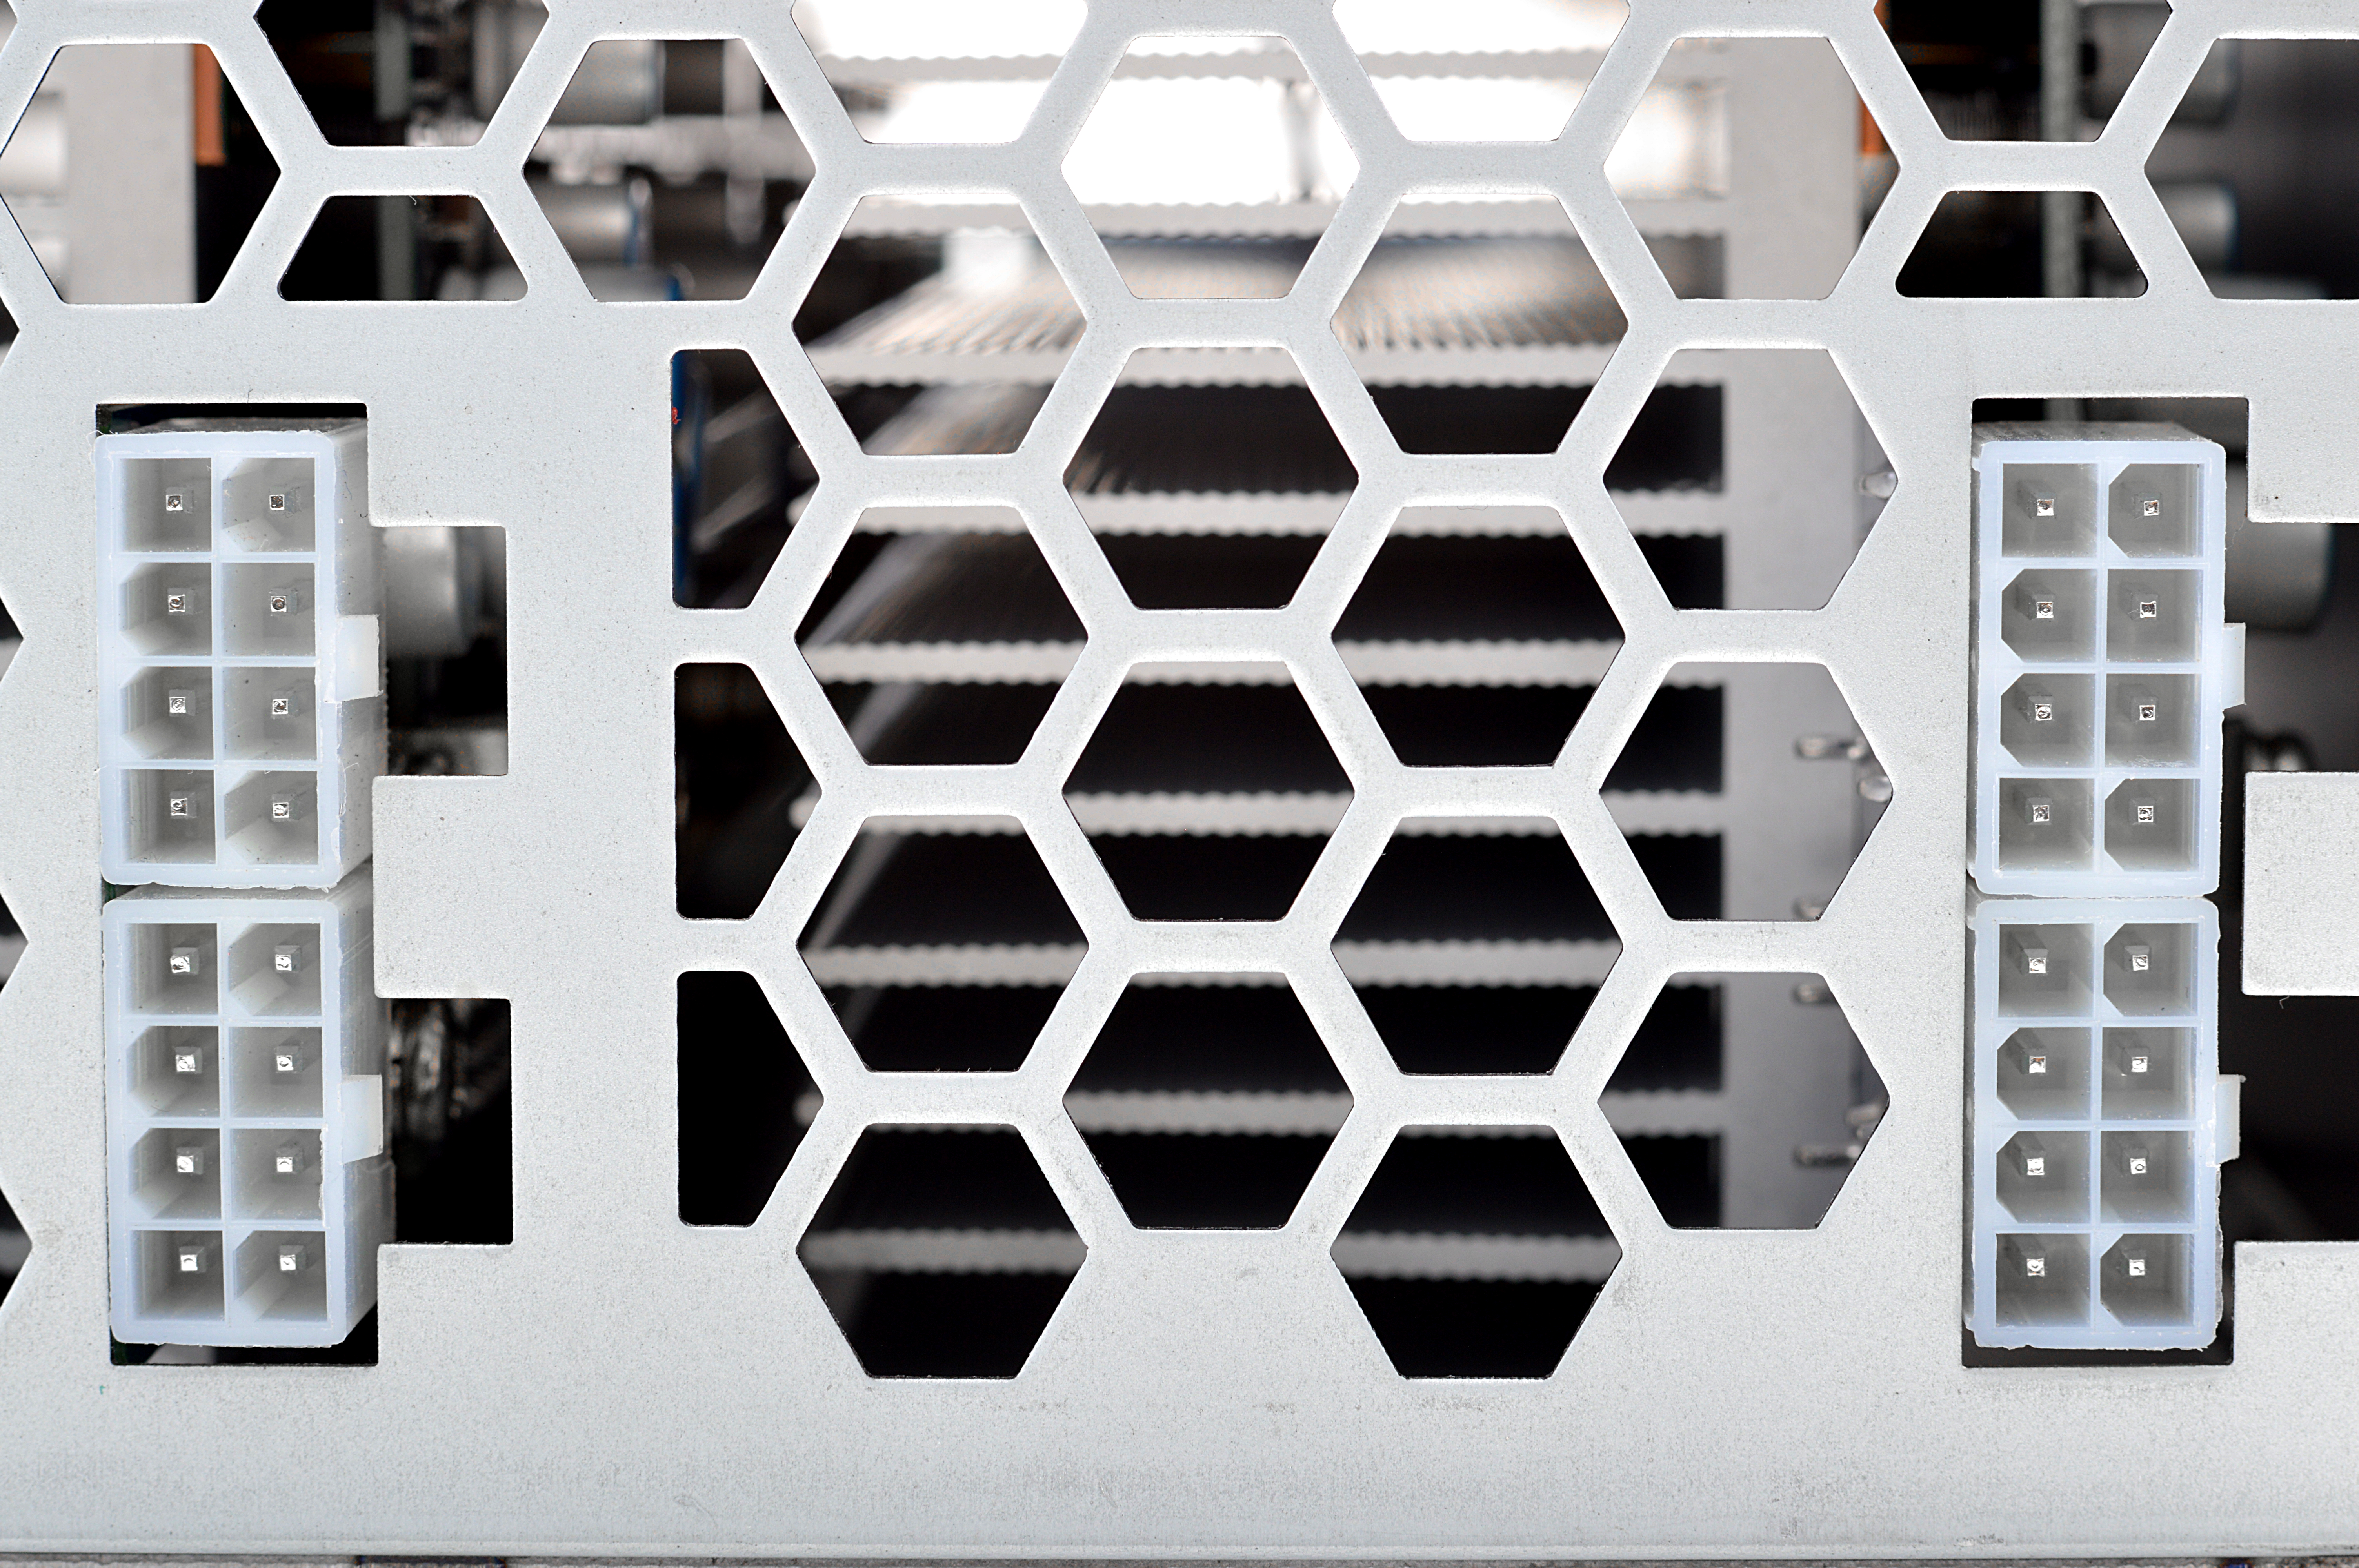
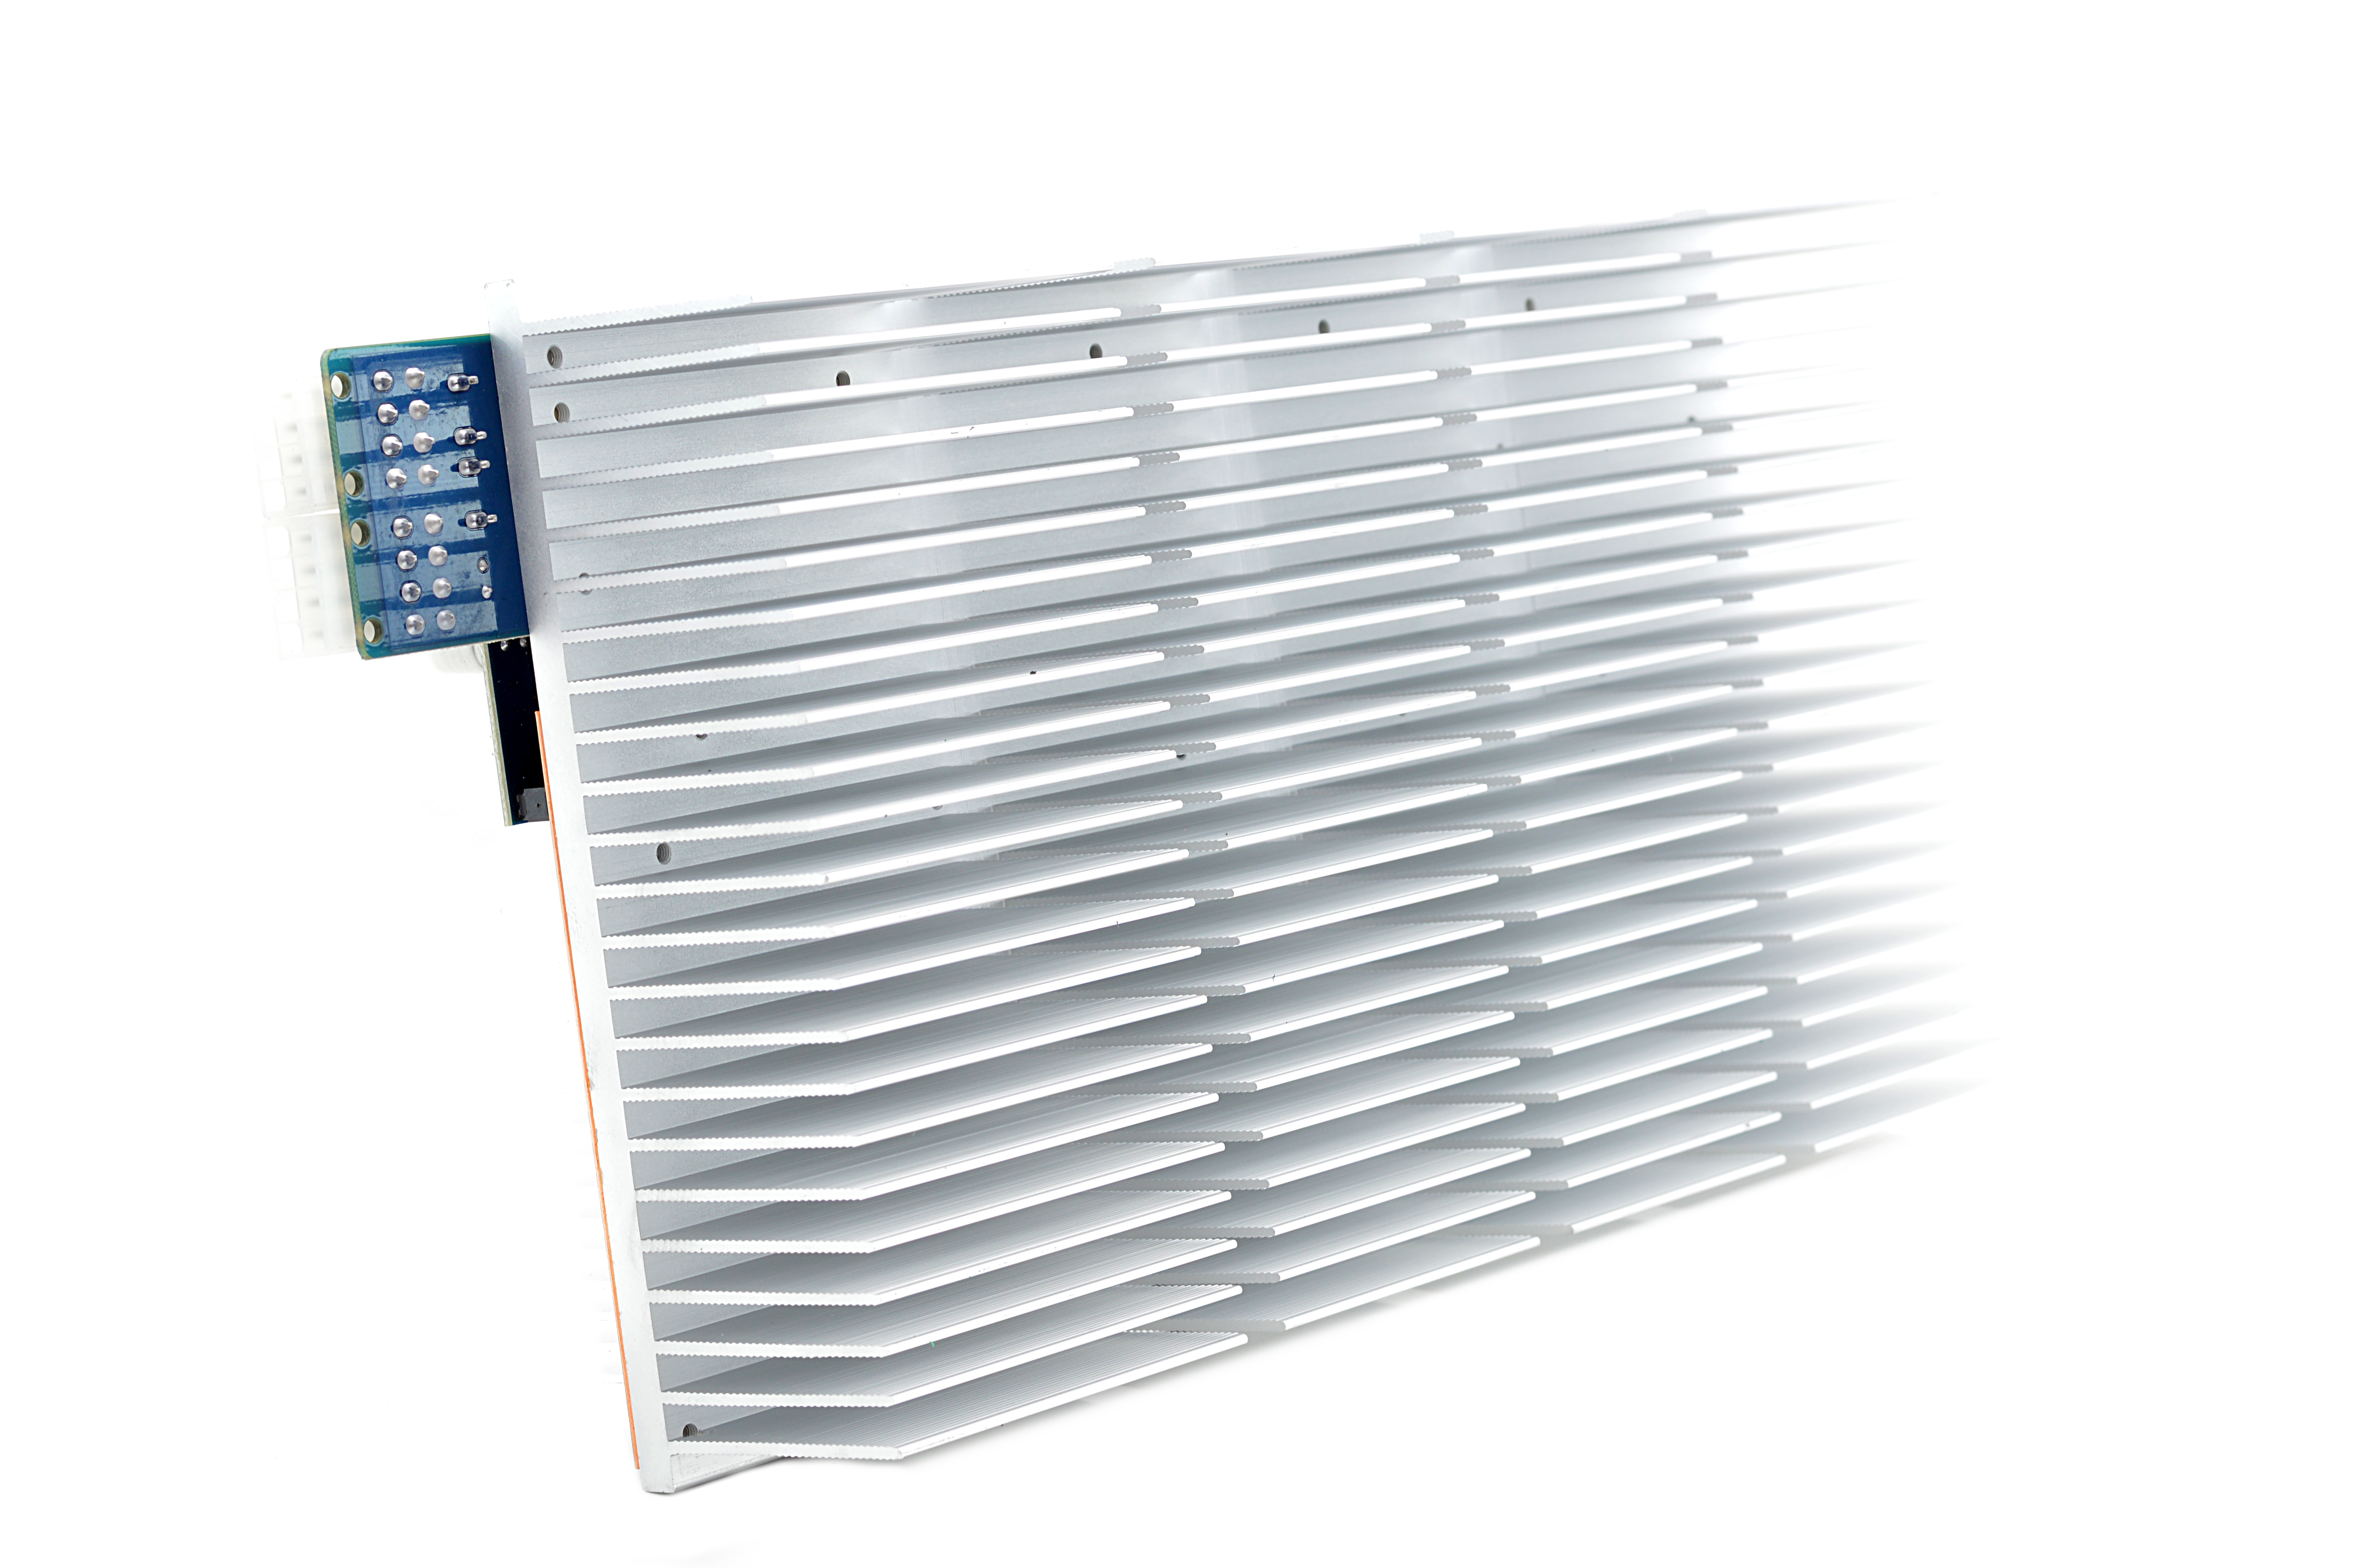
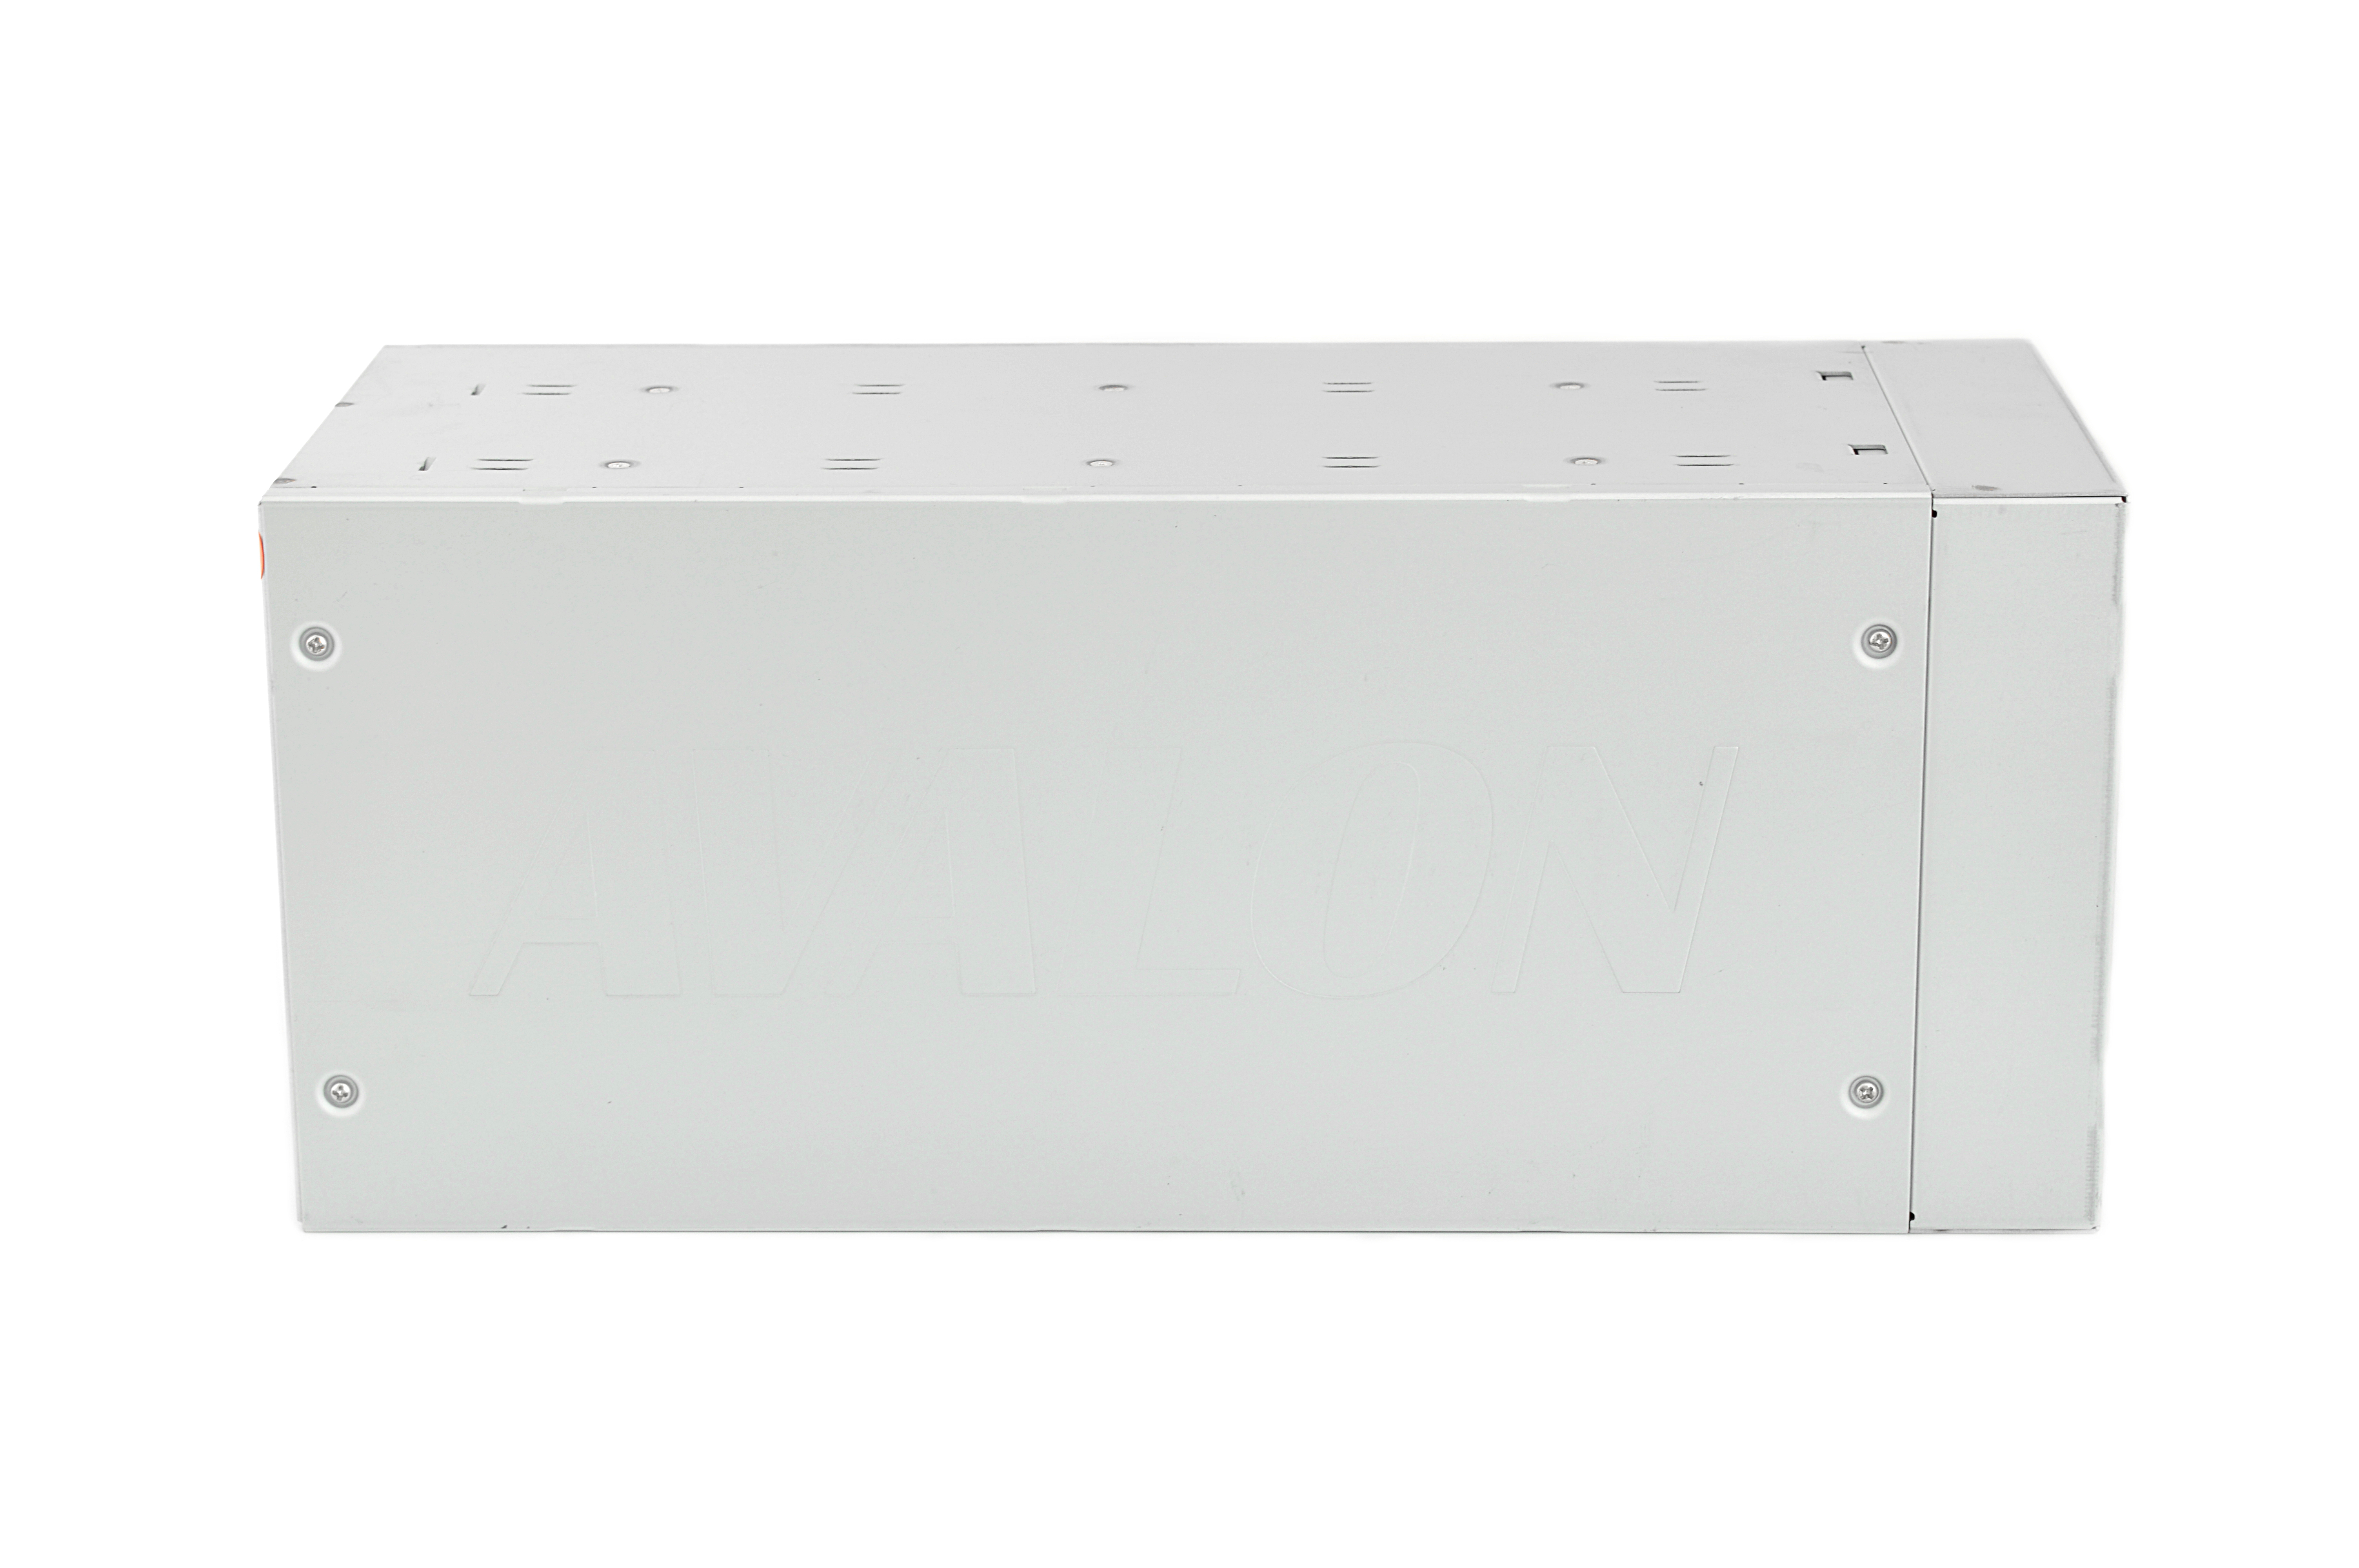
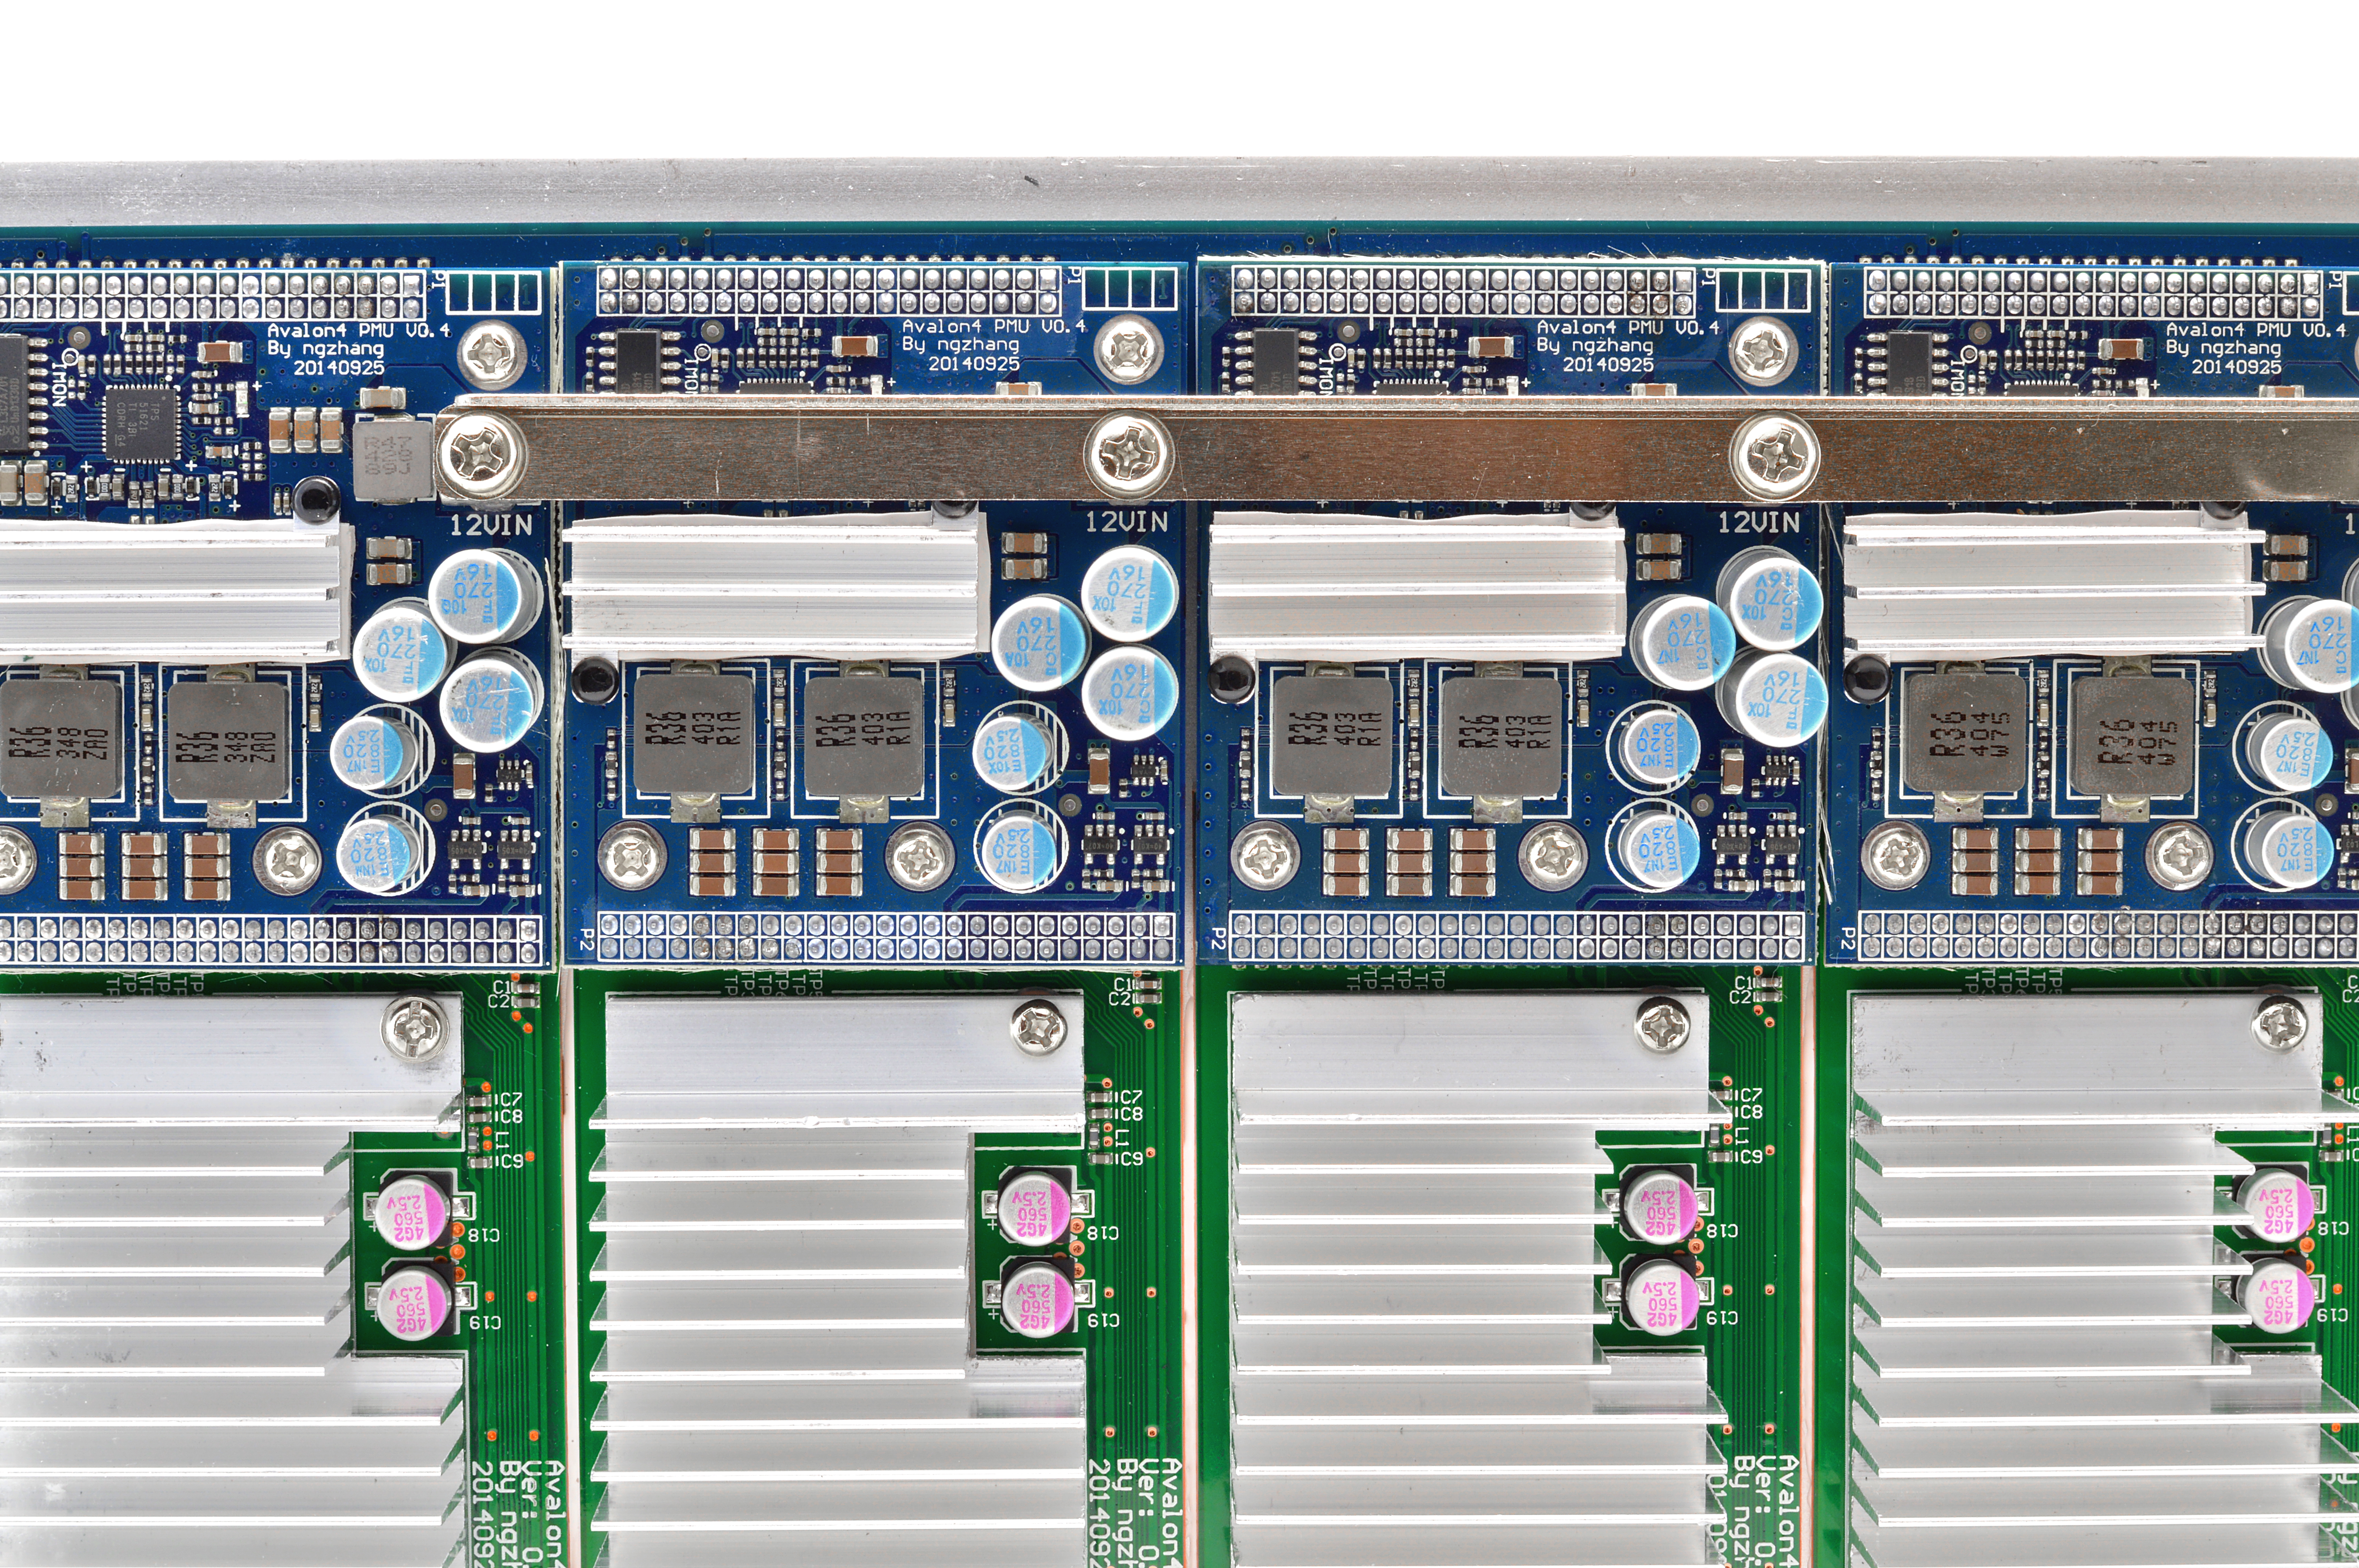
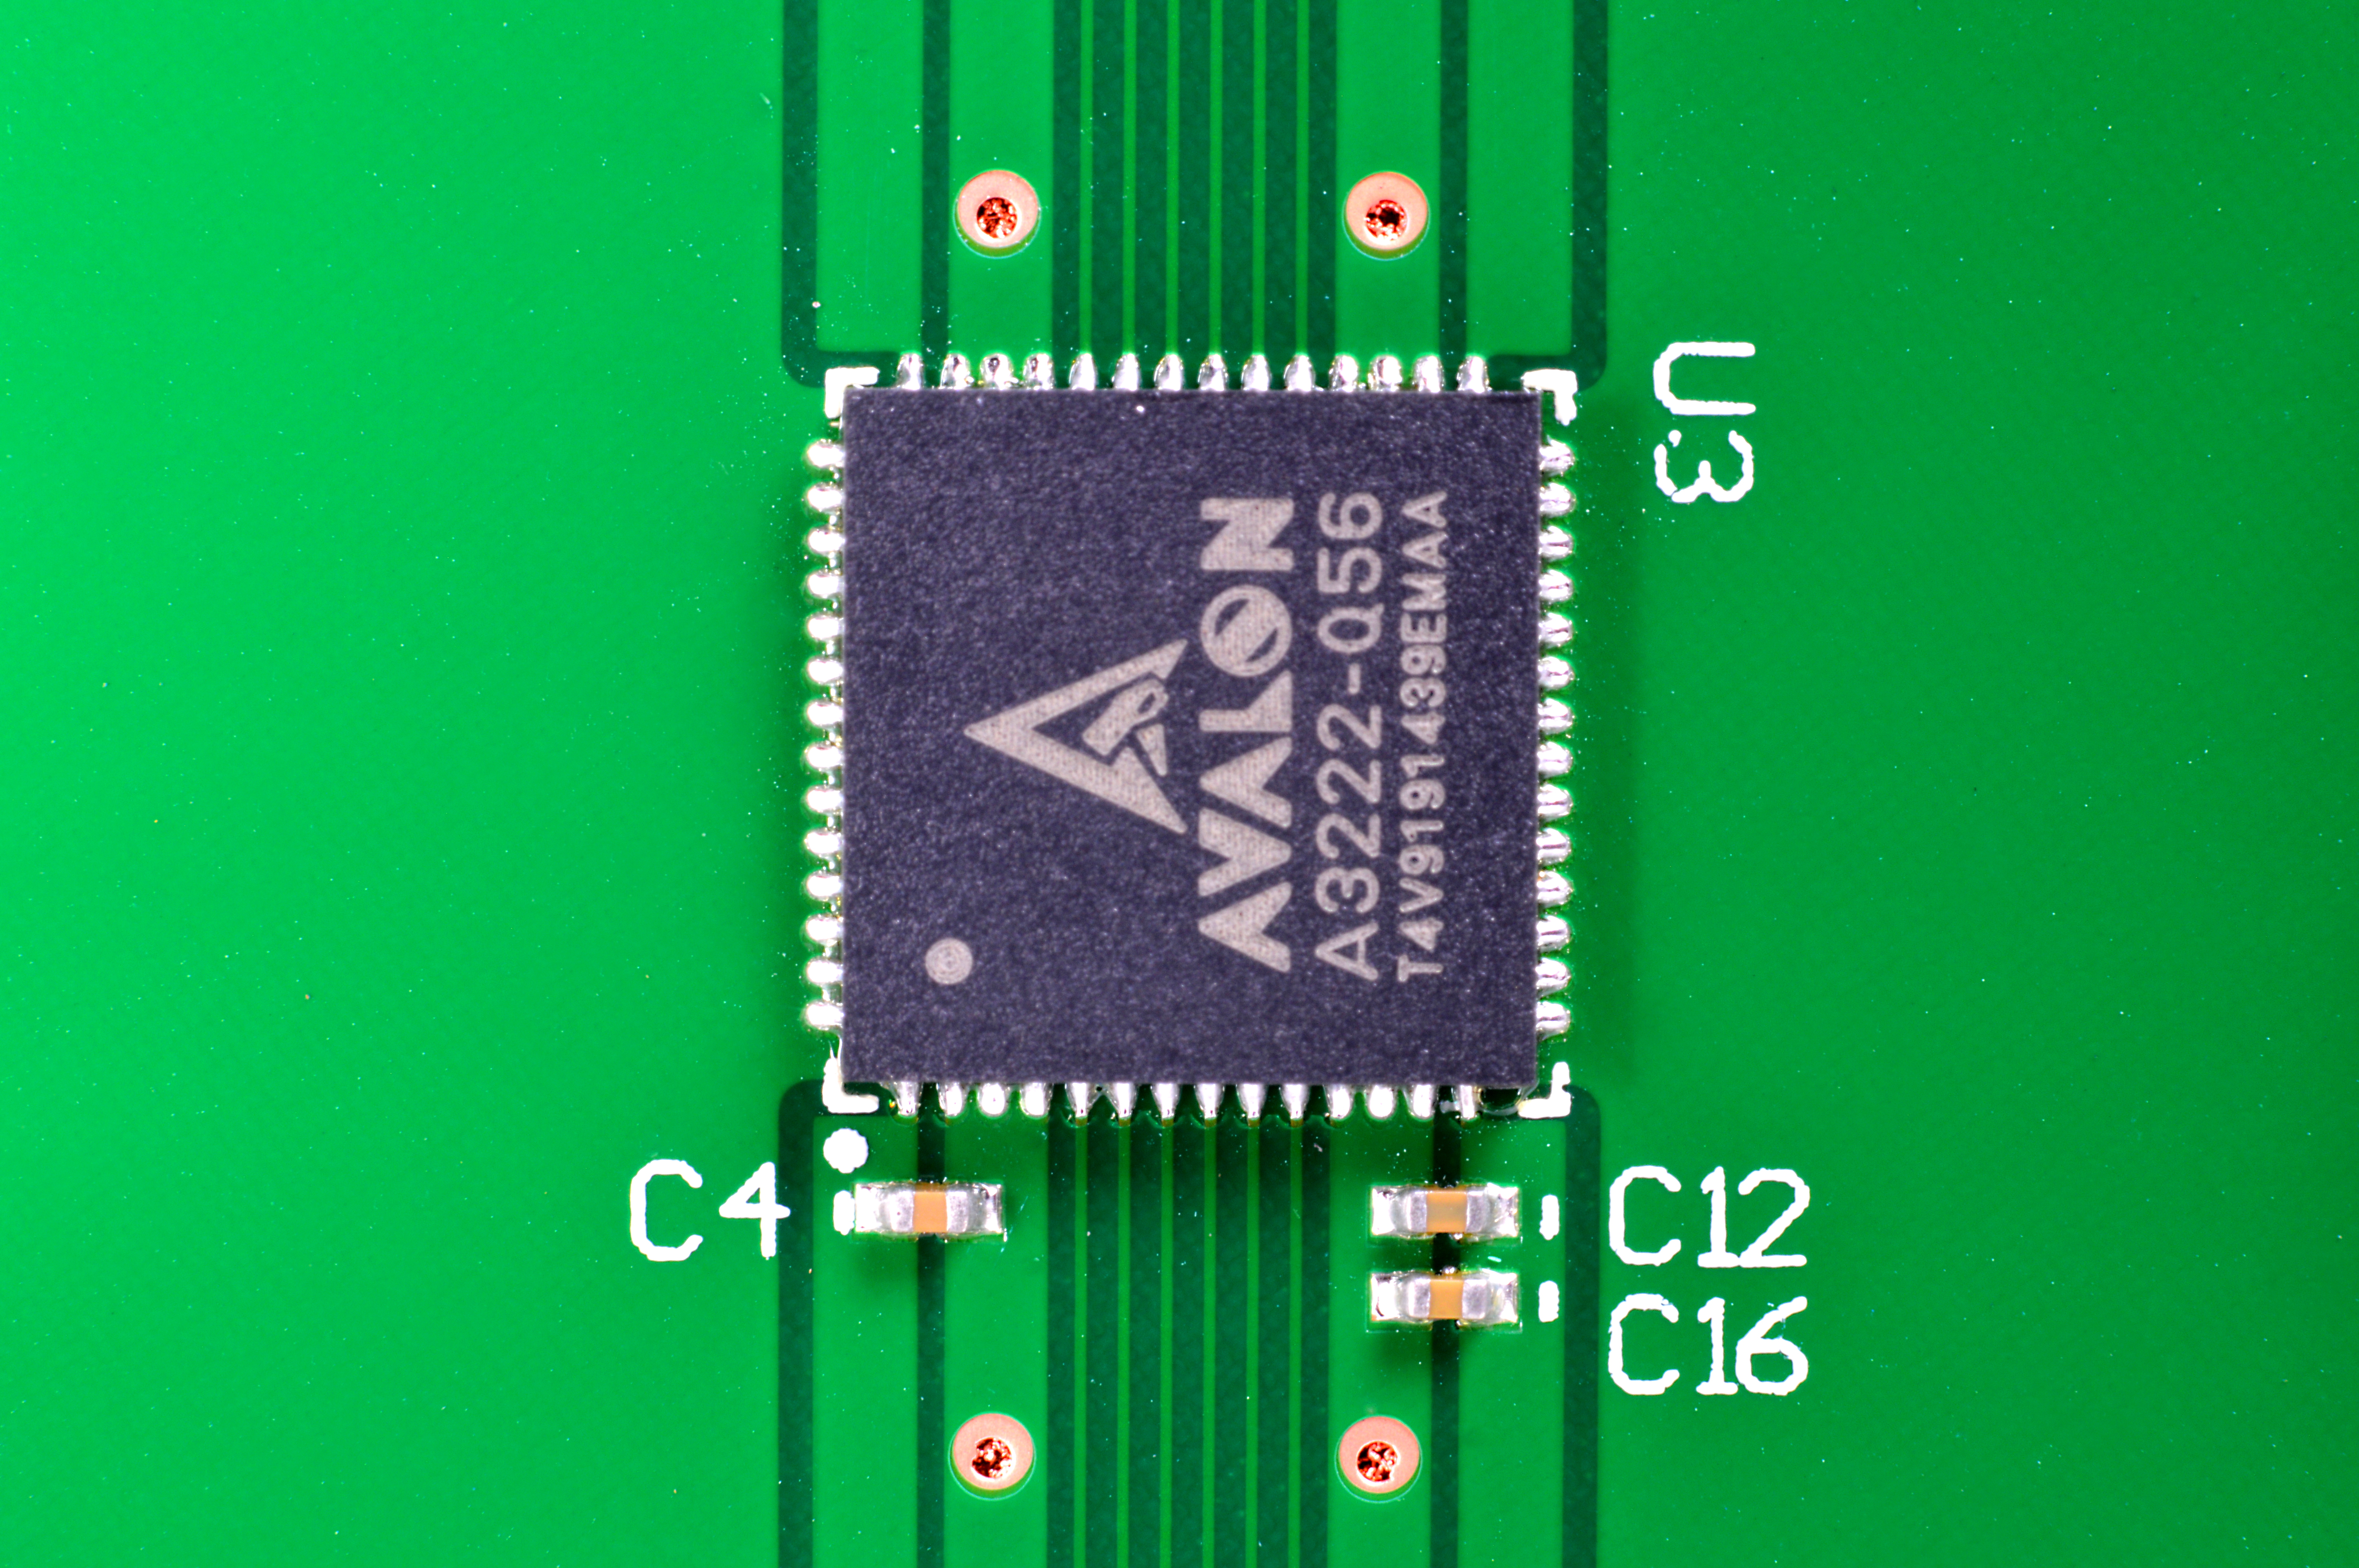
Dogie's Miner Setup Guides:Nicely formatted version available at dogiecoin.com!  Contents Contents: 0a) What to Expect0b) What You Need1) Powering2) Cooling3) Case4a) Configuration (TL-WR703N)4b) Configuration (Raspberry Pi)5) Troubleshooting6) Where to buy0) What to Expect (top)The Avalon 4 takes on a new form factor from its predecessor and is now a fully encompassed unit. Each Avalon 4 contains two hashing boards which are in turn made up of 5 mini hashing boards to increase redundancy. An external controller is required, and can use a modified WR703N router or a Raspberry
Pi. A 4 pin interconnect wire, a 4 pin to micro USB adapter and a micro USB to USB cable is included in the package. | Chips | 40x 28nm Avalon 4 A2322 | | Hashrate | 1000GH | | Rated Voltage | 12V | | Rated Current | 50A | | Power.Consumption | ~690W |
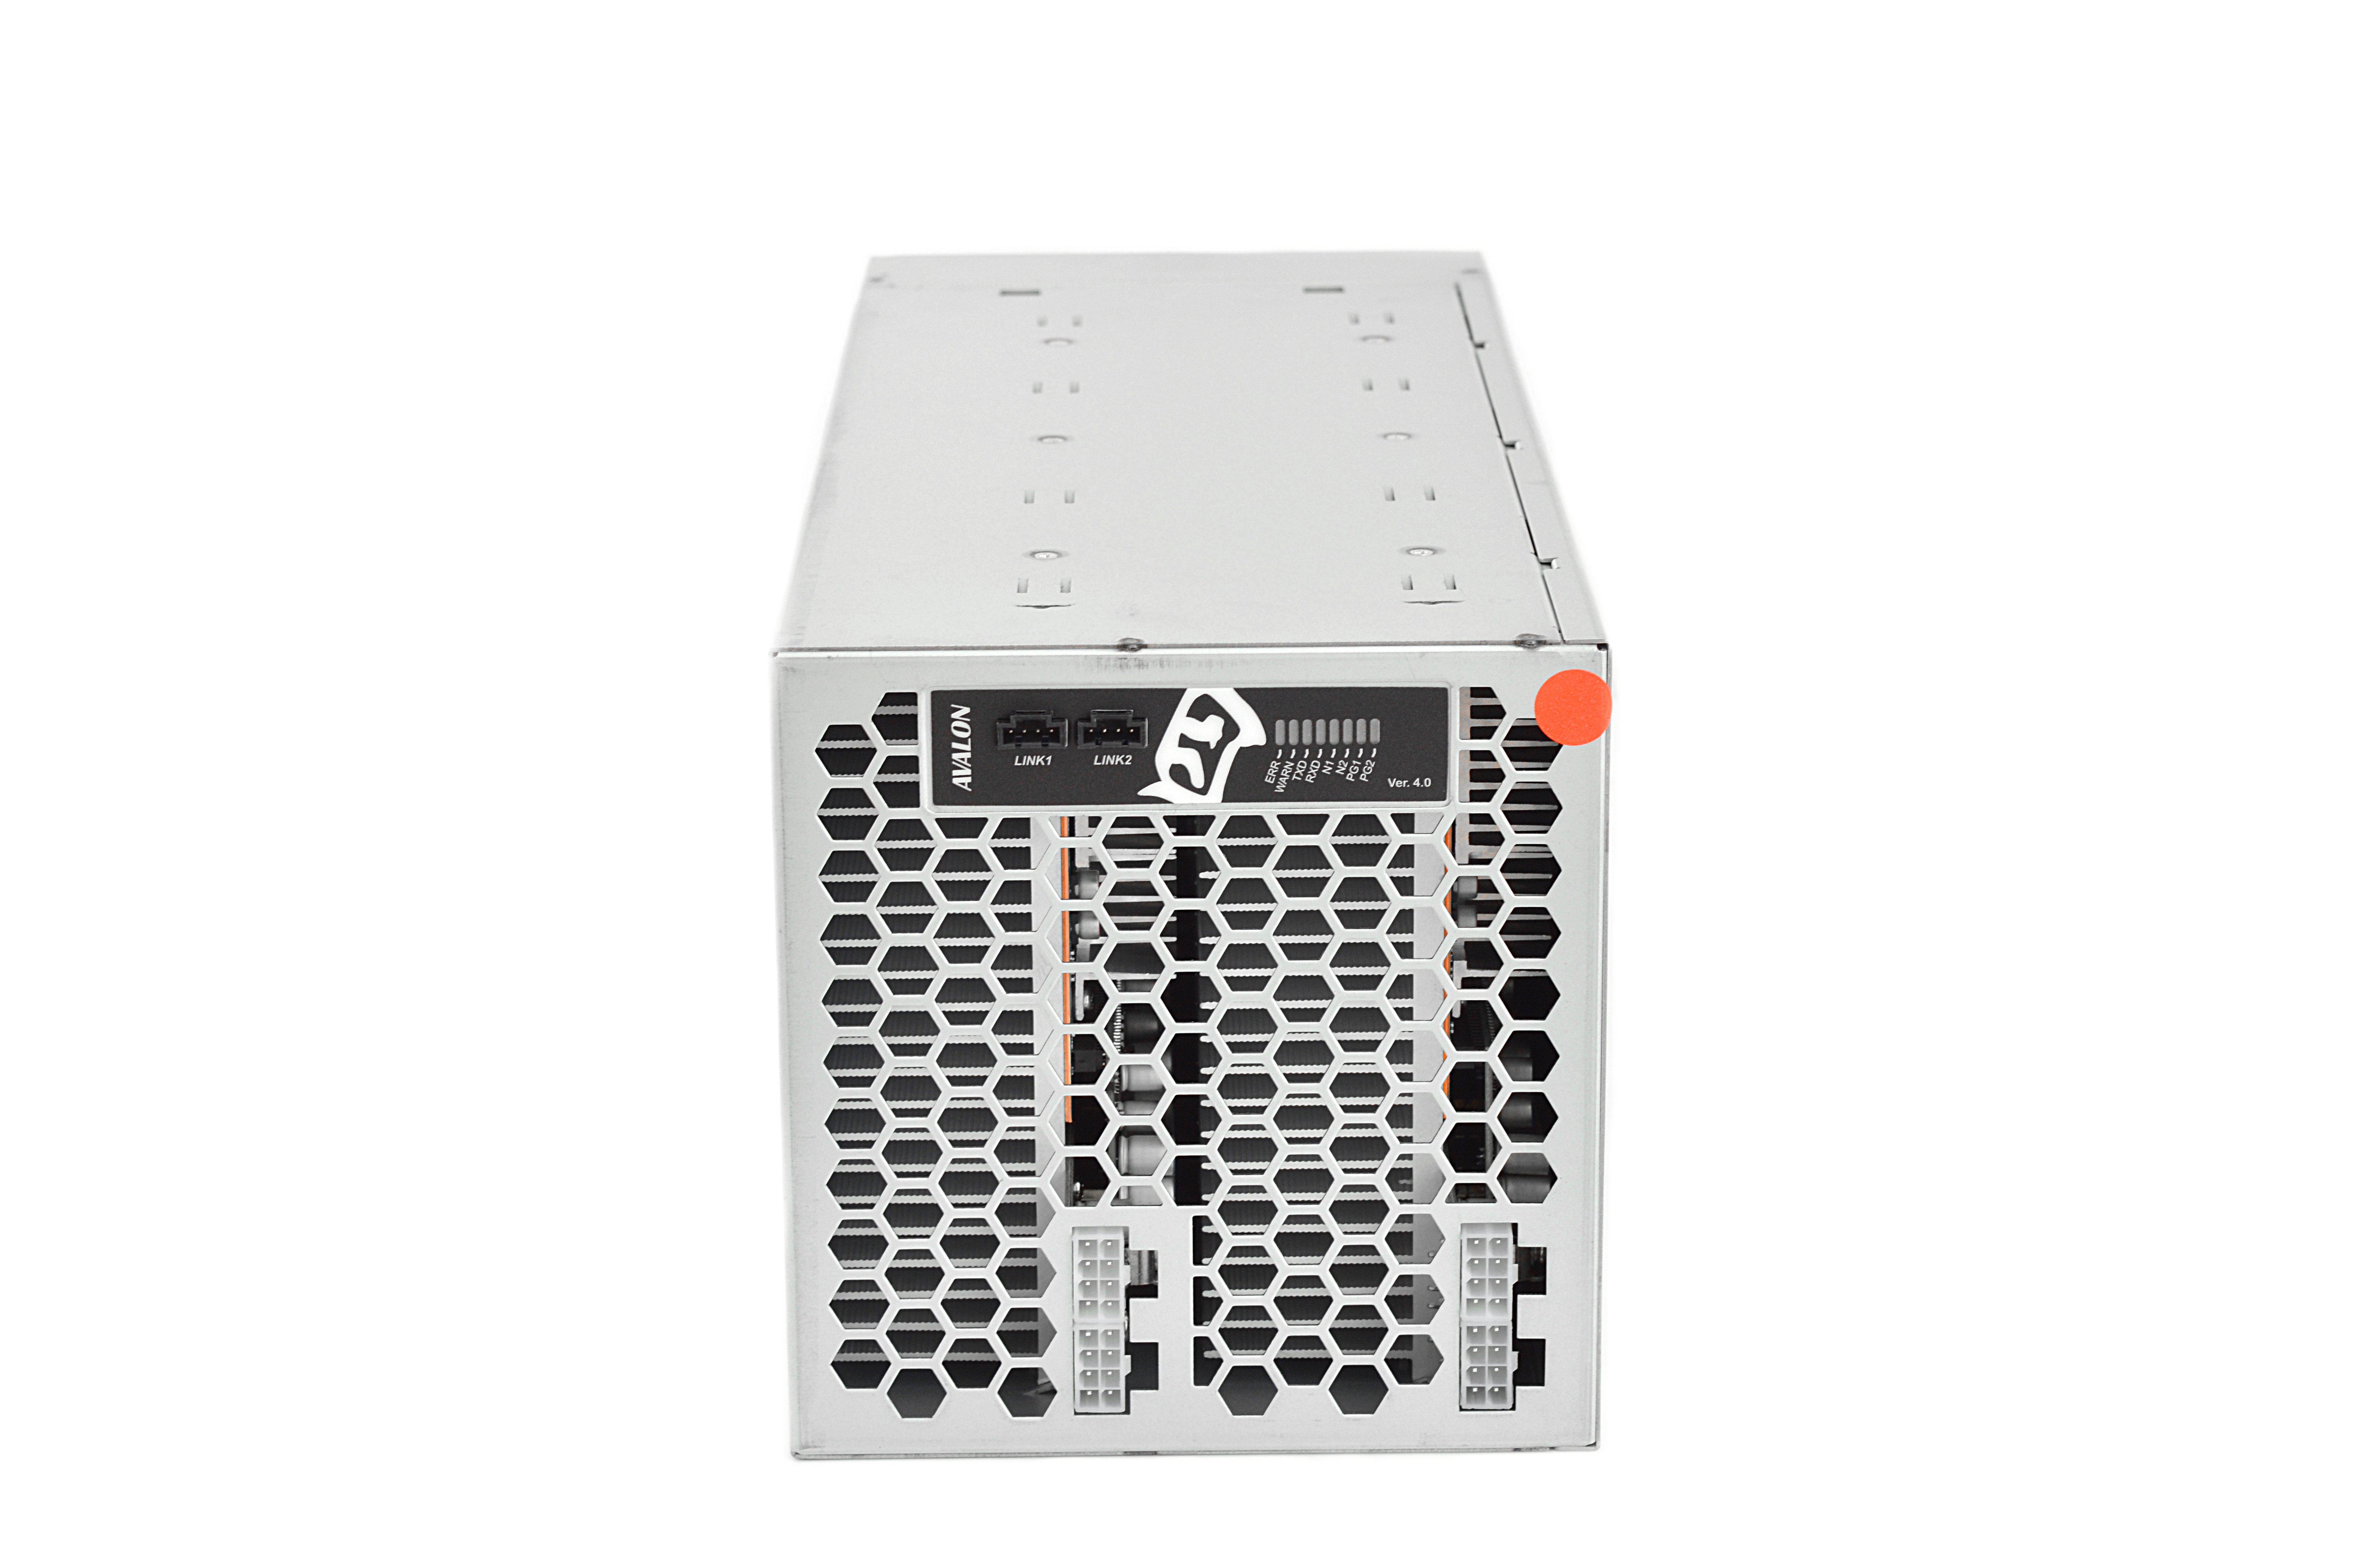
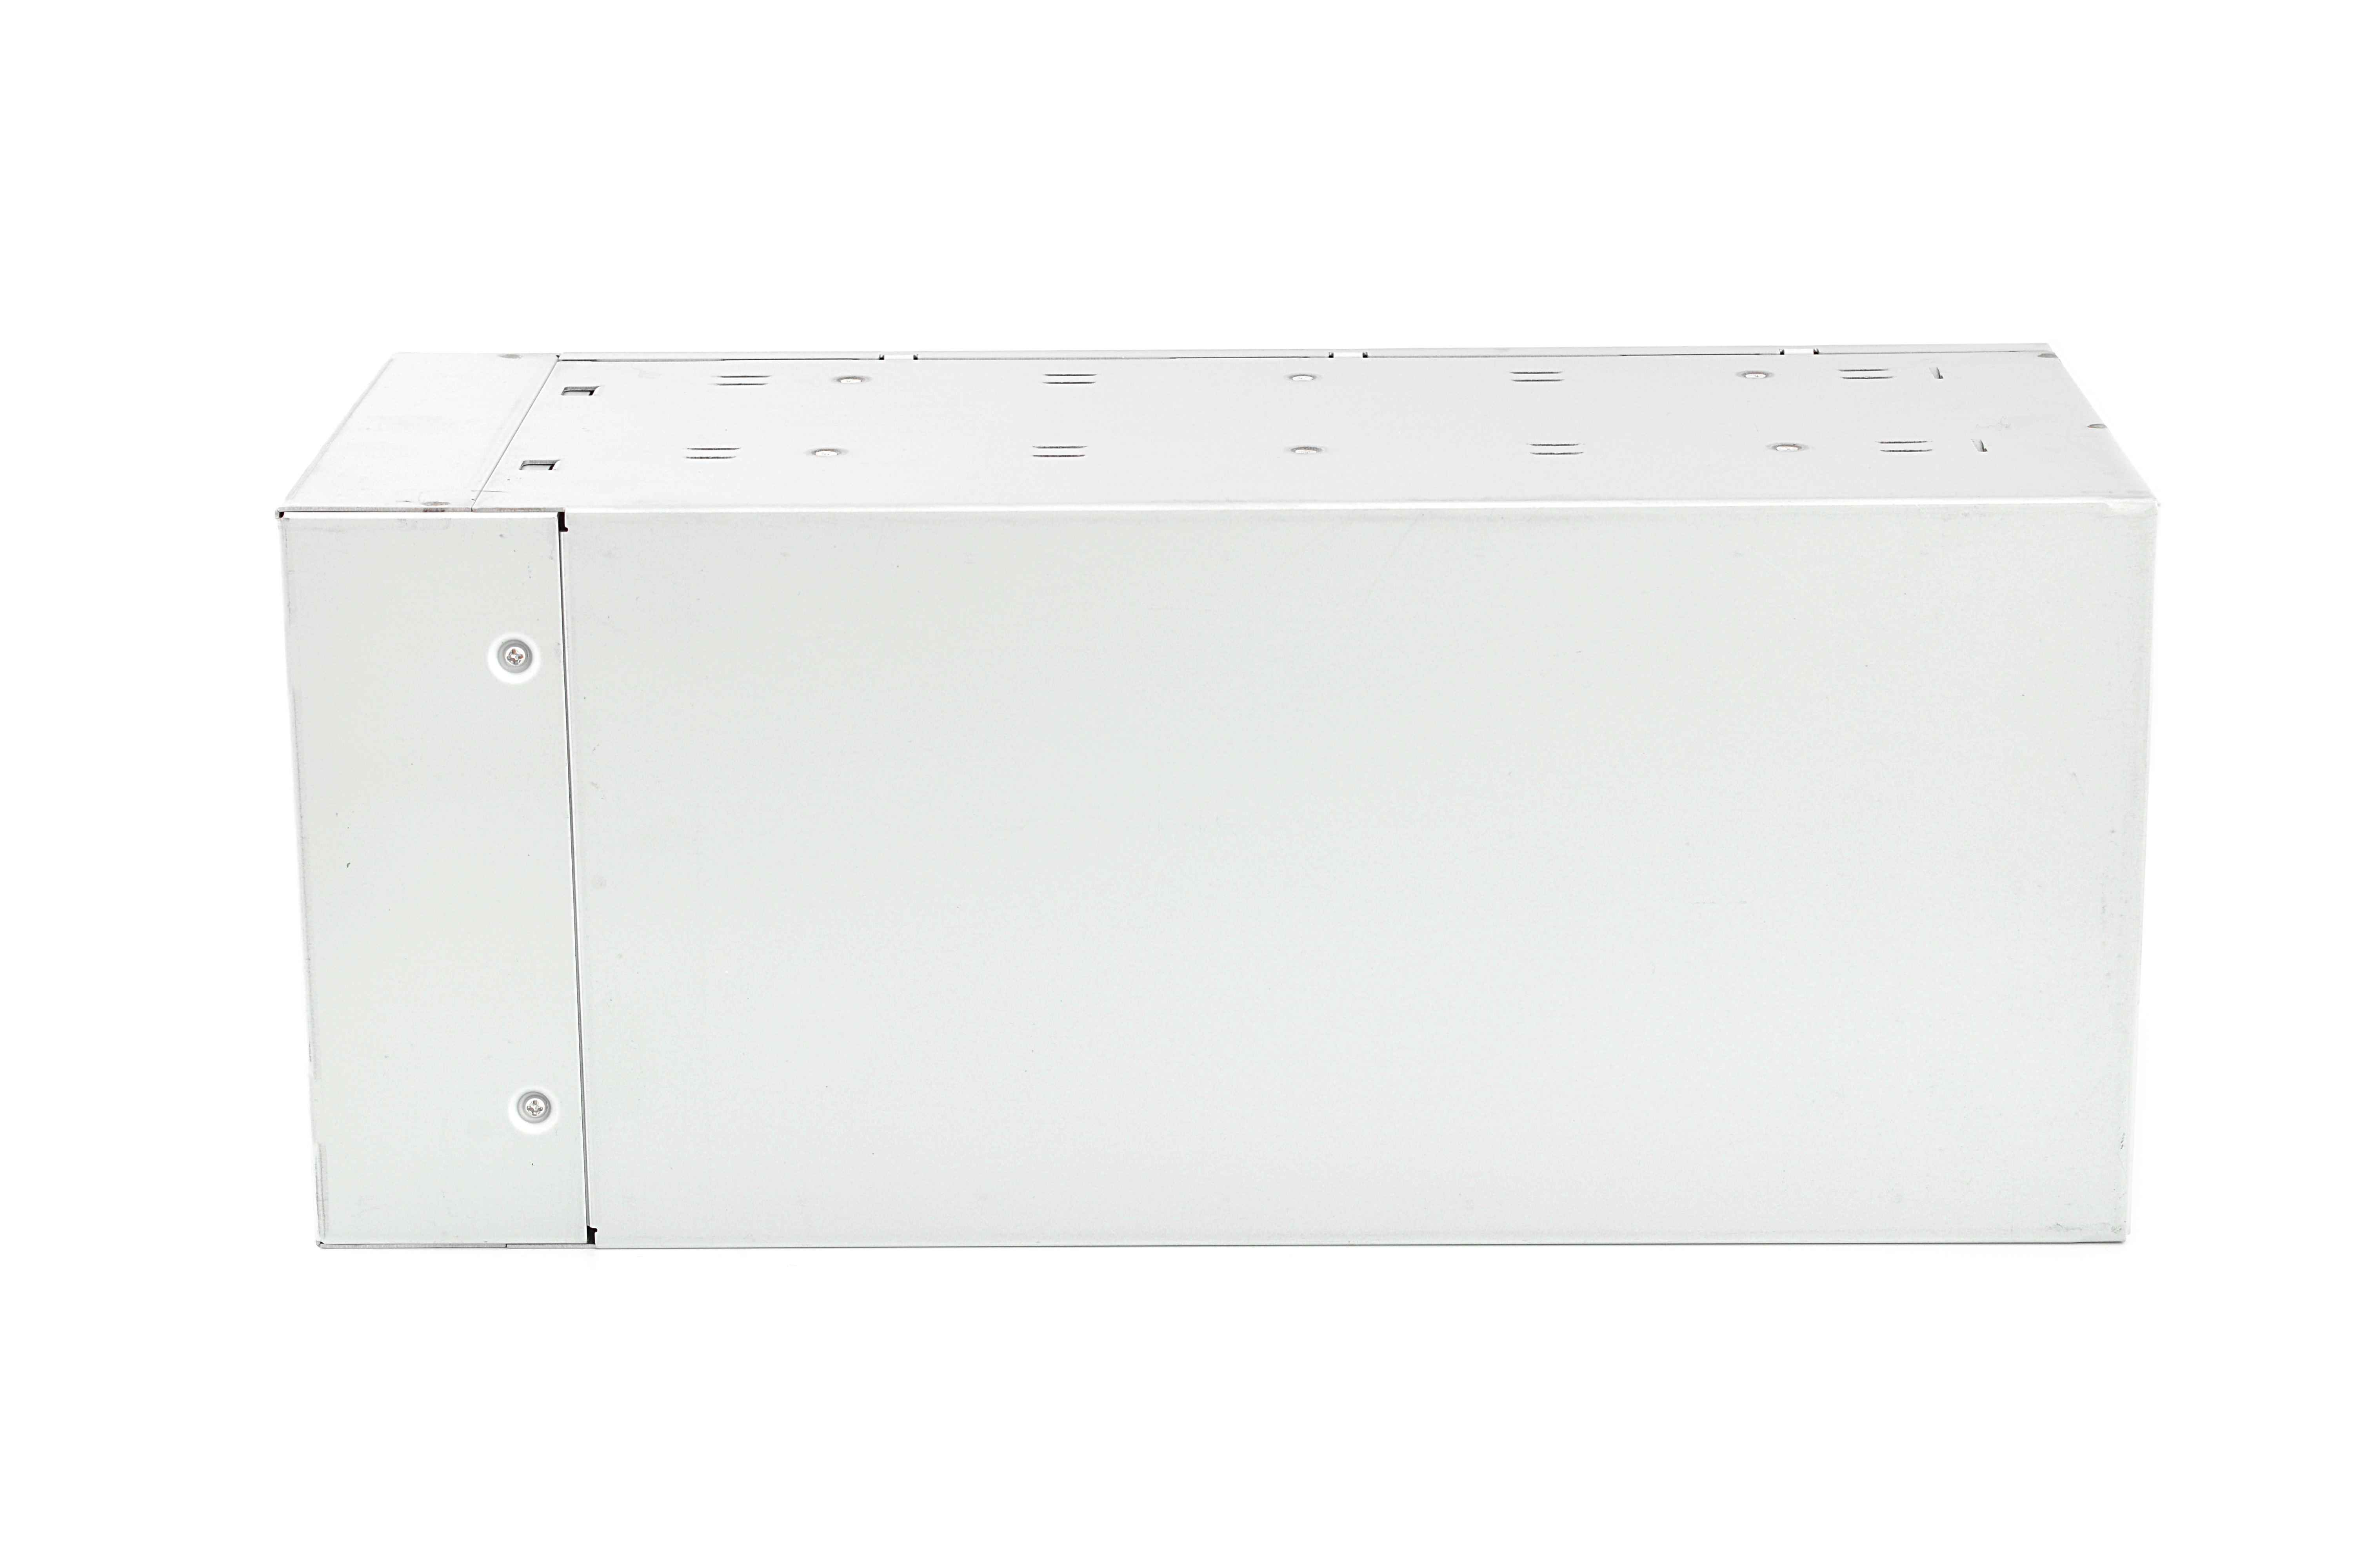
     0b) What You Need (top) 0b) What You Need (top)You will need a few accessories and a power supply to get started. I recommend buying the controller directly from Avalon as they will preflash it with the correct firmware. Click your flag to find everything you need to get started at Amazon!       1) Powering (top) 1) Powering (top)Avalon 4's do not come with a power supply, and you will need a typical computer PSU with 4xPCI-E 6 pin power connectors. All 4 PCI-E connectors are required. We also need to tell the PSU to always be on, as there isn't a motherboard to do this. Cut a paper clip into a U and insert it into the green wire and either black wire to the side of the green wire. Tape it up for safety. The power supply will now be controlled by its switch on the rear socket.   2) Cooling (top) 2) Cooling (top)Each module has its own 120mx38mm NMB-MAT7 4715KL-04W-B560mm fan that sucks air through the sealed case and out the back of the unit. Noise levels are very reasonable even at 35C ambient and make a change from the Antminer S5 and SpondooliesTech SP20. Fan speeds are automatically controlled although the user can override fan speeds.     3) Case (top) 3) Case (top)Avalon 4's are entirely enclosed in an anodised steel case. A shipped unit weighs 8.7kg and the shipping box measures 230mm x 235mm x 490mm while the unit weights 8.0kg and measures 160mm x 165mm x 390mm. Click here to see a 360 degree view!     4a) Configuration (TL-WR703N) (top) 4a) Configuration (TL-WR703N) (top)Connectivity has been updated to allow for up to 20 units to be daisy chained off one USB port. Wiring: - Plug one 4 pin cable connected from the 4 pin header on the unit to the micro USB adapter.
- Connect a micro USB to USB cable to the micro USB adapter, and then plug this into your controller.
- More units can be added by plugging another 4 pin cable from the second unit to the first unit's other 4 pin header.
- Plug in a network cable from the WR703N to your router, and power it on.
Configuration: - Power on the power supply using its switch at the back.
- Make sure or your router's subnet is 0, ie 192.168.0.x. If not then change it to 0, this is just temporary. ***If this is not possible, see below***
- Using a browser, navigate to 192.168.0.100 - this goes to the WR703N's configuration page.
- Login using "root" as the username.
- Navigate to Network -> Interfaces -> WAN -> Edit.
- Change protocol to DHCP and click "Save & Apply".
- Using a browser, navigate to your router and find the IP it has assigned the WR703N and navigate to that IP.
- Navigate to the page Status -> Miner Configuration. Enter your pool information in the below format.
- Navigate to the page "Miner Status" to check mining has started.
- You can then change your router subnet back to whatever you are used to using.
Alternative Subnet Change: - Unplug your computer from all internet sources.
- Plug in an ethernet cable from the WR703N to your computer.
- Navigate to Control Panel -> Network and Sharing Centre -> Change Adapter Settings.
- Right click on your ethernet adapter -> Properties.
- Click on "Internet Protocol Version 4" and click properties.
- Select "Use the following IP address" and enter the following:
- IP Address: 192.168.0.1, Subnet Mask: 255.255.255.0, Default Gateway: 192.168.0.100.
- Plug in an ethernet cable from the WR703N to you router.
- Restart the configuration instructions as above.
| _______________________________________________________________________________ ________________________________________________ | Antpool Register!
Servers : stratum+tcp://stratum.antpool.com:3333
User    : username.worker or username_worker - auto creates workers!
Password: anypassword
Servers : stratum+tcp://us1.ghash.io:3333
User    : username.worker  - auto creates workers!
Password: anypassword
|
4b) Configuration (RaspberryPi) (top)Connectivity has been updated to allow for up to 20 units to be daisy chained off one USB port. Wiring: - Plug one 4 pin cable connected from the 4 pin header on the unit to the micro USB adapter.
- Connect a micro USB to USB cable to the micro USB adapter, and then plug this into your controller.
- More units can be added by plugging another 4 pin cable from the second unit to the first unit's other 4 pin header.
- Plug in a network cable from the WR703N to your router, and power it on.
Configuration: - Put the SD card into another computer.
- Download the RasperryPi Avalon 4 OS image (sdcard-vfat-ext4.img)
- Download the Win32 Disk Imager and use it to flash SD card with this image.
- Put SD card into RaspPi and power it on.
- Power on the power supply using its switch at the back.
- Make sure or your router's subnet is 0, ie 192.168.0.x. If not then change it to 0, this is just temporary. ***If this is not possible, see below***
- Using a browser, navigate to 192.168.0.100 - this goes to the Raspberry Pi's configuration page.
- Login using "root" as the username.
- Navigate to Network -> Interfaces -> WAN -> Edit.
- Change protocol to DHCP and click "Save & Apply".
- Using a browser, navigate to your router and find the IP it has assigned the Raspberry Pi and navigate to that IP.
- Navigate to the page Status -> Miner Configuration. Enter your pool information in the below format.
- Navigate to the page "Miner Status" to check mining has started.
- You can then change your router subnet back to whatever you are used to using.
Alternative Subnet Change: - Unplug your computer from all internet sources.
- Plug in an ethernet cable from the Raspberry Pi to your computer.
- Navigate to Control Panel -> Network and Sharing Centre -> Change Adapter Settings.
- Right click on your ethernet adapter -> Properties.
- Click on "Internet Protocol Version 4" and click properties.
- Select "Use the following IP address" and enter the following:
- IP Address: 192.168.0.1, Subnet Mask: 255.255.255.0, Default Gateway: 192.168.0.100.
- Plug in an ethernet cable from the Raspberry Pi to you router.
- Restart the configuration instructions as above.
| _______________________________________________________________________________ ________________________________________________ | Antpool Register!
Servers : stratum+tcp://stratum.antpool.com:3333
User    : username.worker or username_worker - auto creates workers!
Password: anypassword
Servers : stratum+tcp://stratum.btcguild.com:3333
User    : username_worker
Password: anypassword
Servers : stratum+tcp://us1.ghash.io:3333
User    : username.worker  - auto creates workers!
Password: anypassword
|
5) Troubleshooting (top)| Problem | Solution | | Under ASIC status, one chip is always an "x"? | Will the miner ever beep? | | - There is a faulty chip - nothing we can do. Hash rate will be affected by ~1%. | - Possibly, there is a beeper on this controller but there is no "Miner configuration" option to disable it. | | What temperatures should I aim for? | - Try to achieve <60C for long lifetimes. Temperatures should not be let to rise above 70C. | | How can I tell what firmware version I have now? | - Navigate to Status -> CGMiner API Log and look at "Firmware Version". | | Where.can.I.find.the.latest.firmware.for.the.WR703N? | - Download the latest firmware from here (the WR703N.bin). | | Where can I find the latest firmware for the Pi? | - Download the latest firmware from here (the sdcard-vfat-ext4.img). | | How do I install the latest firmware? | - Download firmware as above. Navigate to System -> Upgrade and click "browse". Select the
downloaded file and click "Flash image". Do NOT interrupt this process or you will brick the unit. |
| My.power.supply's.cables.are.braided.or.aren't.color.coded | - See below diagram for pin-outs.
 |
   Legal disclaimer: This information is for general guidance and does not constitute expert advice. We are not responsible if you, your property or a third party is injured or damaged as a result of any interaction with this information, and no warranty is provided. All text and images are covered by copyright. 6) Where to buy (top)
|
|
|
|
Is the heatsink hole spacing compatible between the S1/S3 and the S5?
I would also like to know this - can anyone confirm? Thanks. Overlap some of my PCB photos, they'll tell you. Any difference in zoom then resize so the PCI-E headers are the same. |
|
|
|
Do you know where I can get firmware for a AMT 1.25TH/s 4U? Reason is I'm not able to change the pool or stop the miner ex.. I lost the home, and setup link at the top. Thanks
|
|
|
|
|
That's an interesting temperature distribution, how have you got it set up?
|
|
|
|
Matt is as fucking bad as BA but yes it is funny he managed to fuck them back. However on the same token because of this he's just fucked anyone that had outstanding orders from MS... they definitely ain't gonna get shit now
yeah, if it's true this is the case. While I find it funny if it's true, I also find it unlikely on many levels and on both sides of this equation. We're supposed to believe Matt just woke up one day and decided to try to rip them off for hundreds of thousands of dollars via a completely documented means. I don't know this guy but that takes a special kind of stupid. On the other side of the coin we're supposed to believe that this just flew right on through Black Arrow. They're total nitwits but I don't believe that either. I think there's a lot more going on here than those assholes at Black Arrow are telling people. In the meantime they've justified, based on their word only without any supporting evidence whatsoever being offered, fucking MS customers and totally cutting them loose. That they would do THAT is something I do believe, as these people have proven nothing if not that they will fuck people whenever and however possible. What I want to know is, if there is still a customer backorder, why on earth did they have 130 units in stock to ship immediately as one batch? I'd be surprised if they were units rolling off the line, as it means they had 130 boxed and tested units ready in the same ~6 hours to 2 days. |
|
|
|
Am i missing something here? I'd think bitcointalk would be on the forefront of tipping integration on forums
You do know you can put your address in your Bitcointalk profile or in your signature. (I notice you don't have yours on either) I don't understand why retards need their hand held sending 16 cents to some other retard.  I think the point is so people can publicly show their appreciation. |
|
|
|
Hi, newbie here. We talked by email. As I was saying, I'm interested in starting solo mining. I've already a pool in which I have 2 HashCloud contracts ( https://cointellect.com/?code=f3c72dc1 ) and so I'd like to mine there. The cryptocoin is Dogecoin so I think this miner (which doesn't work with scrypt mining) can't be used. I was wondering if It's a good choiche to keep mining there or to try this miner and move on. In any case, could you suggest me some good scrypt miners to start with that doesn't exceed 200$ ? Thanks in advance. Correct, this miner won't work for dogecoin as its sha256 not scypt. I'm not actually sure what the current beginner scypt hardware is as that side of the market has gone a bit weird since GAW went rogue. |
|
|
|
Hello, I have a table for 12V operation. Seems that power draw is linear. Higher speed means better W/Gh ratio. All measurements were tested at wall without FAN.
All test done at 12.3-12.4V. Voltage measured at chips are 0.78-0.8V.
Interesting, the review I found suggested its 12V rail was around 11.7V. Cold testing Hot testing. Just mentioning it because this is the first miner where 12V regulation really will make a difference to efficiency/overclocking/underclocking. |
|
|
|
With a new cable, not the one included, it seemed to work again for a while. There's two connected, to two different USB buses, but i'll look into the the powered usb advise too.
After a while however, i got this:
[2015-01-11 20:59:14] AMU0: invalid nonce - HW error
[2015-01-11 21:15:01] AMU0: invalid nonce - HW error
[2015-01-11 22:12:15] AMU 7 SendWork usb write err:(-1) LIBUSB_ERROR_IO
[2015-01-11 22:12:15] AMU 7 attempted reset got err:(0) LIBUSB_SUCCESS
Then the now troublesome unit zombied. Got it up again briefly after some reset/un/re-plugs. Then it just zombied again.
Yes please, see how it is on a powered USB hub. Those LIBUSB errors nearly always disappear when you add in a hub. |
|
|
|
If those X's do come back what would be my next step short of a RMA? Thermal paste issue? I check underneath the miner and there is no puddles . Not a fan of opening the case up, yes I am that lazy haha. What do you think thermal paste issue or potential leak?
Neither of those would cause what you have, its just something that occurs. At any rate since I got your attention what is the best fluid for the miner, I got primochill in it now as thats what amazon had for a good price.
Primochill is fine, everything will be similar. Also if i do need to open it up which board is board #2 if viewing from the front? second from left or second from right?
For me when looking at the fan, its second from the right but it might be different for you. and any diagrams of the asic chips which ones are represented by those with the x's? ooooooox xooooooo
Not sure as the board labels don't seem to be in a sensible order. And what would be the science behind why a psu power down reset would make them disappear versus a reboot form the software panel? I tried that 3 times before doing the PSU reset and when i rebooted from the panel after 235-30 mins the X's kept coming back.
Chips need the voltage change to start back up, which the software reset doesn't do. |
|
|
|
no hub, directly on the pc. Used to work well for a long time on that port, tried different ports as well. Tried both on the usb 2 and 3 ports.
I would strongly advise putting them on a powered USB hub, especially with three. |
|
|
|
Seems to work fine, although i do believe it now averages a bit lower than with the old version.
My second U3, which used to be the slowest, now works fine, averaging at 63 as i write. However, the other one is now just fu*** up. After a lot of reset, reinstall etc, cgminer now can address it, but only recieves errors back and cannot make use of it.
[2015-01-11 19:16:06] AMU 4 GetResults usb read err:(-9) LIBUSB_ERROR_PIPE
[2015-01-11 19:16:06] AMU 4 attempted reset got err:(0) LIBUSB_SUCCESS
[2015-01-11 19:16:07] AMU 4 GetResults usb read err:(-9) LIBUSB_ERROR_PIPE
[2015-01-11 19:16:07] AMU 4 attempted reset got err:(0) LIBUSB_SUCCESS
[2015-01-11 19:16:07] AMU 4 GetResults usb read err:(-9) LIBUSB_ERROR_PIPE
And it goes on. With the last cgminer-run, i got different errors, unable to initalize, unable to set freq etc.
Using a hub? Powered or unpowered? |
|
|
|
I ordered 30 of these... but they have 4 black wires. The connector has no markings... I have no data sheet. I have no clue which goes to the S5 Red White Black Blue.  Data sheet for the fan can be found here. Look on page 5 for wiring info: Pin 1: Positive [12V] Pin 2: PWM control IN Pin 3: RPM reporting OUT Pin 4: Negative That's going to need rewiring to fit on S5s as normal 4 pin fan headers are: Pin 1: Negative Pin 2: Positive [12V] Pin 3: RPM reporting OUT Pin 4: PWM control IN Might be worth sending back. Dogie, I think you have pin 2 & 3 reversed there on the top. No, according to the linked forum post the data sheet is just explaining those two pins badly and so they're 'reversed' from the labels. |
|
|
|
having problems to access solo pools from antpool since 2-3 days.
either port 25 or 3333.
trying from europe....
I'm on solo from EU without interruption. solo.antpool.com:3333 right? |
|
|
|
I ordered 30 of these... but they have 4 black wires. The connector has no markings... I have no data sheet. I have no clue which goes to the S5 Red White Black Blue. Data sheet for the fan can be found here. Look on page 5 for wiring info: Pin 1: Positive [12V] Pin 2: PWM control IN Pin 3: RPM reporting OUT Pin 4: Negative That's going to need rewiring to fit on S5s as normal 4 pin fan headers are: Pin 1: Negative Pin 2: Positive [12V] Pin 3: RPM reporting OUT Pin 4: PWM control IN Might be worth sending back. |
|
|
|
|